

Adding natural light to a Brampton home is one of the few upgrades that changes how a room feels the moment the work is finished, and skylight installation Brampton homeowners commission is usually driven by the same problem: a dark hallway, a windowless bathroom, a kitchen that needs the lights on at two in the afternoon. Brampton’s housing stock makes this a common complaint. The city grew in waves, and each wave produced homes with their own daylight problems, from low-ceilinged postwar bungalows with deep interior cores to newer subdivision two-storeys where the second floor blocks light from reaching the middle of the main level.
This guide covers what a skylight project actually costs in 2026, which unit types suit which roofs, how permits and the Ontario Building Code apply, and what a properly executed installation looks like from the first site visit to the final flashing detail. The numbers here are ranges rather than quotes, because roof pitch, shaft depth, shingle condition and access all move the price. Use them to budget honestly and to recognise a quote that is either padded or suspiciously thin. Anyone planning a skylight installation Brampton project should read the ranges alongside the scope notes, because scope is where quotes genuinely differ.
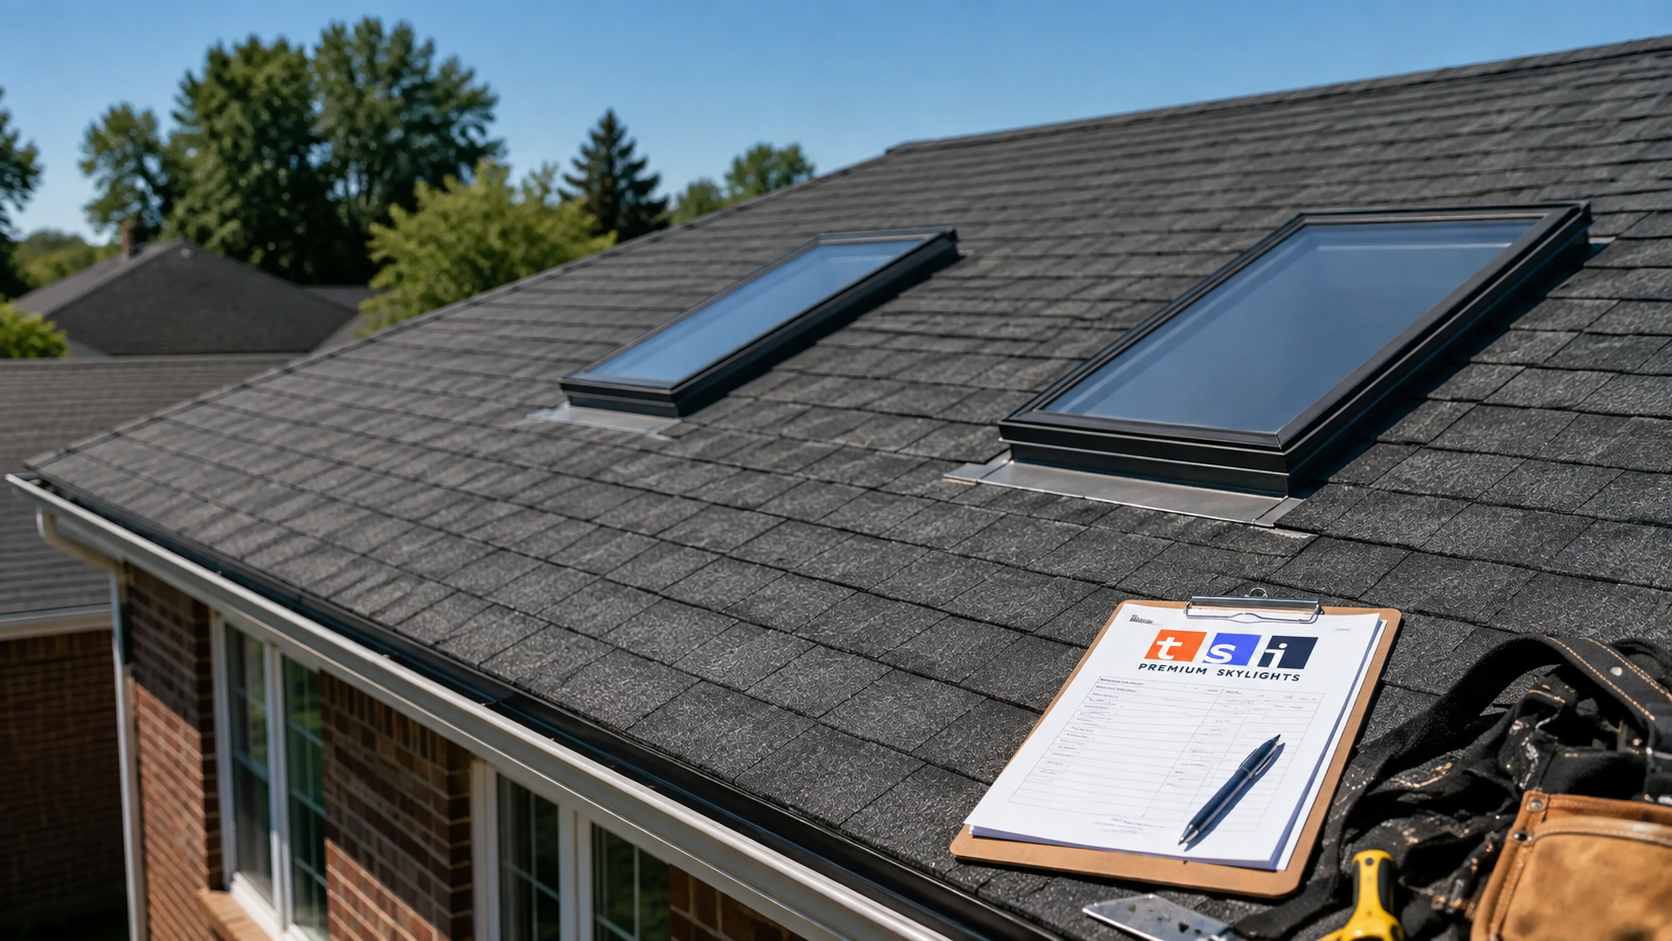
What Skylight Installation Brampton Homeowners Can Expect From Start to Finish
A skylight is not a window dropped into a roof. It is a roof penetration, which means the assembly has to shed water, resist ice damming, block vapour from the living space, and stay airtight through Ontario’s full temperature swing. Every serious quote for skylight installation Brampton properties require should account for all four of those jobs, not just the glass unit itself.
The work breaks into five stages. First, an interior and attic assessment establishes where the unit can go without cutting a structural member you cannot afford to cut. Second, the opening is framed on the roof deck and, where the ceiling is not directly beneath the roof, a light shaft is built through the attic. Third, the unit is set and flashed, ideally with a manufacturer’s step flashing kit matched to the roof covering. Fourth, the shaft is insulated, air sealed and vapour sealed. Fifth, the interior is drywalled, taped and finished.
Stage four is where most of the long-term failures originate. A shaft that is insulated but not air sealed lets warm indoor air leak into the attic, where it condenses on the cold underside of the skylight. Homeowners then report a leak that is not a leak at all, but condensation. Any contractor discussing skylight installation Brampton residents are considering should be able to explain how they seal the shaft, not just how they flash the curb.
Retrofit versus new opening
Replacing an existing skylight in its existing opening is materially cheaper and faster than cutting a new one. If your home already has a unit from the 1990s that is fogged, leaking or simply dated, a straight skylight replacement avoids all framing, shaft construction and drywall work. A new opening adds framing, shaft, insulation, drywall, paint and often an electrical relocation if a light fixture is in the way. Before assuming you need a new opening, have the existing unit assessed, because many skylight installation Brampton projects turn out to be straightforward replacements rather than fresh cuts.
How Brampton’s Housing Stock Shapes Your Skylight Options
Brampton is not architecturally uniform, and the age of your home is the single best predictor of what a skylight installation Brampton project will involve. Older brick homes and postwar bungalows closer to the historic core tend to have simple gable roofs, shallow attics and 2×6 or 2×8 rafters at relatively wide spacing. Those roofs are straightforward to work on, but the shallow attic often means the light shaft is short, which is good for light transmission and good for cost.
The large subdivisions built from the 1980s through the 2000s brought two-storey homes with steeper roofs, engineered trusses and complex hip and valley geometry. Trusses are the complication. You cannot cut a truss web or chord without an engineered repair detail, so unit placement is dictated by the truss layout rather than by where you would ideally like the light. In practice this means a narrower unit, or two smaller units placed between trusses, rather than one large opening. Truss-framed roofs account for a large share of skylight installation Brampton work in these neighbourhoods, so an installer who works on them regularly is worth seeking out.
Newer builds and estate lots in the north and northwest of the city often feature vaulted ceilings, great rooms and open stairwells. These are the easiest and most rewarding installations, because the ceiling follows the roof plane and no shaft is needed at all. A unit sits directly in the vaulted ceiling and delivers the full daylight yield. If you have a cathedral ceiling, you are in the best possible position for a skylight installation Brampton crews can complete quickly and cleanly.
Homes with low-slope or flat roof sections, including many rear additions and some contemporary builds, need purpose-built flat roof skylights with a proper curb. Sloped-roof units installed on a low-slope deck will pond water and eventually fail, regardless of how carefully they were flashed.
2026 Skylight Installation Cost Ranges in Brampton
The table below reflects typical installed pricing in the Greater Toronto Area for 2026, including the unit, flashing kit, labour, and standard interior finishing where a shaft is required. Prices assume asphalt shingle roofs in reasonable condition and normal ladder or scaffold access. HST is extra. Treat these as planning figures for skylight installation Brampton budgets rather than as a fixed price list.
| Skylight type | Installed cost range (per unit) | Typical use case |
|---|---|---|
| Sun tunnel (tubular daylight device) | $1,200 to $2,400 | Hallways, closets, small bathrooms, interior stairs |
| Fixed deck-mounted skylight | $2,400 to $4,200 | Kitchens, living rooms, vaulted ceilings, maximum light |
| Manual venting skylight | $3,000 to $5,000 | Rooms within reach of a control rod |
| Electric venting skylight | $3,800 to $6,200 | High or vaulted ceilings, remote operation |
| Solar-powered fresh air skylight | $4,200 to $6,800 | Bathrooms and kitchens where no wiring run is practical |
| Flat or low-slope curb-mounted unit | $3,500 to $7,500 | Additions, rear extensions, low-slope roof sections |
Several factors push the price of skylight installation Brampton homes need toward the upper end of these ranges. A long light shaft through a deep attic adds framing, insulation and drywall. Steep roof pitch above roughly 8:12 slows the work and requires additional fall protection staging. Cutting a truss requires an engineered detail and header, which can add $800 to $2,000 on its own. Cedar, metal or tile roofing requires custom flashing rather than an off-the-shelf kit. And if the surrounding shingles are near the end of their service life, replacing the field around the opening is money well spent rather than an upsell.
Discounts run in the other direction. Installing two or three units in a single visit spreads the setup, staging and disposal costs across the project. If you are already planning a re-roof, adding skylights during that work is the cheapest window you will ever get, because the deck is exposed and the flashing integrates naturally with new shingles. Combining a re-roof with skylight installation Brampton homeowners were already considering can cut the effective cost of each unit substantially.
Choosing the Right Skylight Type for Your Roof and Room
Type selection during a skylight installation Brampton project should follow the room’s function and the roof’s geometry, not a catalogue photograph. Fixed units deliver the most glass per dollar and never leak through a moving seal, which makes them the default choice for living space where ventilation is already handled. Venting units earn their premium in bathrooms and kitchens, where they exhaust humidity and cooking moisture directly out of the building rather than pushing it into the attic.
| Room | Recommended unit | Why it suits the space | Typical glass size |
|---|---|---|---|
| Kitchen | Venting, solar or electric | Removes cooking moisture and odour, adds task daylight | 550 x 980 mm to 1140 x 1180 mm |
| Bathroom (main or ensuite) | Solar-powered fresh air unit | Vents humidity without a wiring run, closes on rain sensor | 550 x 780 mm to 780 x 980 mm |
| Hallway or landing | Sun tunnel | Fits between trusses, minimal framing, low cost | 250 mm or 350 mm diameter |
| Living room or great room | Fixed deck-mounted | Maximum daylight, no moving parts to service | 780 x 1400 mm and larger |
| Bedroom | Venting with room-darkening blind | Night cooling in summer, full blackout when needed | 780 x 1180 mm |
| Basement stairwell or interior core | Sun tunnel with rigid tube | Delivers daylight through a long, narrow path | 350 mm diameter |
Glazing matters as much as the frame. For Ontario’s climate, specify laminated inner glass, a low-emissivity coating and an argon-filled sealed unit at minimum. Laminated glass is the safety-relevant choice for anything installed overhead, and it also cuts noise from rain and hail noticeably. Skip single-pane acrylic domes for habitable space; they belong on garages and sheds.
Blinds and shades are worth deciding on before installation rather than after. Factory-integrated blinds mount inside the frame and look far better than aftermarket solutions, and running the wiring or setting the solar module during the original skylight installation Brampton visit costs almost nothing compared with retrofitting later.
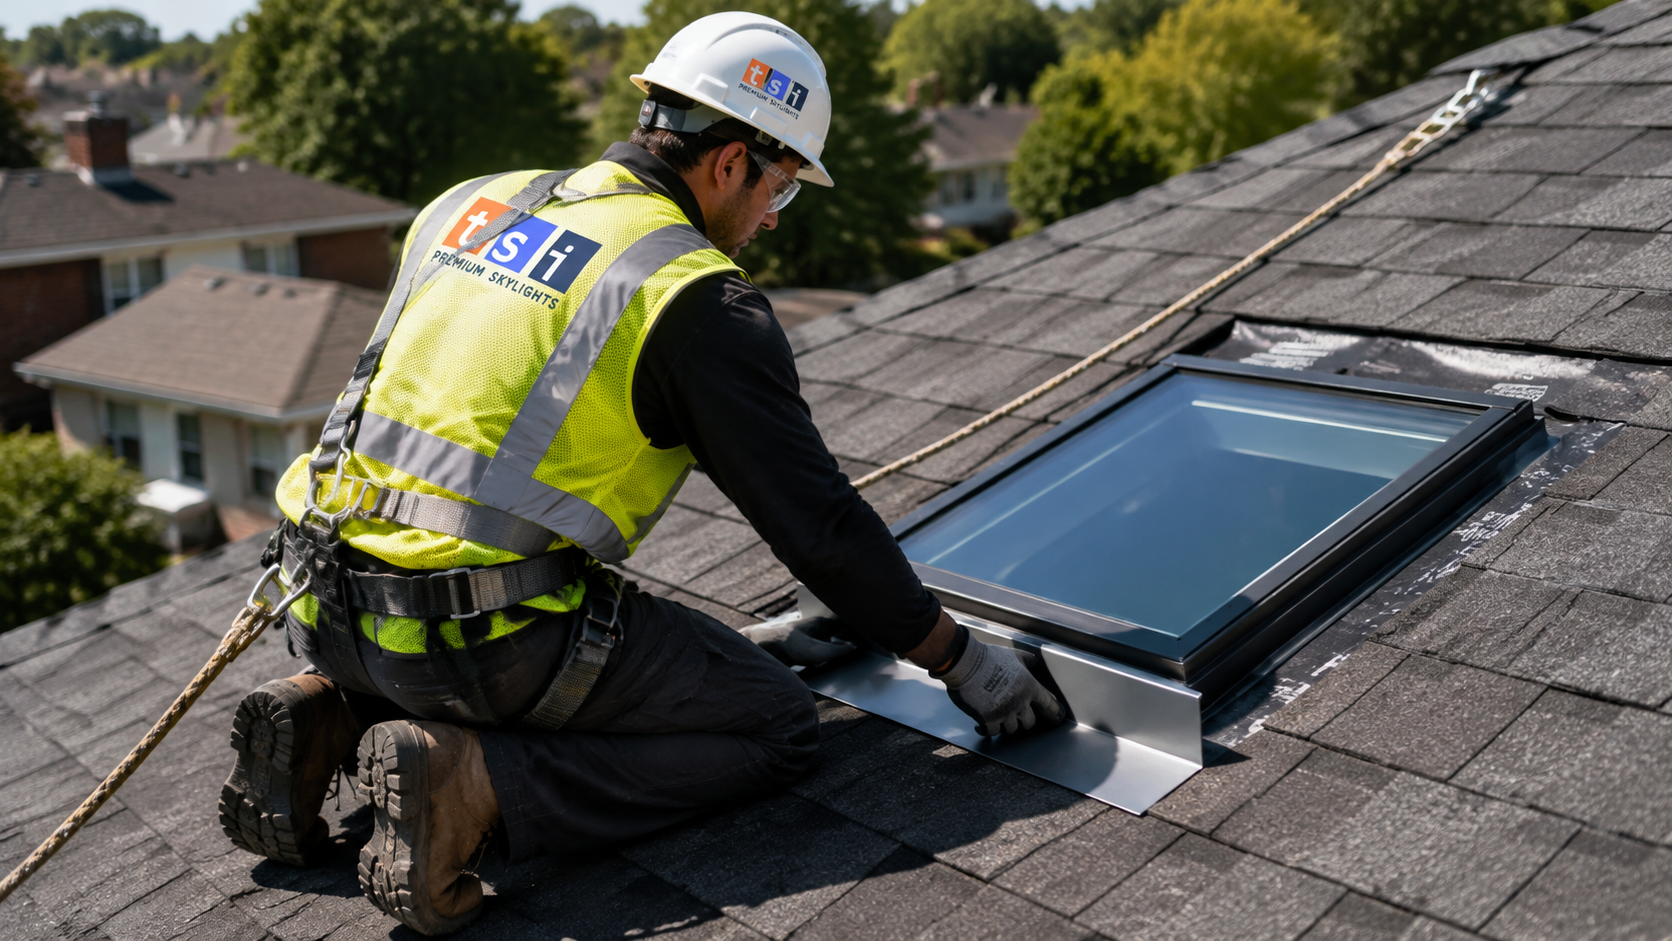
Permits, Ontario Building Code and Brampton Approvals
Cutting a new opening in a roof structure is structural work, and in most cases it requires a building permit from the City of Brampton. A like-for-like replacement of an existing unit in the existing opening generally does not, because no structural member is altered. The dividing line is whether framing is modified. If a rafter or truss is cut, headered or reinforced, expect to permit the work. Confirm this early, because permitting adds lead time to any skylight installation Brampton schedule.
The Ontario Building Code governs several details that a competent installer handles as routine. Overhead glazing in habitable space must be laminated or otherwise designed to remain in place if broken. New framing must carry the loads the removed member was carrying, which is what the header and trimmer assembly does. Insulation in the light shaft must meet the effective thermal resistance required for the roof assembly, and the shaft must include a continuous air and vapour barrier tied into the ceiling plane. Skylight units themselves must be tested and labelled to the relevant window and skylight standard.
Permit fees for a residential skylight opening in Brampton are modest, generally in the low hundreds of dollars, and the inspection process is straightforward when the framing detail is sound. Where a truss is involved, the city will want a repair detail stamped by an engineer. Reputable contractors treat this as part of the job rather than an obstacle, and they will tell you up front whether your skylight installation Brampton project needs one.
A note on condominium townhomes and homes under a builder warranty: check your declaration or warranty terms before proceeding. Roof penetrations can affect coverage, and some townhouse corporations control the roof assembly entirely.
Installation Timeline: What Happens on Site and When
Most single-unit residential projects finish in one to three working days on site, with drywall finishing sometimes returning for a second visit. The table below shows a realistic sequence for skylight installation Brampton crews perform on a new opening with a light shaft in a two-storey home.
| Stage | Typical duration | What happens |
|---|---|---|
| Site assessment and measurement | 45 to 90 minutes | Attic inspection, framing check, unit sizing, placement marked |
| Permit application and approval | 1 to 3 weeks | Drawings submitted to the city, engineered detail if trusses are cut |
| Opening, framing and unit set | Day 1, 5 to 7 hours | Deck cut, header framed, unit set, flashing woven into shingles |
| Shaft build, insulation, air sealing | Day 1 to 2 | Shaft framed and sheathed, insulated, vapour barrier sealed |
| Drywall, tape, prime and paint | Day 2 to 3 plus cure time | Shaft finished, corners beaded, surfaces painted |
| Final inspection and cleanup | 1 hour | Water test, blind operation checked, debris removed |
Weather is the main scheduling variable. No responsible crew opens a roof deck with rain in the forecast, and units are set and dried in the same day they are opened. Summer and early autumn are the easiest windows to book, though winter skylight installation Brampton work is entirely feasible when the forecast cooperates and the crew stages tarps properly.
Homeowners should plan for dust. Cutting drywall and framing inside a finished room generates a great deal of it, and the crew should be sealing the work area with poly and running dust containment before the first cut. Ask how the interior is protected; the answer tells you a lot about the outfit you are hiring.
Common Skylight Problems in Brampton Homes and How to Avoid Them
Most skylight complaints in the GTA come down to a small number of causes, and nearly all of them are workmanship decisions made during skylight installation Brampton projects rather than product defects.
- Condensation mistaken for leaking. Warm humid indoor air reaches the cold glass or the cold shaft cavity and condenses. The fix is air sealing and insulation, not more caulking. Bathrooms and kitchens are the usual sites.
- Reliance on sealant instead of flashing. A skylight should stay watertight with every tube of caulk removed. Sealant is a secondary defence with a service life measured in a few years; step flashing lasts as long as the roof.
- Ice damming at the upper edge. Snow melts on a warm roof, runs down, refreezes at the eave, and backs water up under the shingles. Adequate attic insulation, sealed ceiling penetrations and proper ventilation prevent it far more effectively than any product applied to the skylight itself.
- Failed sealed units. Fogging between panes means the sealed unit has lost its seal. On many units the glass can be replaced without disturbing the flashing, which is far cheaper than a full removal.
- Undersized or badly placed units. A small skylight at the top of a long, straight shaft delivers disappointing light. Flaring the shaft outward toward the room spreads daylight substantially, and it costs very little extra at framing stage.
- Skylight older than the roof around it. A twenty-year-old unit under new shingles is a scheduled failure. If the roof is being redone, the skylight should go with it.
When a problem does appear, act on it early. Water that reaches framing or drywall turns a straightforward repair into a structural and finishing job. Prompt skylight repair work on a fresh stain is inexpensive; the same stain ignored for two winters is not.
Maintenance, Service Life and Long-Term Value
A properly installed modern skylight should give 20 to 30 years of service, with the sealed glass unit typically the first component to reach end of life. Maintenance after skylight installation Brampton work is complete is minimal, but it is not zero.
Twice a year, clear leaves and debris from the head of the unit, where they collect against the upslope flashing and hold moisture. Check the exterior gasket and the visible flashing for lifted edges. Inside, look at the drywall corners of the shaft for any discolouration, which is the earliest warning sign of either a leak or a condensation problem. On venting units, exercise the mechanism, clean the rain sensor and replace the insect screen if it has degraded.
On value, skylights sit in an unusual category. They rarely appear as a line item in an appraisal, but they change how a home shows. A dark kitchen with a skylight reads as a different room to a buyer, and daylight quality is one of those features people respond to without being able to name it. In practical terms the payback is comfort and reduced daytime lighting use rather than a measurable resale premium.
Homeowners across the city can review the full range of Brampton skylight installation and repair services available locally, and read more about the general skylight installation process and product options before requesting a quote. Understanding the scope in advance makes it much easier to compare contractors on substance rather than price alone.
How to Compare Skylight Installation Quotes Properly
Three quotes for the same skylight installation Brampton job can vary by thousands of dollars, and the cheapest is often cheapest because it has left something out. Ask every contractor the following, and compare the answers rather than the totals.
- Is a manufacturer’s flashing kit included, and which one? Kits are matched to roof covering and unit model. A quote that does not name one is a warning.
- Is the light shaft insulated and air sealed, and to what level? Get the insulation type and the air barrier approach in writing.
- Is interior finishing included? Drywall, tape, corner bead, prime and paint. Some quotes stop at framing and leave the homeowner to arrange the rest.
- Who pulls the permit? The contractor should, and the fee should be stated.
- What is the workmanship warranty, and is it separate from the product warranty? Manufacturers typically warrant glass and frame for ten years or more; installation warranties vary widely.
- Is WSIB coverage and liability insurance current? Ask for certificates, not assurances.
Beware of quotes that price a skylight like a window swap. The framing, shaft, insulation and finishing are the bulk of the labour on a new opening, and a number that only reflects the unit and a few hours of roof work is not a complete scope. Equally, be sceptical of pressure to decide same-day. Skylight installation Brampton work is planned work, and any legitimate contractor will hold a price for a reasonable period while you compare options.
How much does skylight installation in Brampton cost in 2026?
Do I need a permit for a skylight in Brampton?
How long does a skylight installation take?
Will a skylight leak?
Can a skylight be installed in a home with roof trusses?
Should I replace my skylight when I replace my roof?
Book Your Skylight Installation Brampton Consultation Today
Toronto Skylight Installers is a Toronto-area specialist handling skylight installation Brampton homeowners rely on throughout the city and the wider Peel Region. Our crews work on skylights every day rather than occasionally, which means the flashing details, shaft air sealing and code requirements that decide whether a skylight lasts three years or thirty are handled as routine rather than as an afterthought. Whether you are adding daylight to a dark kitchen, venting a windowless bathroom, or replacing a fogged unit installed decades ago, we will assess the roof, the attic and the ceiling before quoting anything.
Call us today at (416) 365-7557 or request a free consultation to have your roof assessed and receive a written, itemised quote with no obligation.
Toronto Skylight Installers proudly serves Brampton, Mississauga, Caledon and communities throughout the Greater Toronto Area with professional skylight installation, replacement and repair.