

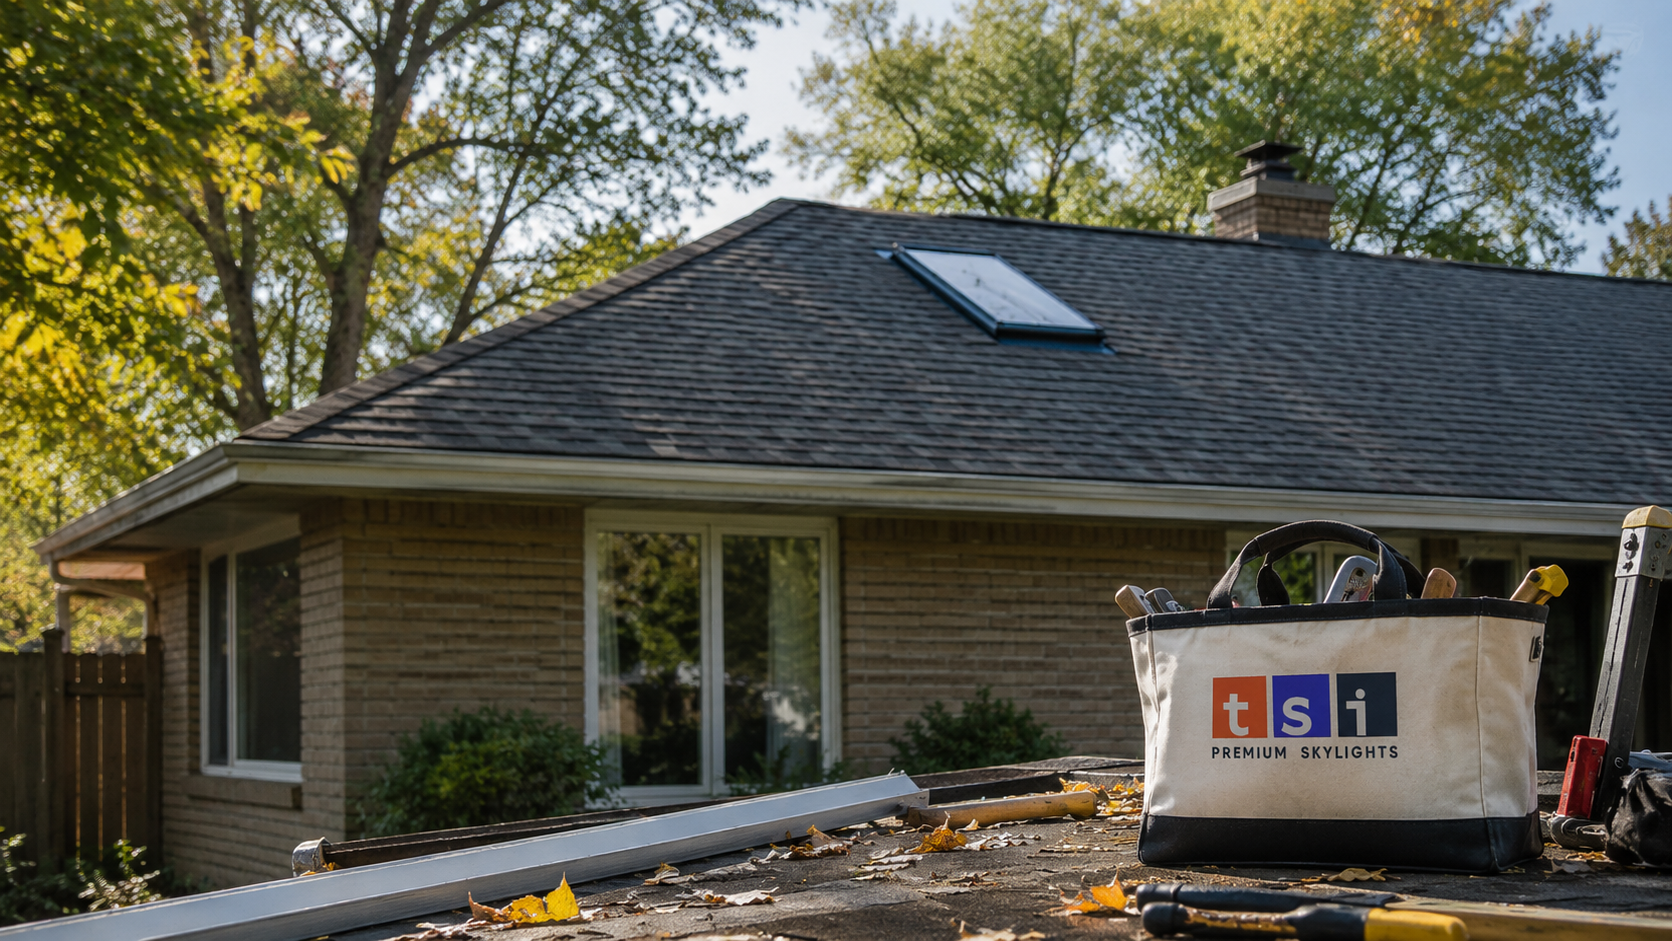
Skylight installation in Etobicoke is shaped by one thing above all: the borough’s housing stock. Etobicoke is overwhelmingly a postwar suburb, built out through the 1950s, 1960s and 1970s with bungalows, side splits, back splits and two storey homes on generous lots. These are excellent roofs for daylight work. They tend to have wide, simple, moderately pitched shingle planes with few dormers, and interiors with the dark central hallways and windowless kitchens that skylights solve better than any other renovation. This guide covers what skylight installation Etobicoke homeowners should expect: which unit types suit which roof, how the light shaft is built, what the work costs in 2026, and how install day actually runs.
Why Skylight Installation Etobicoke Roofs Suit Daylight So Well
Three characteristics of Etobicoke housing make skylights unusually effective here.
The first is roof simplicity. Postwar builders favoured straightforward gable and hip roofs with long uninterrupted planes and pitches commonly between 4:12 and 6:12. That is squarely inside the range every major skylight flashing kit is designed for, and it means the installer usually has a clean, well drained area to work in without having to negotiate valleys, chimneys and dormers.
The second is attic depth. A classic Etobicoke bungalow has a shallow attic, often only two to four feet at the ridge over the central hallway. A short attic means a short light shaft, which is the single largest cost variable in a new skylight. Where a two storey home might need a shaft over two metres long, a bungalow shaft may be under a metre, cutting both material and labour.
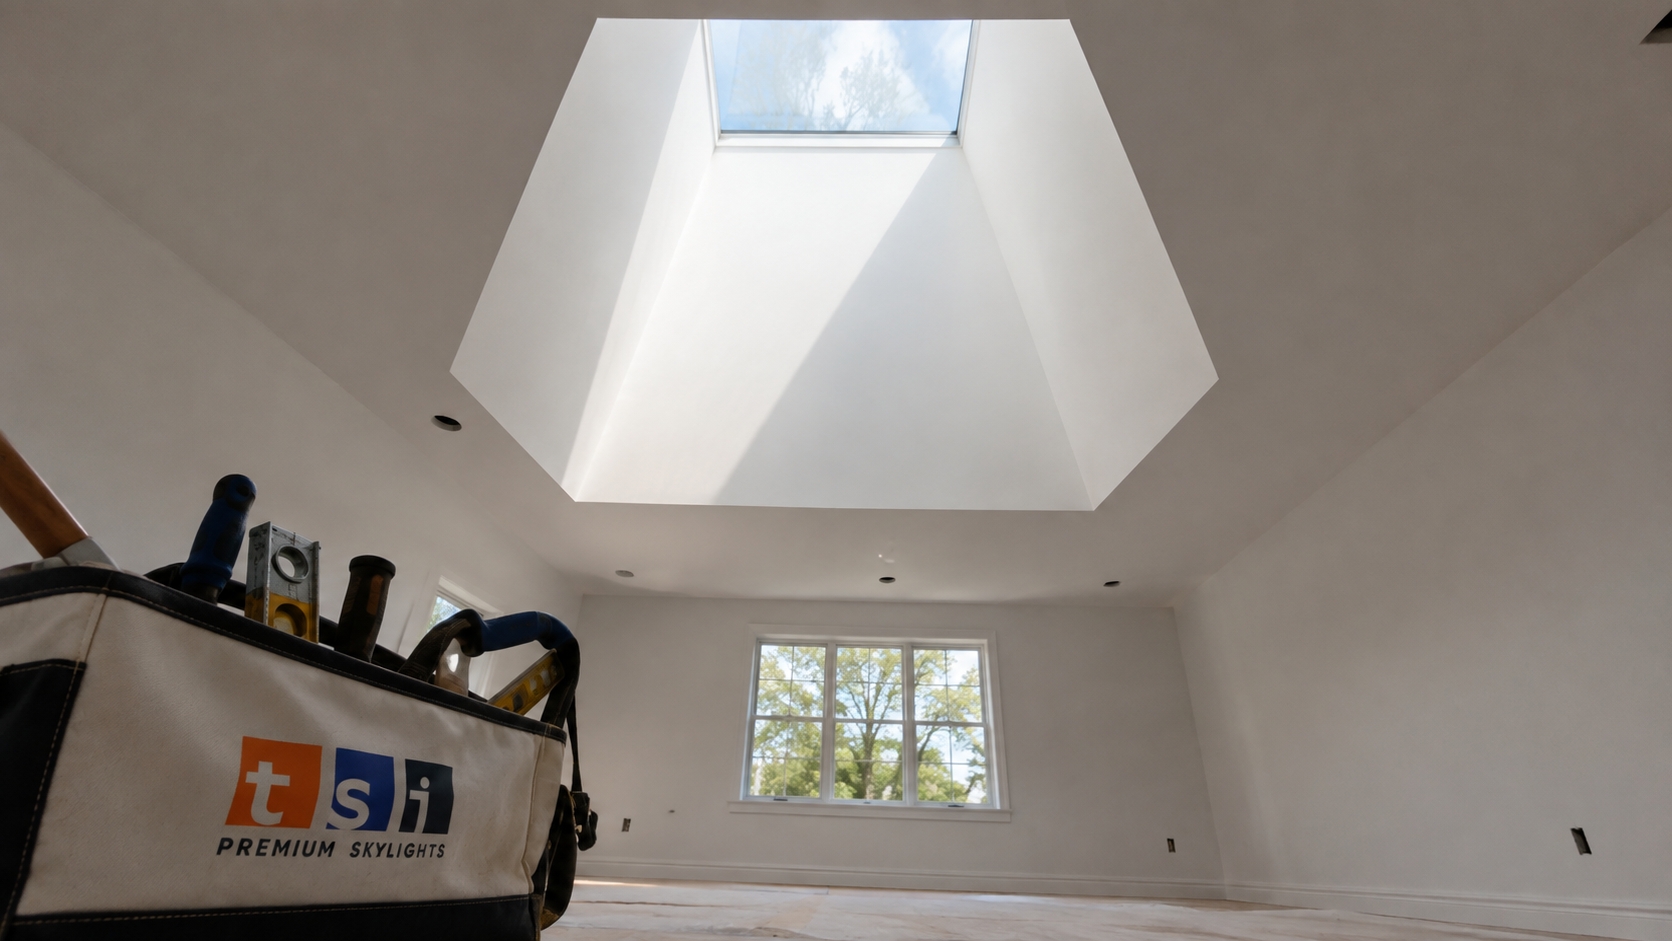
The third is interior layout. Etobicoke’s split levels and bungalows commonly have a long central hallway with bedrooms off both sides and no windows at all, plus kitchens tucked into the middle of the plan. These rooms cannot be brightened with a window because there is no exterior wall to put one in. A skylight is the only structural solution.
Split levels do introduce one wrinkle. Their staggered rooflines create pitch transitions and short roof planes where flashing needs care, and the low slope rear additions common on Etobicoke bungalows sometimes fall below the minimum pitch for a standard deck mounted unit. On those sections a curb mounted unit set on a built up curb is the correct approach.
Choosing The Right Skylight For An Etobicoke Home
The unit type matters more than most homeowners expect, because it determines both the daily experience and the long term maintenance.
- Fixed skylights do not open. They are the least expensive, the least likely to develop a mechanical problem, and the right choice for hallways, stairwells and living rooms where you want light rather than ventilation.
- Manual venting skylights open with a pole or crank. They suit ceilings low enough to reach comfortably, which in a bungalow is realistic. They add useful stack ventilation in summer.
- Solar powered venting skylights open on a remote and close automatically on a rain sensor. They need no wiring, run on a small integrated panel and battery, and are the practical choice for bathrooms and kitchens where moisture needs to be exhausted. They are also the option most likely to qualify as a renewable energy product for tax purposes, which is worth confirming with your accountant.
- Electric venting skylights operate from mains power and are usually specified when the unit is high and a solar panel would be shaded.
- Flat roof skylights are a separate family designed for low slope decks, common on Etobicoke rear additions and garage conversions.
- Sun tunnels carry daylight through a reflective tube from roof to ceiling. They are the answer where a full skylight cannot go, such as over a small bathroom or a stair landing with obstructions in the attic.
Glass package matters too. In Toronto’s climate a laminated inner pane with a low emissivity coating and argon fill is the sensible default: it reduces heat loss in January, cuts solar gain in July, blocks the ultraviolet that fades flooring, and provides safety glass overhead. Skip the coating and you will feel the difference in both directions.
What Skylight Installation Costs In Etobicoke In 2026
The figures below are typical supplied and installed prices for residential work in Etobicoke in 2026. They include the unit, the manufacturer’s flashing kit, roofing labour, disposal and site protection. Interior drywall finishing and painting are shown separately because they are often handled by the homeowner’s own painter.
| Project type | 2026 supplied and installed range | Typical duration |
|---|---|---|
| Fixed skylight, bungalow, short shaft | $3,400 to $5,200 | 1 day |
| Manual venting skylight, bungalow, short shaft | $4,000 to $6,000 | 1 day |
| Solar venting skylight, bungalow, short shaft | $4,600 to $7,000 | 1 day |
| Fixed skylight, two storey, full attic shaft | $5,000 to $8,000 | 1 to 2 days |
| Vaulted ceiling installation, no shaft required | $3,200 to $5,400 | 1 day |
| Sun tunnel, tubular daylight device | $1,400 to $2,600 | Half day |
| Pair of skylights installed together | Roughly 1.6 times a single unit | 1 to 2 days |
Installing two units at once is meaningfully cheaper per skylight than installing one now and one later, because setup, roof access, protection and mobilisation are paid once. In a long Etobicoke hallway or a wide bungalow living room, a pair also distributes light far more evenly than a single larger unit.
The Light Shaft: The Part Nobody Sees
On a vaulted ceiling the roof deck and the ceiling are the same plane, and the skylight simply passes through. On a bungalow or two storey with an attic, the daylight has to travel through the attic in a constructed shaft, and how that shaft is built determines both how bright the room is and whether you will get condensation.
There are three shaft geometries.
- Straight shaft. Vertical walls, same size at ceiling as at roof. Simplest to build, produces a defined shaft of light and a somewhat narrow beam.
- Splayed shaft. Walls angled outward as they descend, so the ceiling opening is larger than the roof opening. This spreads daylight much further into the room and is the best choice in most Etobicoke bungalows.
- Angled shaft. Used when the roof opening and the desired ceiling location cannot line up, for example because a truss or a vent stack is in the way.
Whichever geometry is used, three things are non negotiable. The shaft walls must be insulated to current Ontario Building Code levels, because an uninsulated shaft is a cold chimney sitting inside your attic. A continuous vapour barrier must be installed on the warm interior side and sealed at every penetration, because warm household moisture reaching the cold shaft framing will condense and drip. And the attic insulation must be carefully returned and sealed against the shaft so there is no gap where warm air can bypass into the attic.
Nearly every “leaking” skylight we are called to inspect on a cold morning in Etobicoke is not leaking at all. It is a shaft that was drywalled without a vapour barrier, and the water is indoor humidity condensing on cold framing. Building the shaft correctly the first time costs a few hundred dollars more and prevents a problem that is expensive and messy to fix later.
Placement: Where To Put A Skylight In An Etobicoke Roof
Orientation changes the character of the light more than the size of the unit does.
| Roof orientation | Light character | Best suited to |
|---|---|---|
| North facing | Even, cool, consistent all day, minimal heat gain | Home offices, studios, kitchens, hallways |
| South facing | Brightest, strong direct sun and winter warmth | Living rooms, basements of split levels, rooms used in winter |
| East facing | Strong morning light, quiet afternoons | Bedrooms, breakfast areas |
| West facing | Late afternoon and evening warmth, highest summer heat gain | Family rooms, dining rooms, with a blind fitted |
Two practical placement rules apply in Etobicoke homes specifically. First, in a bungalow hallway, centring the unit over the hallway rather than over a doorway spreads light into more rooms once the doors are open. Second, on a split level, the skylight should go on the upper roof plane wherever possible, since the lower plane on a back split often sits below the manufacturer’s minimum pitch and is more exposed to snow accumulation from the wall above.
Size follows a simple guideline: a skylight area of roughly five percent of the floor area gives a bright but comfortable room, and up to about ten percent suits a space with no other window at all. Beyond that you tend to get glare and unwanted summer heat.
What Install Day Looks Like
Most Etobicoke installations are a single day. Here is the sequence for a bungalow with an attic shaft.
- Interior protection first. Floors and furniture are covered, and a dust barrier is set up around the work area before anything is cut.
- Locate and mark. The crew works from the attic to confirm rafter spacing and to mark the opening so it avoids wiring, plumbing vents and ductwork. This is why an attic assessment before quoting matters.
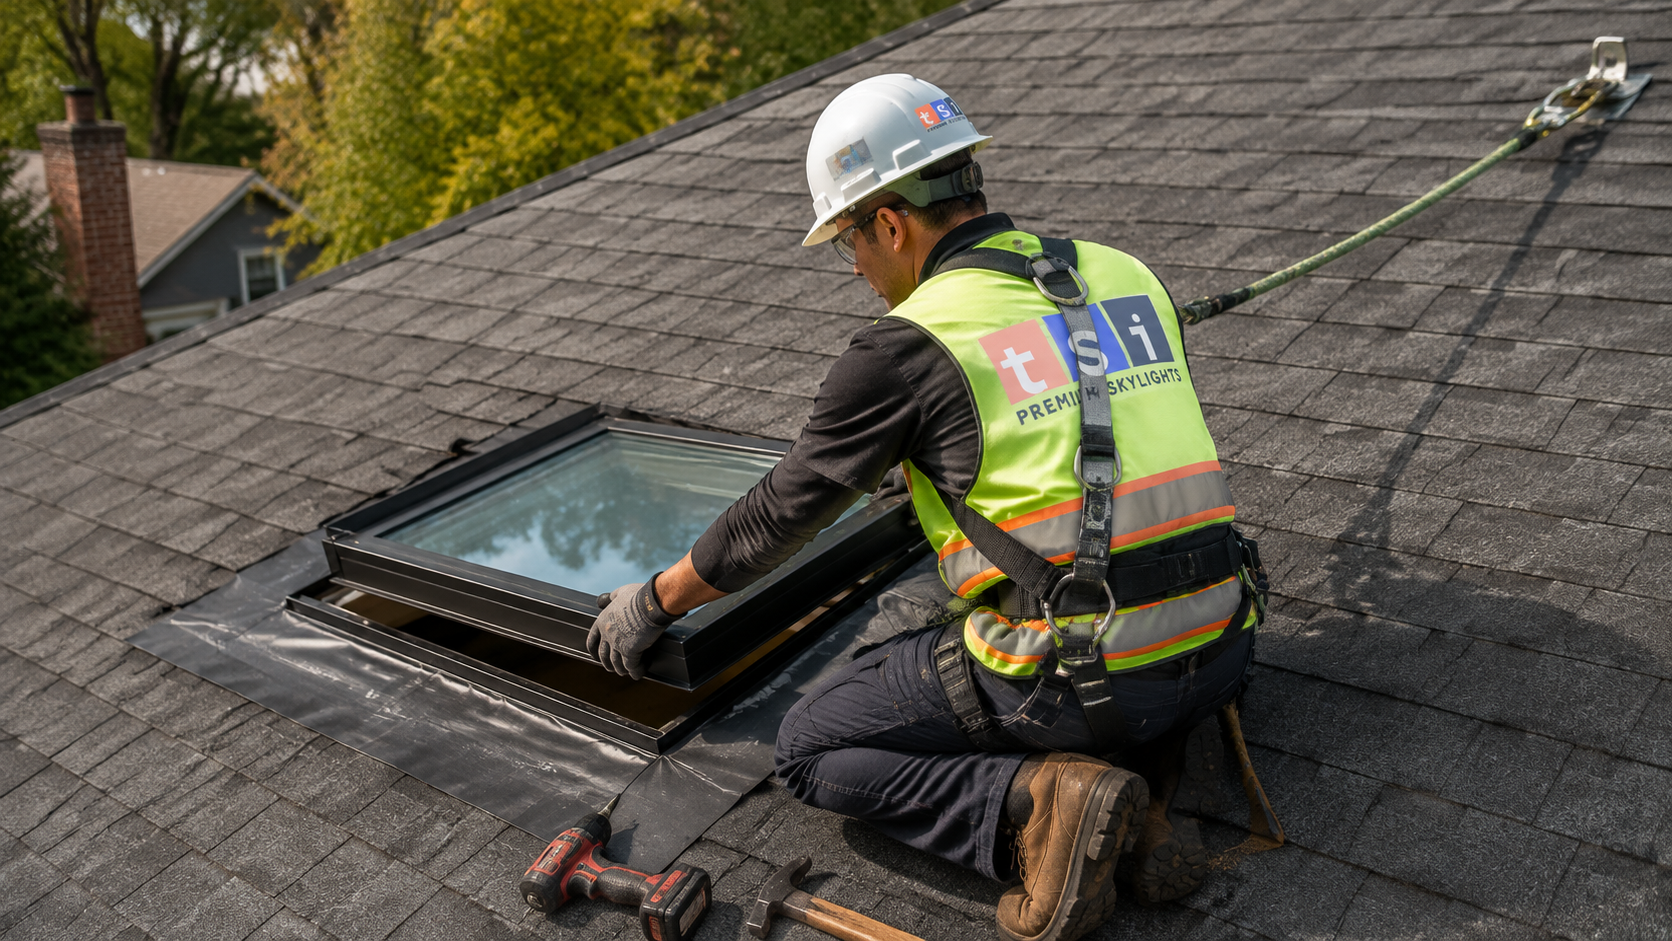
- Frame the rough opening. The opening is cut and headers installed above and below to carry the loads that the cut rafter was carrying. Openings that fit between existing rafters avoid this step.
- Weatherproof the deck. Self adhered ice and water membrane is applied around the opening, lapped correctly with the existing underlayment so water always runs over, never behind.
- Set the unit and flash it. The skylight goes in and the manufacturer’s flashing kit is installed in its specified sequence: sill, then step flashing woven course by course up both sides, then the head flashing under the shingles above. Shingles are cut in around it.
- Build the shaft. Framing, insulation, vapour barrier, then drywall to the ceiling line.
- Finish and clean. Taping and sanding follow, painting last. The roof and grounds are cleared of debris and swept for nails.
Homeowners across the borough can see the full range of what we handle on our Etobicoke skylight installation and repair service page, and the technical detail of the installation itself on our skylight installation service page.
Permits, Code And Structure In Etobicoke
Whether you need a City of Toronto building permit depends entirely on the framing, not on the borough.
| Framing situation | Common in Etobicoke | Permit |
|---|---|---|
| Unit fits between existing rafters, nothing cut | Yes, on many 1950s and 1960s bungalows | Generally not required |
| One rafter cut, headers installed | Very common | Required |
| Engineered trusses, member must be cut | Common on 1970s and later homes | Required, with an engineer’s design |
| Low slope rear addition, curb built up | Common on rear additions | Depends on whether framing is altered |
| Existing unit replaced, same opening | Very common | Generally not required |
The truss case deserves emphasis. Homes built in Etobicoke from roughly the mid 1970s onward frequently use engineered roof trusses, and no truss member may be cut without an engineered design. Any installer who offers to cut one anyway is creating a structural defect that will be flagged during a future home inspection.
Timing Your Installation Before The Wet Season
Early autumn is the strongest window in Etobicoke. September and October give moderate temperatures where sealants and self adhered membranes bond properly, reliably long daylight hours, and enough dry stretches to open a roof safely. Finishing before November means the new flashing has fully cured before the sustained autumn rain and the first freeze thaw cycles arrive.
Booking matters. Autumn is the busiest quarter for roof work in the GTA, and the last two weeks of October usually fill first. If you want the work done before the wet season, book in early September rather than late October.
How long does skylight installation in Etobicoke take?
Will a skylight leak in an Etobicoke winter?
Can a skylight go on the low slope rear addition of a bungalow?
What does skylight installation Etobicoke homeowners request typically cost?
Do I need a permit for a new skylight in Etobicoke?
How many skylights should I put in a bungalow hallway?
Book Your Skylight Installation Etobicoke Consultation
Etobicoke’s bungalows and split levels are among the best candidates for daylight work anywhere in the GTA, and the difference between a skylight that transforms a dark hallway and one that causes headaches comes down to shaft detailing and flashing sequence. Toronto Skylight Installers is based in the Toronto area and works across Etobicoke, assessing each attic before quoting so the price reflects the roof you actually have.
Call us today at (416) 365-7557 or request a free consultation while the early autumn installation window is still open.
Toronto Skylight Installers serves Etobicoke and the wider GTA, from the lakeshore and Islington north through Rexdale and across the rest of Toronto.