

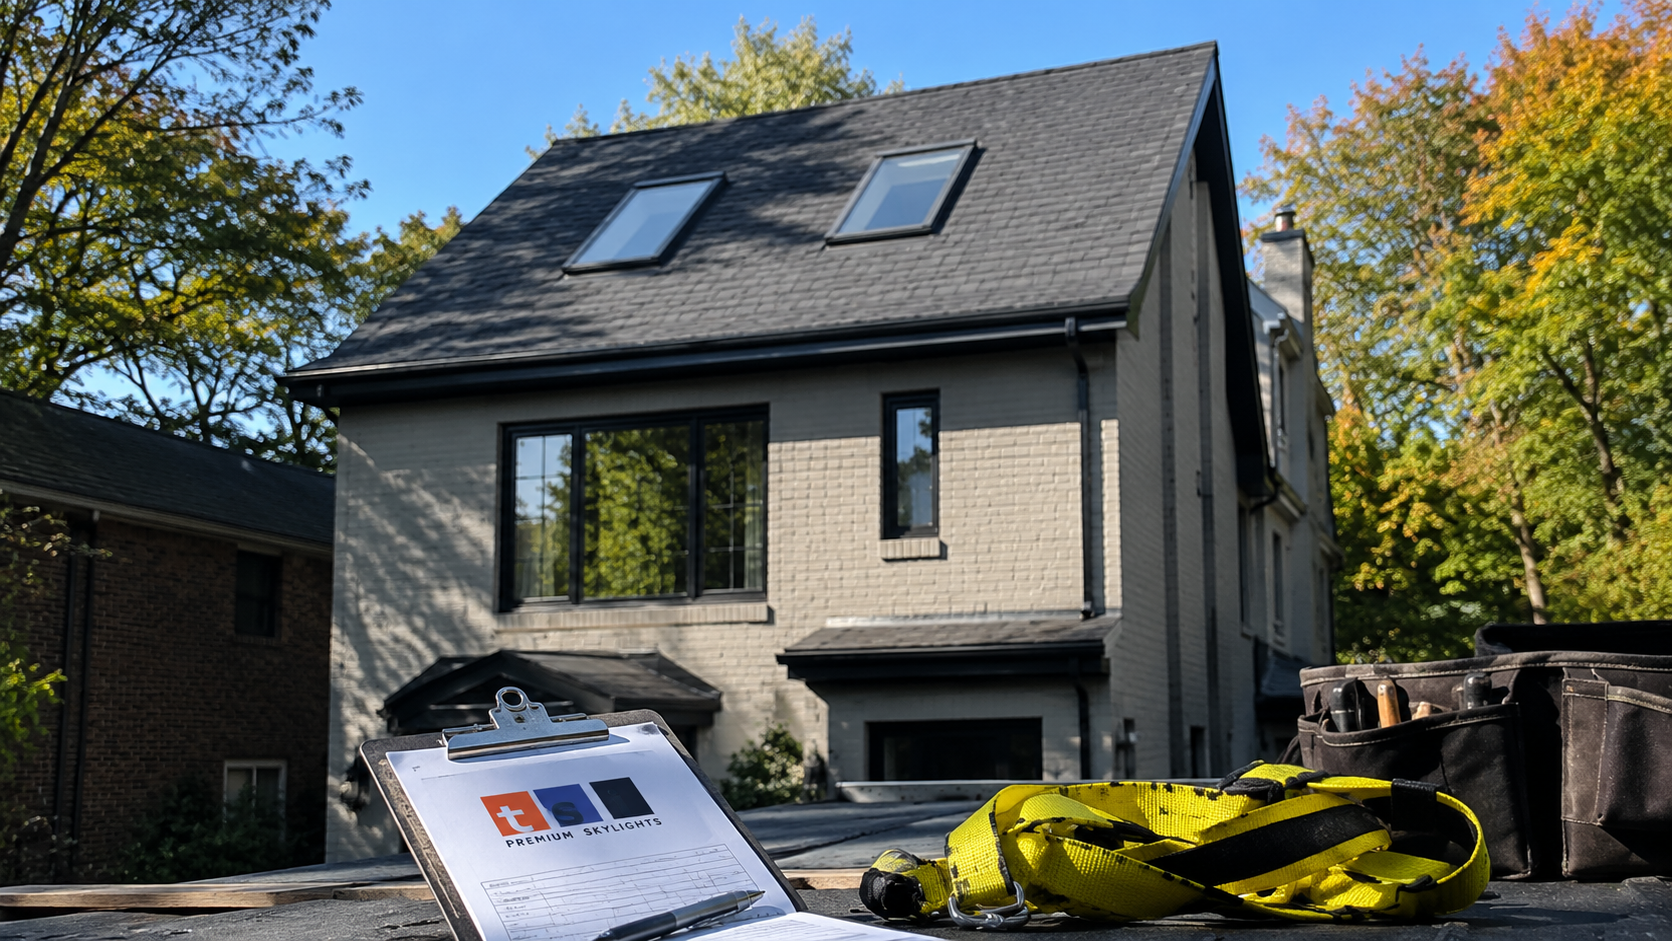
North York is the most varied borough in Toronto when it comes to roofs, and that variation is exactly what makes skylight installation North York projects worth planning carefully. Within a few blocks you can find modest 1950s bungalows with shallow attics and 4:12 pitches, 1970s two storey homes on engineered trusses, and large rebuilt houses with steep, complex rooflines and vaulted interiors. Each of those calls for a different unit, a different flashing approach and a different price. This guide explains how pitch, orientation and glass specification change the outcome, and what the work realistically costs in 2026.
How Roof Pitch Shapes Skylight Installation North York Projects
Pitch is the first thing an installer measures, because it determines which flashing kit applies, how the unit will look from the street, and how snow behaves around it.
Most skylight manufacturers publish a working range of roughly 15 to 85 degrees, which corresponds to about 3:12 through 12:12 and beyond. Within that range there are meaningful differences.
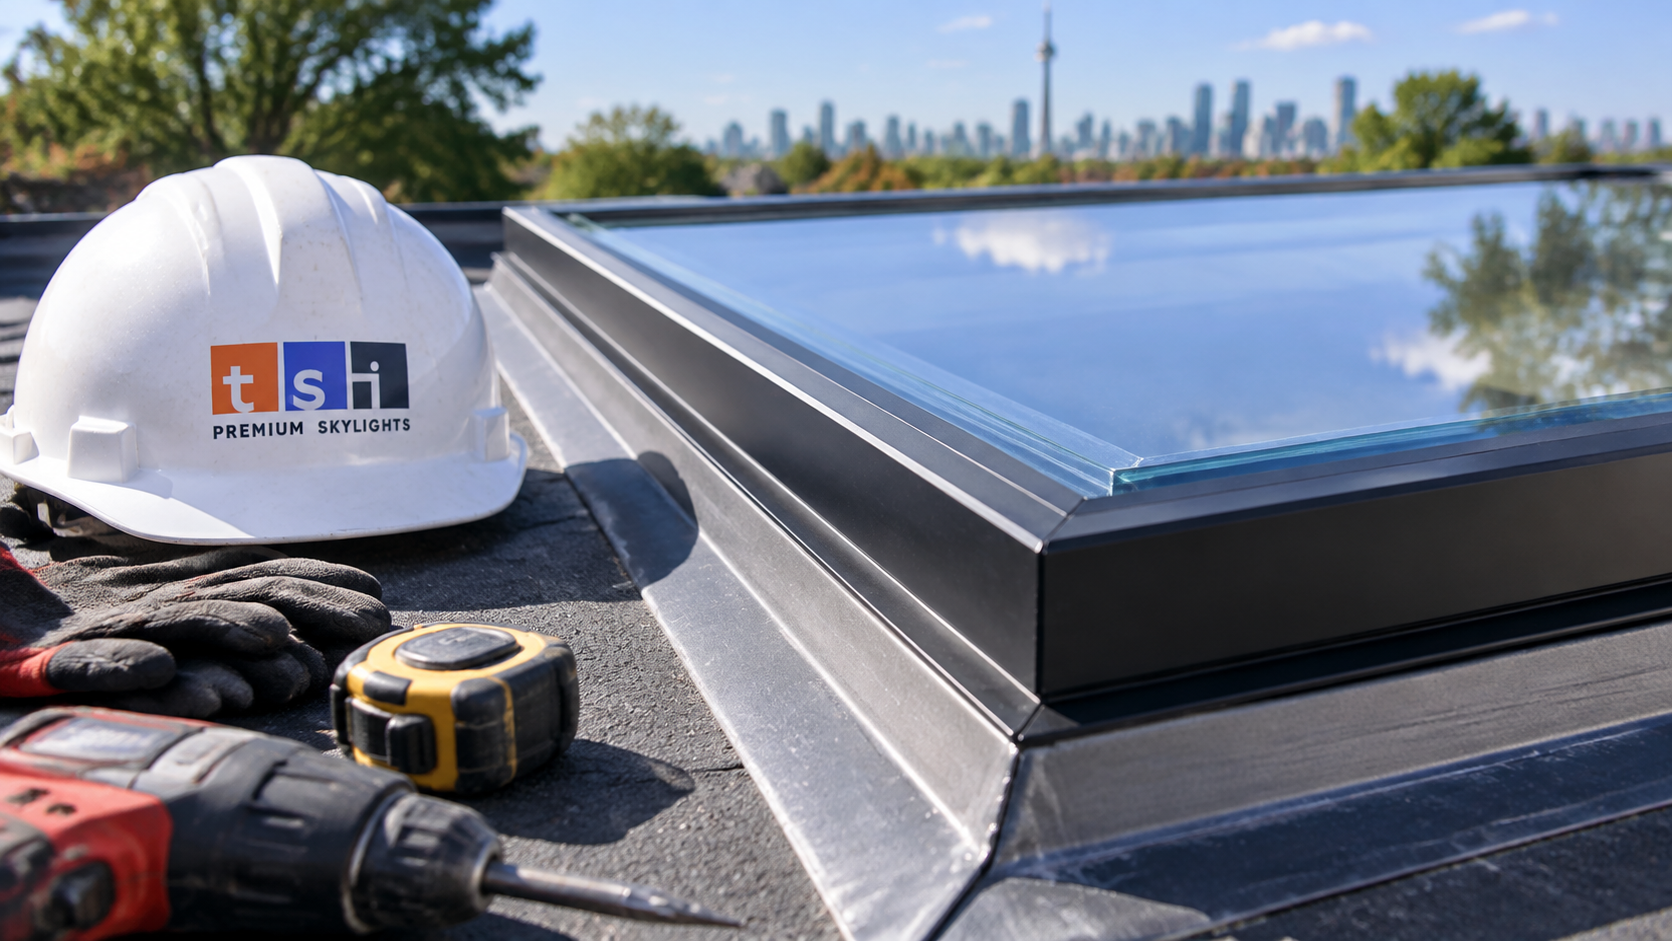
- Low slope, 2:12 to 3:12. Common on rear additions and 1960s bungalow extensions. A standard deck mounted unit is not appropriate here. The correct solution is a curb mounted skylight set on a built up curb that lifts the unit clear of the water plane, or a purpose built flat roof unit.
- Moderate slope, 4:12 to 6:12. The dominant pitch on North York’s postwar bungalows and side splits. Deck mounted units flash cleanly, water sheds well, and the roof is comfortable to work on.
- Steep slope, 8:12 and above. Common on larger rebuilt homes. Water and snow shed extremely efficiently, so leak risk is lowest, but the unit is highly visible from the street and the work requires more rigging and takes longer.
Pitch also changes the shape of the light. On a shallow roof the skylight faces mostly skyward and delivers diffuse overhead daylight. On a steep roof it faces more toward the horizon, behaving partly like a high window, which produces stronger directional light and a slice of sky view from inside. Neither is better, but they feel quite different, and it is worth deciding which you want before the unit is ordered.
On steeper North York roofs, alignment becomes an aesthetic decision as well as a technical one. Two units on a visible front plane need to be square to the ridge and to each other, and spaced deliberately relative to the windows below. Sloppy alignment on a steep roof is obvious from the sidewalk in a way it never is on a bungalow.
Orientation: Choosing Which Roof Plane To Use
Once the practical options are narrowed, orientation is the decision that most affects how the room feels through the year.
| Roof face | Character of daylight | Winter behaviour | Summer behaviour |
|---|---|---|---|
| North | Even, cool, steady from morning to evening | Modest gain, very consistent light | Coolest option, minimal overheating |
| South | Brightest, strong and direct | Useful passive solar warmth on clear days | Highest gain, a blind is strongly advised |
| East | Bright early, softening through the afternoon | Pleasant morning warmth | Moderate, manageable without a blind |
| West | Warm and golden late in the day | Limited, sun sets early | Highest late day heat, blind recommended |
For a home office or a kitchen, north facing is usually the best choice because the light is consistent and does not swing with the sun. For a family room used mostly in winter evenings, south or west facing brings warmth as well as brightness. For bedrooms, east facing gives a natural wake up light without the late afternoon heat.
Sizing follows a simple proportion. Glazing area of roughly five percent of the room’s floor area produces a bright, comfortable space. A room with no other window at all can carry up to about ten percent. Past that you are buying glare and summer heat rather than usable daylight.
Glass Packages And What They Actually Do
The glass is where a skylight either performs in a Toronto winter or does not.
- Laminated inner pane. Two layers of glass bonded to an interlayer. It holds together if broken, which matters for overhead glazing, and it also cuts sound transmission noticeably during heavy rain.
- Low emissivity coating. A microscopically thin metallic layer that reflects long wave heat. It keeps interior warmth from radiating out in winter and reflects solar heat in summer. This is the single most valuable upgrade available.
- Argon fill. An inert gas between panes that conducts heat less readily than air, improving the insulating value of the sealed unit.
- Ultraviolet filtering. Reduces fading of flooring, artwork and upholstery under a bright overhead opening.
- Impact rated or triple glazed options. Worth considering under trees where falling branches are a real risk, or where the room below needs maximum quiet.
Acrylic domes remain the cheapest option and remain a false economy in this climate. Ontario’s freeze thaw cycling clouds, yellows and eventually crazes acrylic, typically within fifteen to twenty years, at which point the unit needs replacing anyway. A glass unit installed properly should give twenty five to thirty years.
What Skylight Installation Costs In North York In 2026
The ranges below reflect typical supplied and installed residential prices in North York in 2026, including the unit, the manufacturer’s flashing kit, roofing labour, framing, disposal and interior protection.
| Project | 2026 range | Notes |
|---|---|---|
| Fixed skylight, bungalow, short shaft | $3,400 to $5,200 | Shallow attic keeps shaft cost low |
| Fixed skylight, two storey, full shaft | $5,000 to $8,000 | Shaft length is the main variable |
| Manual venting unit with shaft | $4,000 to $6,400 | Practical where the ceiling is reachable |
| Solar powered venting unit with shaft | $4,600 to $7,200 | Rain sensor and remote included |
| Vaulted ceiling installation | $3,200 to $5,400 | No shaft required, common in rebuilds |
| Steep roof surcharge, 9:12 and above | Add $400 to $900 per unit | Additional rigging and slower work |
| Curb built for a low slope addition | Add $500 to $1,100 | Required below 3:12 |
Two North York specific cost factors are worth flagging. Steep roofs cost more to work on, both because of the rigging and because the crew moves more slowly and safely. And large rebuilt homes often have vaulted ceilings, which removes the shaft entirely and can make a big house cheaper to fit than a modest bungalow.
You can review the range of work we handle across the borough on our North York skylight services page, and the technical scope of a new opening on our skylight installation service page.
Framing, Trusses And Permits In North York
North York’s wide range of construction dates means the structural situation genuinely differs house to house.
| Framing | Typical vintage | Implication |
|---|---|---|
| Dimensional rafters, generous spacing | 1950s and 1960s | Units often fit between members, no permit |
| Dimensional rafters, one cut and headered | 1950s and 1960s | Permit required, straightforward framing |
| Engineered roof trusses | Mid 1970s onward | No member may be cut without an engineered design |
| Vaulted or cathedral framing in rebuilds | 2000s onward | No shaft needed, but insulation detail is critical |
| Existing opening reused for replacement | Any | Generally no permit |
If a truss has to be cut, budget roughly $700 to $1,500 for the engineered design and the extra framing, and expect the City of Toronto permit process to add time to the schedule. Any installer who offers to cut a truss without engineering is creating a defect that will surface at your next home inspection.
Vaulted ceiling installations in newer rebuilds have their own trap. Because there is no attic, the insulation and vapour control at the perimeter of the opening are the only thing separating warm interior air from the cold deck. That detail has to be done meticulously or the surrounding drywall will show moisture staining within a season.
The Light Shaft And Why It Decides The Result
On a bungalow or a two storey home with an attic, daylight has to travel from the roof deck down through the attic to the ceiling inside a constructed shaft. How that shaft is built determines both how much light reaches the room and whether you will see moisture at the ceiling on cold mornings.
There are three common geometries. A straight shaft has vertical walls and delivers a defined, fairly narrow column of light. A splayed shaft angles its walls outward as it descends, so the ceiling opening is wider than the roof opening, which spreads daylight much further into the room. This is the better choice in almost every North York bungalow, where ceilings are low and the room needs the light distributed rather than concentrated. An angled shaft is used when the ideal roof location and the ideal ceiling location do not line up, for instance because a truss chord, a plumbing stack or a duct run sits between them.
Regardless of geometry, three details are mandatory. The shaft walls must be insulated to current Ontario Building Code levels, so the interior surface stays near room temperature rather than becoming a cold chimney inside the attic. A continuous vapour barrier must be installed on the warm interior side and sealed at every seam and penetration, because household moisture reaching cold framing will condense there and run back out at the ceiling. And the attic insulation must be returned tightly against the outside of the shaft so warm air cannot bypass it.
The great majority of North York callouts we attend for a suspected winter leak turn out to be exactly this: an uninsulated or unsealed shaft built by a crew that treated it as a drywall detail. Building it correctly adds a few hundred dollars at the time of installation and avoids a repair that means opening a finished ceiling.
Finishing matters too. Painting shaft walls a flat white maximises reflectance and measurably increases the light delivered to the room, while a darker colour absorbs a surprising share of it. Keeping the corners crisp and the drywall flat also avoids the shadow lines that make an otherwise good installation look amateur from below.
Install Day And What To Expect
- Assessment before quoting. A proper quote follows an attic inspection that confirms framing type and spacing, checks for wiring and duct conflicts, and identifies existing moisture damage.
- Protection. Floors and contents are covered and a dust barrier set before cutting.
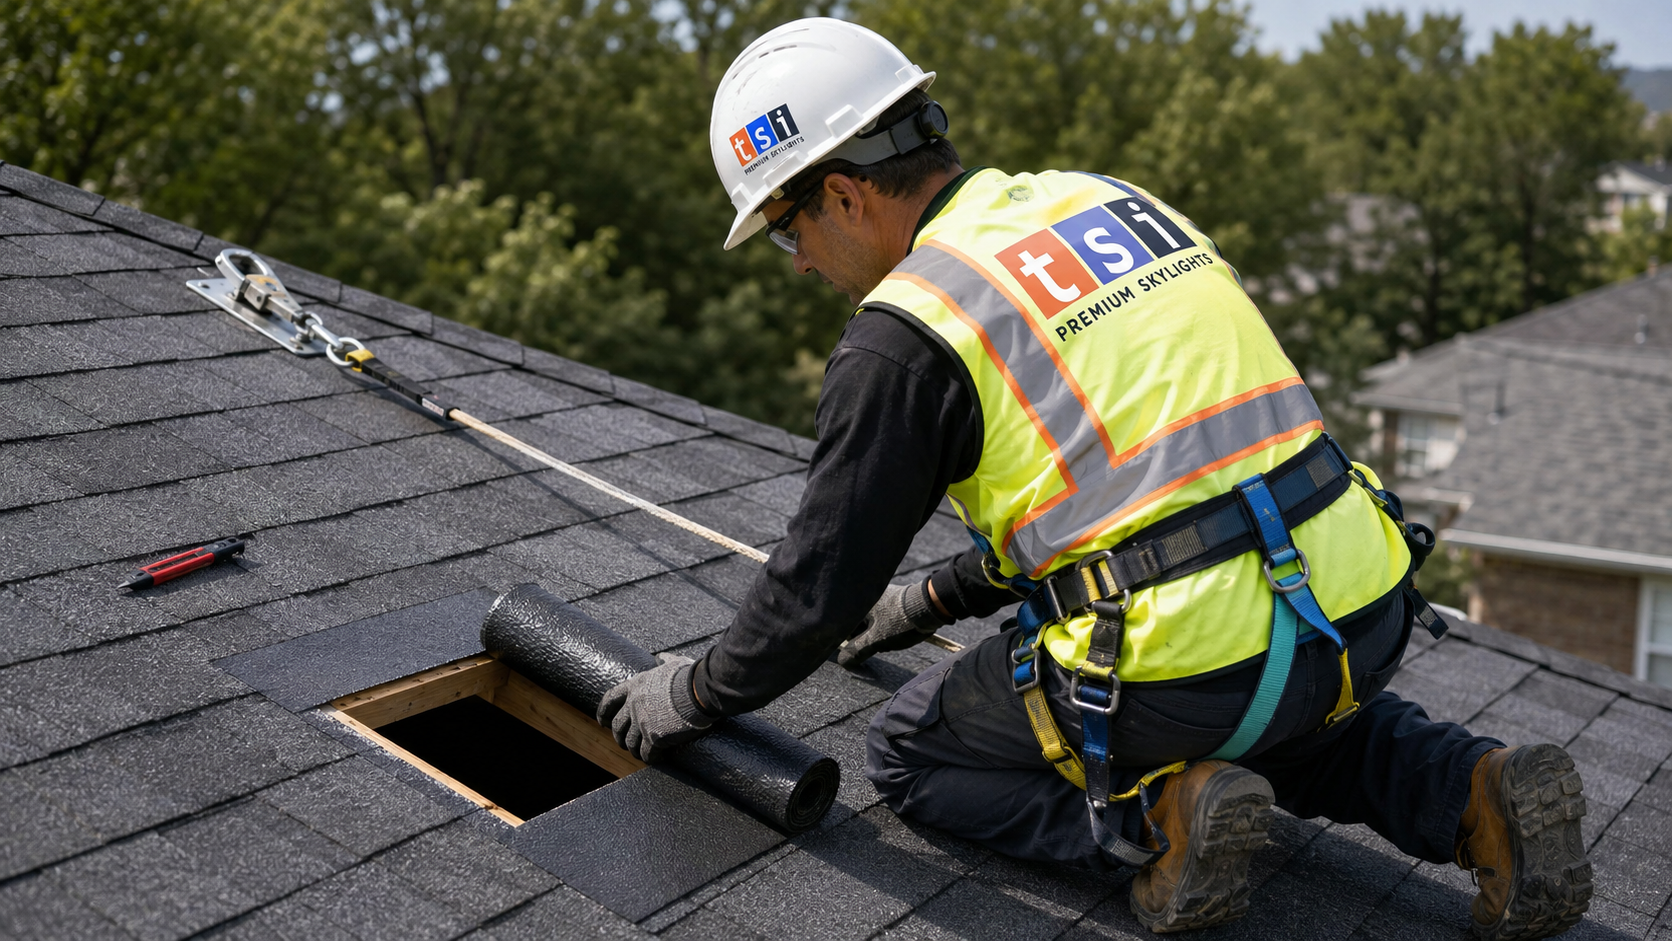
- Opening cut and framed. Headers installed where a member is cut, so loads are carried around the opening.
- Membrane and flashing. Self adhered membrane around the opening, then the flashing kit in the manufacturer’s exact sequence: sill, step flashing woven course by course, head flashing under the shingles above.
- Shaft construction. Framing, insulation, continuous vapour barrier on the warm side, then drywall.
- Cleanup. Roof and grounds cleared, and the roof left watertight at the end of every working day.
Most single unit installations are finished in one day, with taping and painting following over the next day or two. Steep roof and truss projects can run into a second day.
Timing: Book Before The Autumn Rain
Early autumn is the best installation window in North York. September and October offer temperatures where self adhered membranes and sealants bond as intended, long enough daylight hours to complete a roof opening in a single day, and dependable dry stretches. Finishing before November means everything has cured well before sustained rain and the first freeze thaw cycles.
Practically, autumn is also the busiest quarter for roof trades across the GTA, and the second half of October books up first. If the goal is to have new skylights working through the darkest months, early September is the time to arrange the assessment.
Does roof pitch affect what skylight installation North York homes can take?
Which roof orientation is best for a home office?
What glass should I specify for a Toronto winter?
How much does skylight installation North York properties typically cost?
Can a skylight be added to a home with engineered roof trusses?
Do skylights need blinds in North York homes?
Arrange Your Skylight Installation North York Assessment
North York roofs range from shallow postwar bungalows to steep contemporary rebuilds, and the right unit, pitch specific flashing kit and glass package differ across that range. Toronto Skylight Installers is based in the Toronto area and works throughout North York, measuring pitch and inspecting framing before quoting rather than pricing from the driveway.
Call us today at (416) 365-7557 or request a free consultation to secure an autumn installation date.
Toronto Skylight Installers serves North York and the wider GTA, from Downsview and Willowdale through Don Mills, Bayview Village and the communities north of the city.