

Most homeowners have never watched a roof opening being taken apart, so the question that comes up first is not really about price. It is about what actually happens to the house for a day. Skylight replacement Richmond Hill homeowners book in the autumn follows a predictable sequence, and knowing that sequence in advance makes it far easier to judge a quote, plan around the work, and recognise whether a crew is doing the job properly.
This article is a step by step walkthrough of a standard single unit swap on a pitched shingle roof, from the first site visit through removal, re-flashing, interior shaft repair and the final water test, along with what it costs in 2026 and what should appear on your paperwork afterwards.
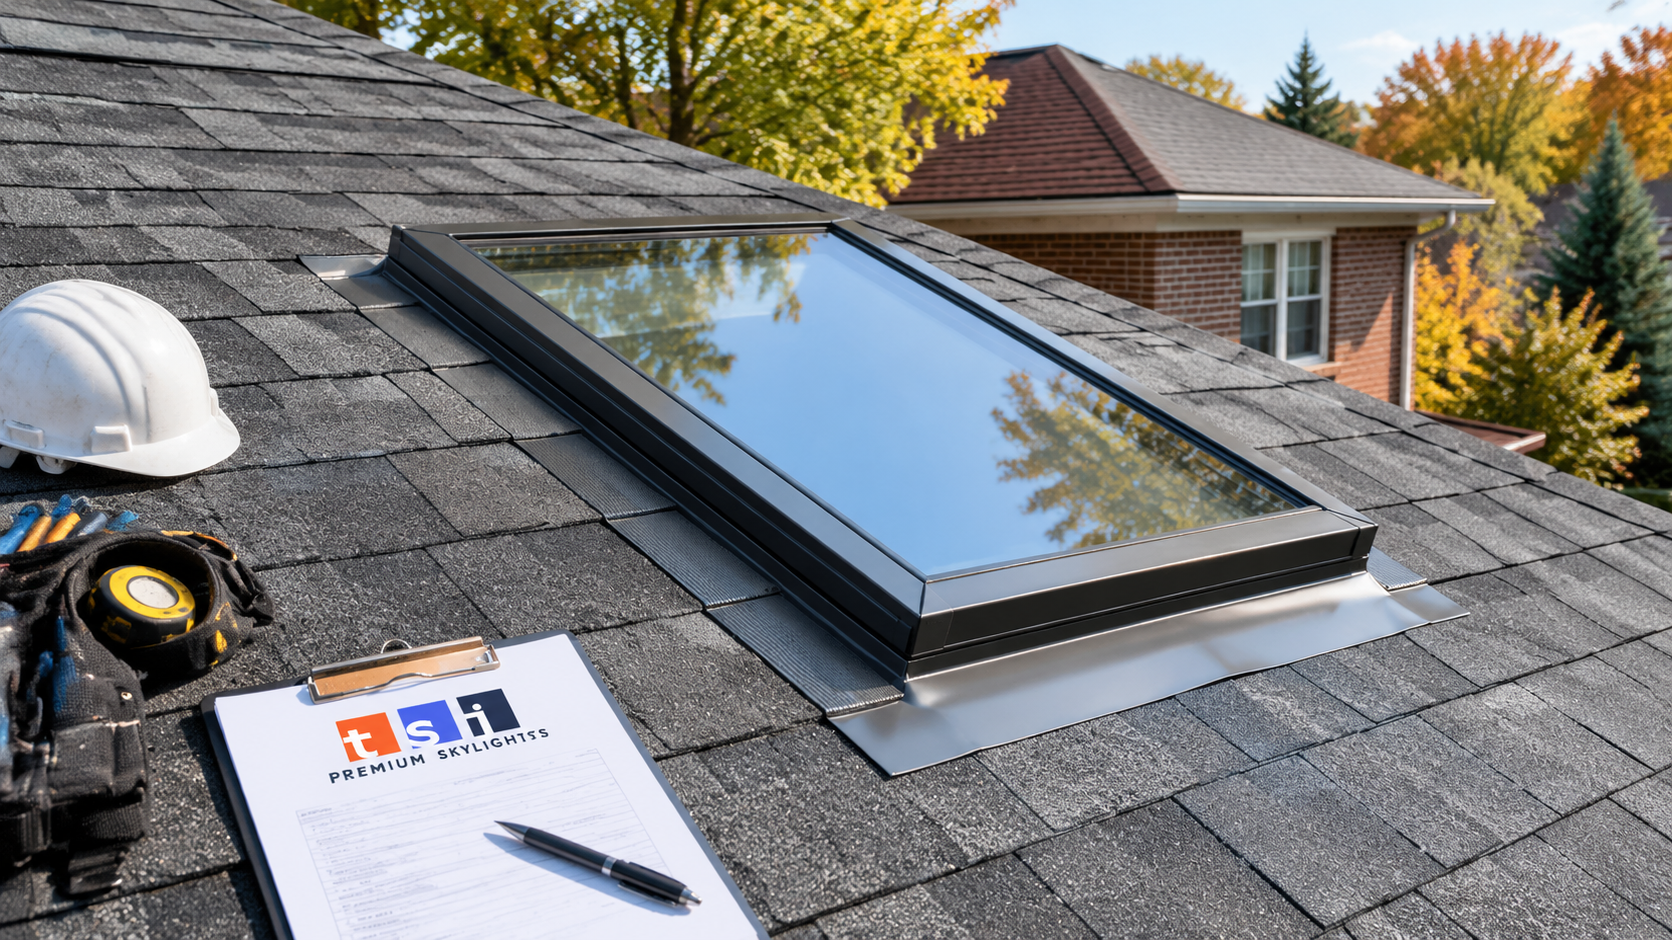
What Skylight Replacement Richmond Hill Homeowners Should Expect
A single skylight replacement Richmond Hill job in an existing rough opening takes one day in the great majority of cases. Two units on the same roof plane usually fill a full day as well, because the setup, staging and roof access are shared. Where the roof deck has softened or the interior shaft has water damage, expect a second day, and expect painting to follow later once the drywall patch has dried.
The parts of skylight replacement Richmond Hill crews spend the most time on are not the parts homeowners imagine. Lifting the old unit out takes minutes. Rebuilding the flashing correctly, course by course, takes hours, and that is where the durability of the installation comes from. Any quote that treats flashing as an afterthought is quoting a different job from the one you want.
Inside the house, disruption is limited but real. The room below will be covered, there will be noise overhead for most of the day, and if the shaft needs drywall work there will be dust despite the sheeting. Plan to use another room, and move anything fragile out before the crew arrives.
Before The Crew Arrives: The Site Visit And The Quote
A proper quote cannot be produced over the phone, and any contractor willing to price skylight replacement Richmond Hill work without seeing the roof is guessing at the two things that drive the cost: the condition of the deck around the opening and the state of the interior shaft.
On the site visit, the estimator should measure the rough opening from inside and confirm it from the roof, identify the existing unit type and the flashing method used, press the deck around the curb for softness, look at the shingle condition and the roof pitch, and photograph the interior shaft. From that they can specify a replacement unit by model number, name the flashing kit, and state clearly whether interior finishing is included.
Ask for the quote to answer four questions in writing: which unit, which flashing kit, is disposal included, and what happens to the drywall. Those four answers turn a headline number into a fixed price. A quote that leaves any of them open is a quote that can move once the roof is open.
Preparing The Room: Who Does What
Preparation for skylight replacement Richmond Hill work takes about twenty minutes of your time and prevents nearly every avoidable problem.
| Task | Who does it | When |
|---|---|---|
| Move furniture, art and electronics out of the room | Homeowner | Evening before |
| Clear roof access and remove garden obstructions | Homeowner | Evening before |
| Secure pets away from the work area | Homeowner | Morning of |
| Cover floors and remaining furniture | Crew | On arrival |
| Sheet the ceiling opening for dust control | Crew | Before opening |
| Set ladders, staging and roof protection | Crew | Before opening |
One more item worth doing yourself: take photographs of the ceiling and shaft before work starts. It is rarely needed, but it removes any ambiguity later about what was already stained and what was not.
Day One, Morning: Removal And Deck Inspection
The morning is the demolition and diagnosis phase, and it is the part of skylight replacement Richmond Hill work where surprises surface.
Shingles are carefully lifted back around the unit rather than cut, so that as many as possible can be reseated afterwards. The old flashing is removed piece by piece, and on installations that relied on roof cement rather than layered metal, this is usually when the underlying problem becomes obvious. The unit is then unfastened and lifted clear.
With the opening exposed, the crew inspects the deck sheathing all round. Softness, delamination and dark staining indicate that water has been getting in for some time, and any compromised sheathing is cut back to sound material and replaced now while access is easy. This is the moment to be told, with photographs, if the scope is changing. A crew that quietly covers over soft sheathing has saved you nothing.
Framing at the opening is also checked. It is not unusual on older homes to find the original opening framed adequately but the header sagging slightly, or to find that a previous repair added blocking in an unhelpful place. Minor corrections are made here; anything structural stops the job until it is properly designed.
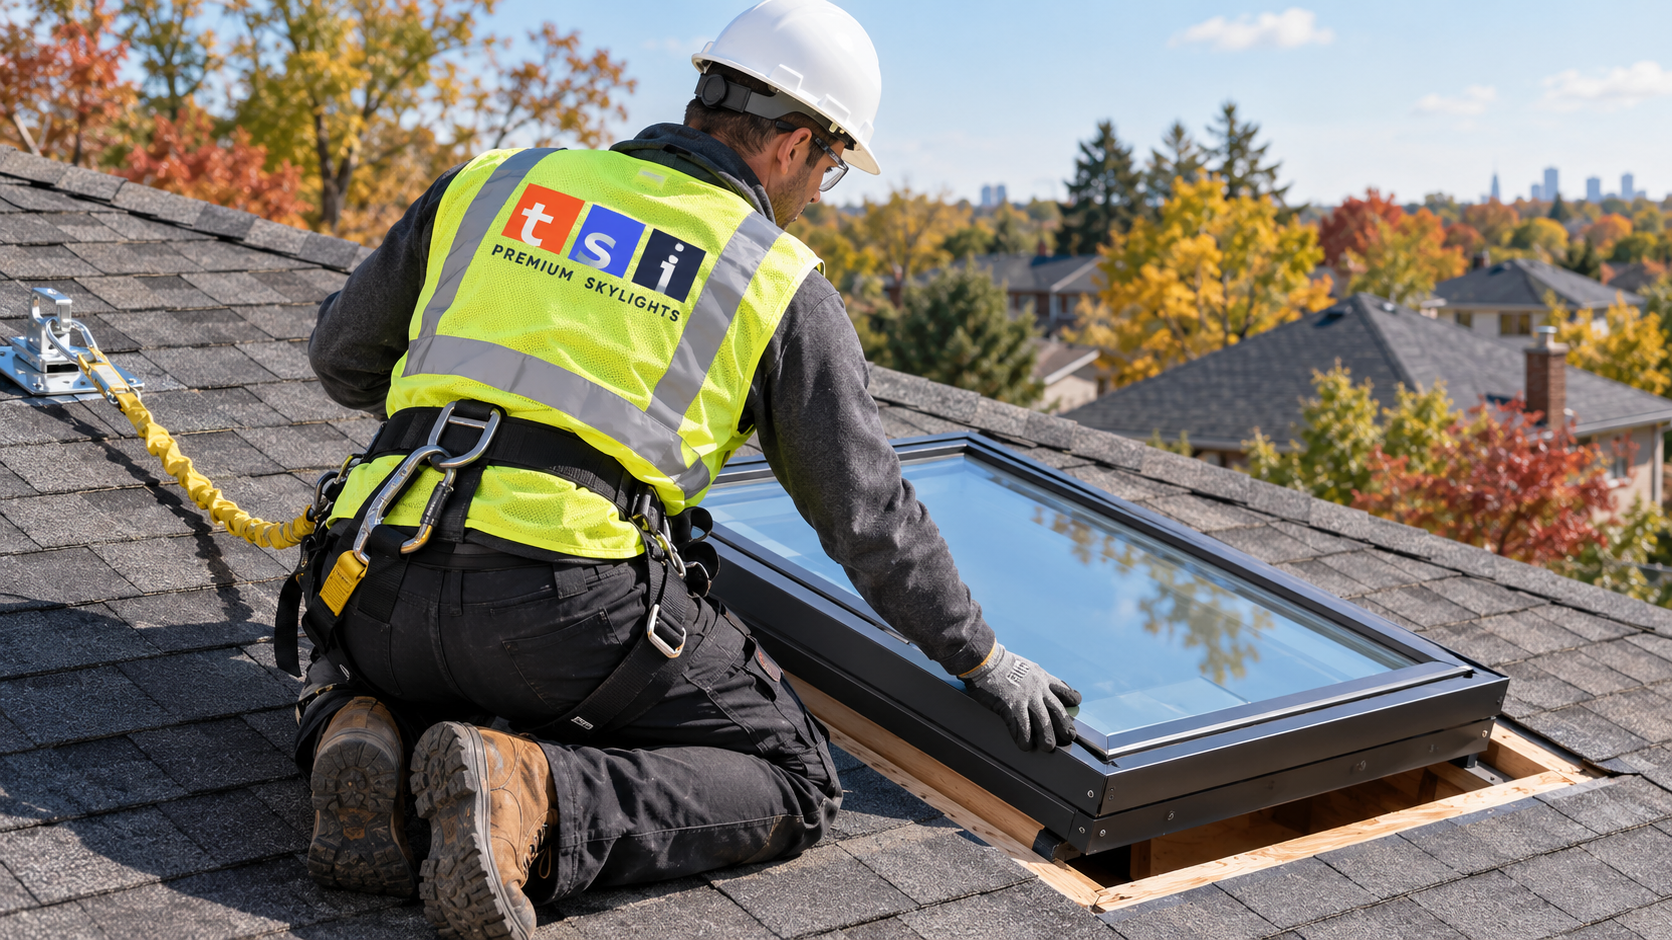
Day One, Afternoon: Setting The Unit And Re-Flashing
On every skylight replacement Richmond Hill installation, the new unit is positioned, squared to the opening and fastened strictly to the manufacturer instructions. This matters commercially as well as technically, because almost every product warranty is conditional on the unit being installed as specified and with the manufacturer flashing kit.
Flashing then goes on from the bottom up, and the order is not negotiable:
- The sill or apron piece is fitted first, lapping onto the shingle course below so water is delivered back onto the roof surface.
- Step or side pieces follow, one per shingle course, each lapping the piece below and tucking under the shingle beside it.
- The head piece goes on last at the top, slipped under the shingle course above so water running down the roof passes over it rather than behind it.
- A saddle or cricket is added at the head where a long run of roof sits above the unit, dividing the flow and sending it around each side.
Sealant is used only as a secondary defence at specific points named by the manufacturer. On a correct installation you should not see a continuous bead of caulk doing the work that metal should be doing. If you can, the detail is wrong regardless of how tidy it looks.
Reseated shingles are then bedded back down, and the exterior is complete. On most skylight replacement Richmond Hill jobs this stage finishes in mid to late afternoon, leaving time for the interior work and the water test.
The Interior Shaft: Insulation, Air Sealing And Drywall
The shaft between the roof opening and your ceiling is half of any skylight replacement Richmond Hill job and gets a fraction of the attention in most quotes. It deserves better, because it is responsible for the single most common complaint after a replacement: water appearing on cold mornings when it has not rained.
That complaint is condensation, not a leak. Warm, humid indoor air rises into the shaft, meets cold glass or a cold frame, and condenses. Replacing the unit without addressing the shaft simply moves the problem onto newer glass. The fix is to restore continuous insulation against the shaft walls, air seal the joint between the shaft framing and the ceiling drywall, and confirm that any bathroom exhaust in the room actually vents outdoors rather than into the attic.
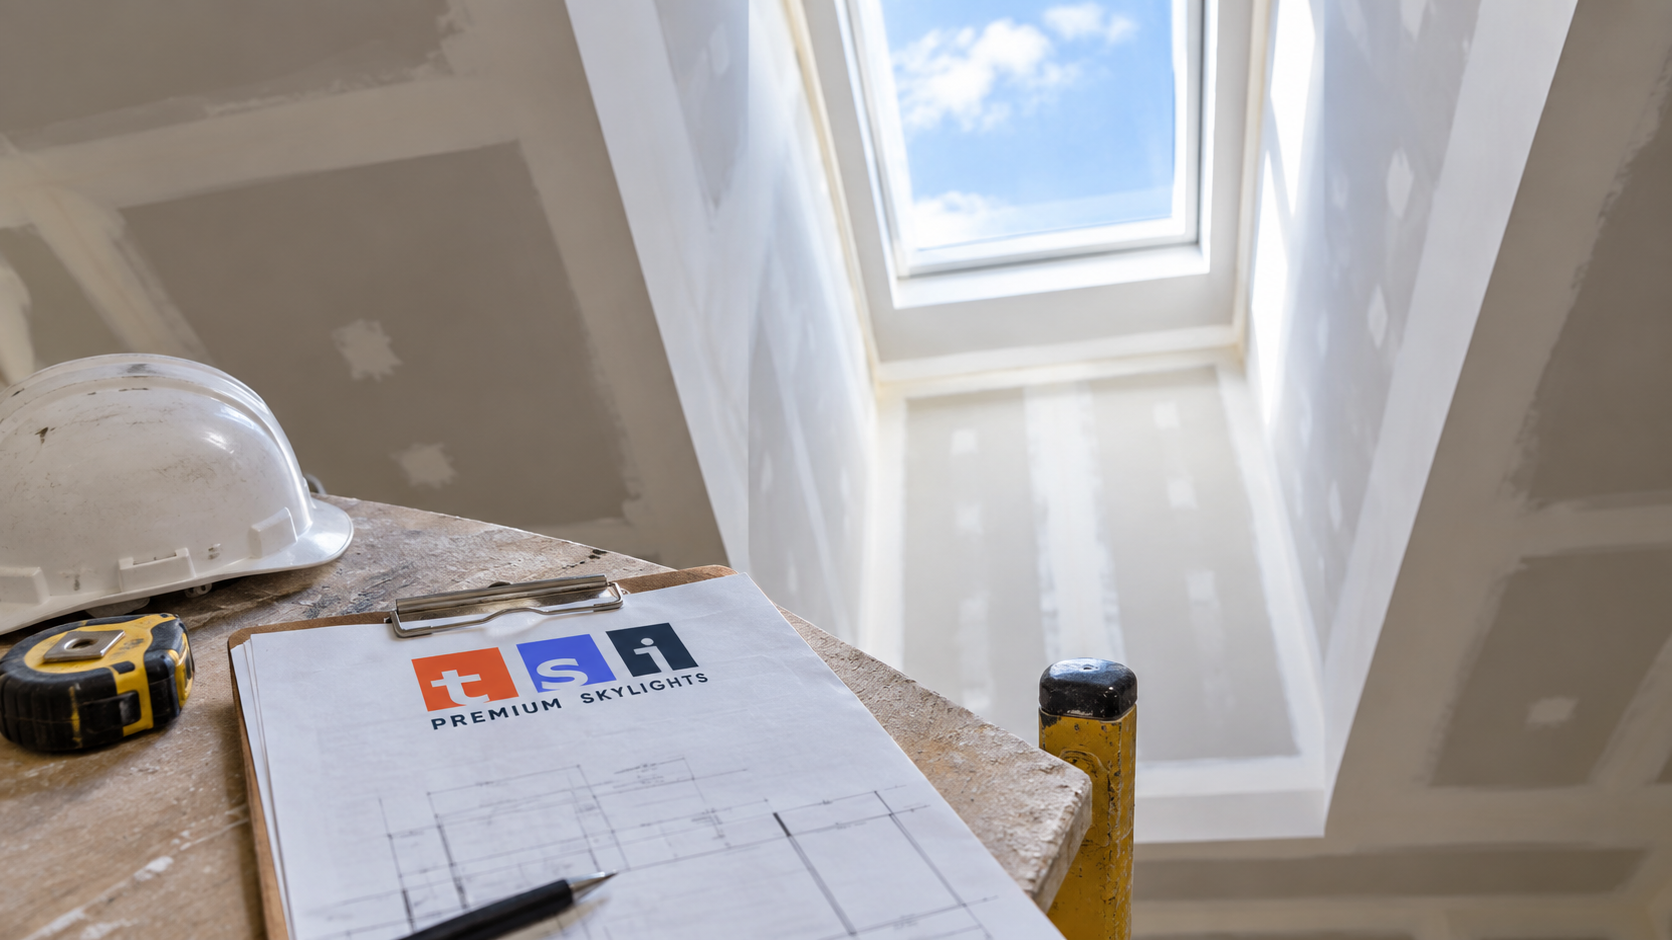
Drywall work follows. Where the old unit leaked, the board is usually stained and sometimes soft, and it is cut out and replaced rather than painted over. Taping and a first coat are typically done the same day, with sanding, finishing and painting scheduled once everything has dried properly. If the finishes are open anyway, consider splaying the shaft so the drywall angles outward toward the room, which spreads daylight further into the space and is particularly noticeable under the low sun of autumn.
Skylight Replacement Richmond Hill Costs And What Is Included
The ranges below reflect typical 2026 installed pricing for residential work on a pitched asphalt shingle roof in the Greater Toronto Area.
| Line item | Typical 2026 range | Usually included? |
|---|---|---|
| Fixed deck mounted unit, supplied and installed | $1,600 to $2,900 | Yes |
| Solar powered fresh air unit, supplied and installed | $2,900 to $4,800 | Yes |
| Manufacturer flashing kit | $150 to $400 | Should be, confirm in writing |
| Removal and disposal of the old unit | $100 to $250 | Should be, confirm in writing |
| Roof deck repair around the opening | $300 to $900 | No, provisional |
| Shaft insulation and air sealing | $400 to $1,200 | Often not, ask |
| Drywall patch, tape and paint | $350 to $1,100 | Often not, ask |
The provisional lines are where quotes diverge. Nobody can know the deck condition until the unit is out, so a good contractor prices the known work firmly and states a rate for the unknowns rather than pretending they will not arise. When comparing two prices for skylight replacement Richmond Hill work, compare what each one says about those three provisional lines before you compare the totals.
It is also worth pricing multiple units together. A single skylight carries the entire cost of setup, staging and closing the roof, so a second unit fitted on the same visit is meaningfully cheaper than a separate appointment, and both end up under warranty from the same date.
Richmond Hill Roofs And The Conditions We Meet
Richmond Hill covers several distinct building eras and each one brings a recognisable set of conditions. Mature homes in the older central parts of the town often carry original acrylic dome units on site built timber curbs, flashed to standards that predate modern kits. On those, skylight replacement Richmond Hill work almost always involves rebuilding or replacing the curb rather than reusing it.
The large subdivisions built through the 1980s, 1990s and 2000s, including the growth around Oak Ridges and Bayview Hill, typically have steeply pitched shingle roofs with glass units over stairwells, ensuites and family rooms. These are now at the age where the insulated glass seal governs, and they are the most common replacement candidates. Complex roof geometry on the later builds puts some units close to valleys and dormers, which changes the flashing approach at the head.
Larger properties on estate lots near the Oak Ridges Moraine tend to have bigger openings, higher roofs and deeper shafts through vaulted ceilings, which lengthens the interior portion of the job. You can read more about how we work across the area on our skylight installation and repair in Richmond Hill page, and our skylight replacement service page sets out the standard scope in detail.
After The Job: Testing, Warranty And Paperwork
Before the crew leaves a skylight replacement Richmond Hill job, the completed detail should be water tested. The test is done in stages from the bottom of the unit upward, so that if water does appear inside, the entry point is isolated rather than guessed at. A crew that skips the test is asking you to find out during the next rain.
The timeline below sets out what happens when, from the first call through to the end of the first season.
| Stage | Typical timing | What you should see |
|---|---|---|
| Site visit and written quote | Within a few days of the call | Photographs, named unit, named flashing kit |
| Unit ordered and delivered | Days for stock sizes | Confirmed install date |
| Roof work and re-flashing | One day on site | Staged water test before the crew leaves |
| Drywall finishing and paint | A few days later | Patch fully dried before finishing |
| Warranty documents issued | Within a week | Product warranty plus workmanship warranty |
| First autumn maintenance check | One year later | Leaf litter cleared from above the unit |
Clean up should include clearing debris from the roof and gutters around the work area and running a magnet over the ground for stray fasteners. Old units and torn off flashing go with the crew.
Then the paperwork. You should receive the manufacturer warranty registration for the unit, and separately, a written workmanship warranty from the installer covering the flashing and the roof penetration itself. Those two documents cover different risks and you want both. Keep the photographs from the site visit and any taken during the work with them, particularly if deck repair was carried out.
Finally, put a reminder in the calendar for next autumn. Having leaf litter cleared from above the skylight once a year is the entire maintenance routine, and it prevents the most common cause of a call out on an otherwise sound installation. If anything does appear during the first season, contact the installer rather than reaching for sealant. Toronto Skylight Installers responds to workmanship queries on its own installations as a matter of course.
How long does a skylight swap take?
What does skylight replacement Richmond Hill work cost in 2026?
Will my ceiling need to be repaired afterwards?
Do I need to be home during the work?
Is a permit required for skylight replacement Richmond Hill jobs?
What paperwork should I receive at the end?
Book Skylight Replacement Richmond Hill Homeowners Can Plan Around
If a unit in your home is fogged, staining the shaft or simply older than the roof around it, a site visit will tell you the real scope before anyone quotes a number. Toronto Skylight Installers carries out skylight replacement Richmond Hill projects with a named unit, a named flashing kit, clear provisional pricing for deck and shaft work, a staged water test and a written workmanship warranty.
Call us today at (416) 365-7557 or request a free consultation while autumn conditions still suit clean flashing work.
Proudly serving Richmond Hill and communities across the Greater Toronto Area.