

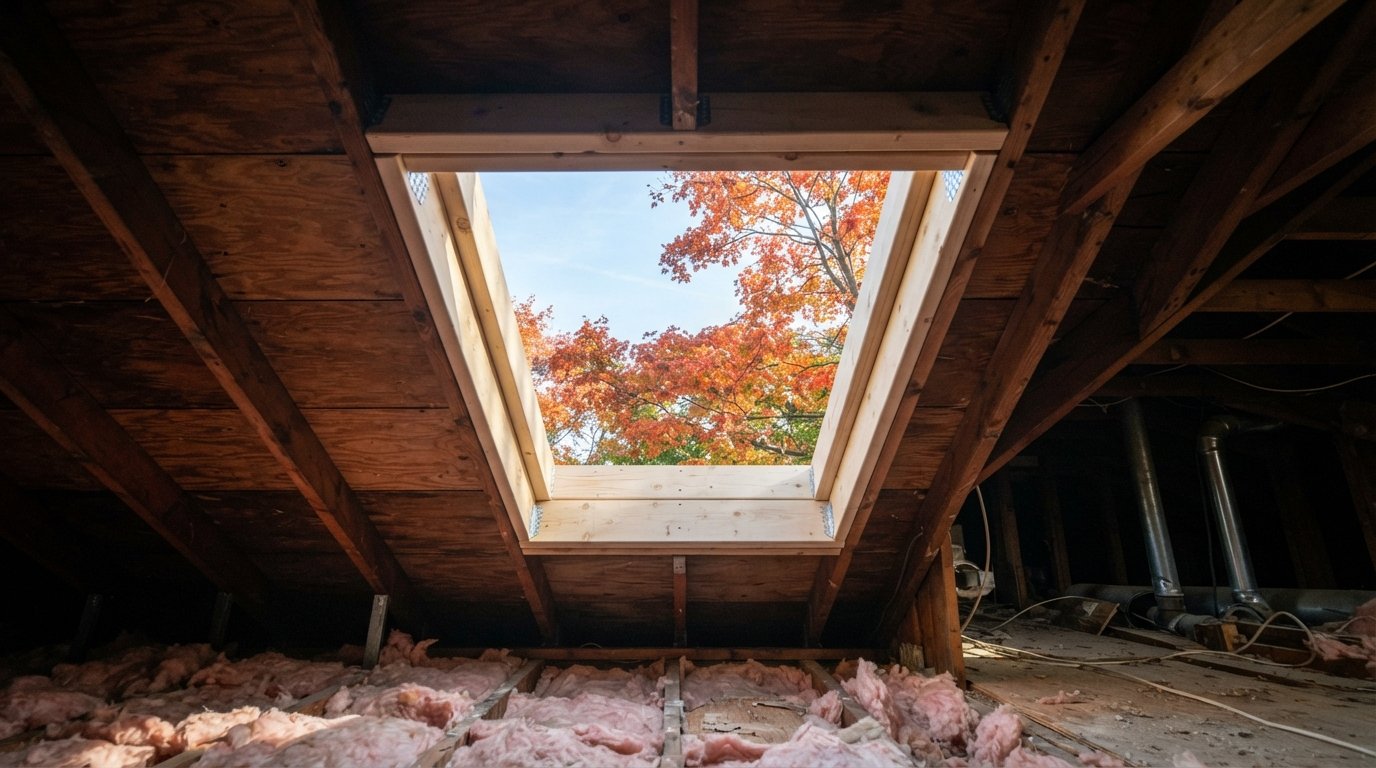
Skylight framing is the part of a skylight job nobody sees once the drywall is painted, and it decides whether the opening stays square, dry and crack-free for decades. Before a shingle is lifted, an installer has to work out how the new hole will be carried: whether the unit can sit between two existing rafters, whether a rafter has to be cut and its load rerouted, or whether the roof is built from engineered trusses that cannot be touched without a designer’s say-so.
Below we walk through how the opening is framed in a typical Ontario house, what the doubled members around it do, why trusses are a separate conversation, how the light shaft is built, and what a careful installer checks in the attic before quoting.
What skylight framing actually has to do
A sloped roof is a series of parallel members, rafters or trusses, each carrying the weight of sheathing, shingles and snow on its own strip of roof down to the walls. Cut a rectangle out of the deck and you interrupt that pattern. Skylight framing is the set of pieces that collects the load from the interrupted strip and delivers it, by a short detour, to members that still run from wall to ridge.
It has three jobs: carry load around the hole without sagging, give the skylight a flat, square rough opening of the exact size the manufacturer specifies, and leave a clean path for the light shaft below. Our new skylight installation service always starts in the attic, because the structure dictates which unit sizes are sensible and how much cutting is involved.
Rafter spacing and why unit width matters
Most framing decisions follow from one number: the spacing of the roof members, centre to centre. Ontario houses mainly use 16 inches or 24 inches on centre, but older homes can have irregular spacing, rough-sawn lumber a full 2 inches thick, or rafters sistered over the years, so the tape measure matters more than assumptions.
Standard 2x lumber is 1.5 inches thick, so the clear gap is about 14.5 inches at 16 inches on centre and about 22.5 inches at 24 inches on centre. Manufacturers size their ranges around those gaps. In VELUX’s current Canadian residential catalogue, the narrowest deck-mounted width has a 14 1/2 inch rough opening, the common “C” sizes have a 21 inch rough opening, and the company notes that its fixed FS units in the D26 and D06 sizes, 22 1/2 inches wide, fit between trusses at 24 inches. Always confirm the rough opening in the current instructions for your exact model.
| Roof member spacing | Approximate clear gap | What usually fits without cutting | What usually needs a cut member |
|---|---|---|---|
| 16 inches on centre, standard lumber | About 14.5 inches | Narrow skylights about 14 inches wide and small sun tunnels | Most mid-width units; removing one rafter opens roughly 30 inches |
| 24 inches on centre, standard lumber | About 22.5 inches | Rough openings up to about 22 inches, with filler strips as needed | Anything around 30 inches wide or more |
| 24 inches on centre, engineered trusses | About 22.5 inches | The same narrow widths, with no truss cutting | Wider units only with a truss designer’s or engineer’s detail |
| Irregular or full-dimension rafters | Varies, measure every bay | Whatever the measured bay allows | Often anything wider; the condition of old lumber also matters |
| Cathedral ceiling, drywall on the rafters | Same as the rafter spacing | Units sized to the bay, with no shaft needed | Wider units, plus care with insulation and venting in the closed cavity |
The sweet spot is a unit that lands in one bay with a little filler on each side. A 21 inch rough opening between rafters at 24 inches on centre leaves roughly three quarters of an inch per side to pack out with lumber so the frame screws into solid wood. That is skylight framing at its simplest: nothing cut, just short headers at the top and bottom.
Fitting between rafters vs cutting one
People often ask for the biggest skylight that will fit. The honest answer depends on whether you are willing to cut structure.
Staying within one bay
No rafter loses its continuity, and the job is less sensitive to the condition of old lumber. The drawback is width: at 16 inches on centre you are limited to narrow units that can look slot-like in a large room. Two narrow skylights in neighbouring bays, set at the same height, often look more deliberate than one wide unit and leave every rafter intact.
Cutting one rafter
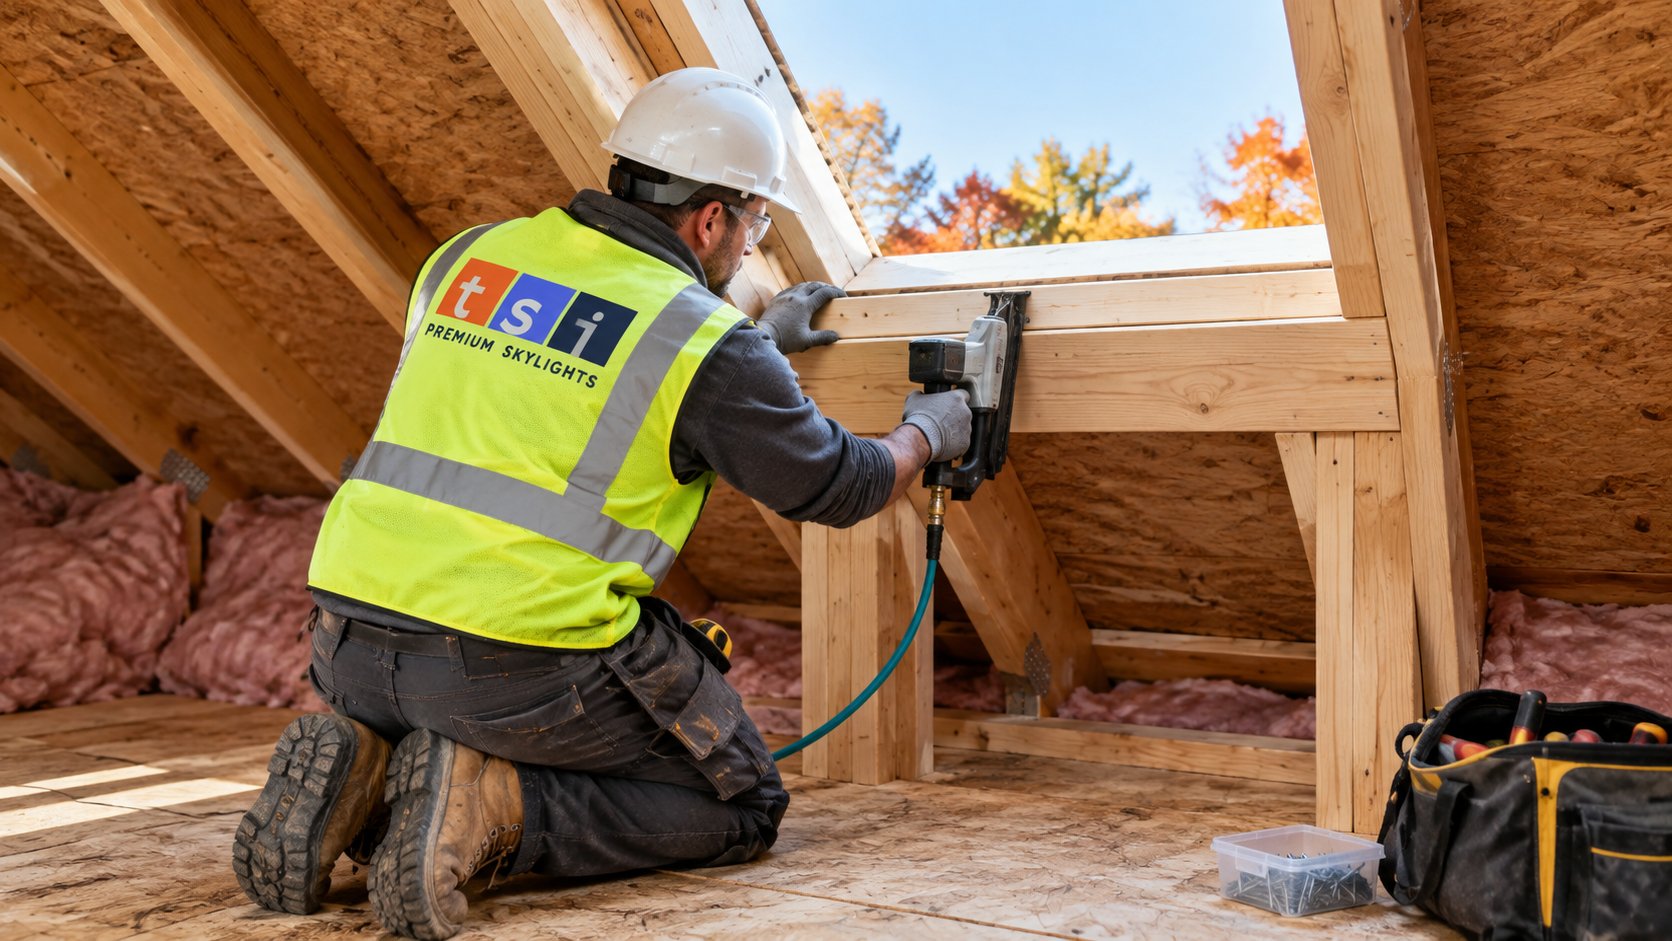
Cutting a single rafter at 16 inches on centre opens a gap of about 30 inches, which suits the mid-width units most people picture. The cut rafter’s upper and lower stubs stay in place and are carried by new headers, and the rafters on either side become trimmers carrying their own load plus a share of the cut one. That is why trimmers are usually doubled along their full length, not just beside the hole. In a sound conventional roof this is routine carpentry, and your contractor should be able to explain how the load gets from the cut rafter to the wall plate and ridge.
Cutting two or more
Very wide openings or ganged units can mean cutting several rafters. Headers get longer, the loads they collect grow, and the building department may want to see how the members were sized, sometimes by an engineer. A proposal to cut several rafters with no drawings and no discussion of sizing is a warning sign.
Doubled trimmers, headers and cripples explained
The vocabulary sounds technical, but the system is logical once you picture load flowing down the roof. These are the members you will hear about when someone describes skylight framing in a rafter roof.
| Member | Where it sits | What it does | Common detail |
|---|---|---|---|
| Trimmer rafter | Full-length rafter on each side of the opening | Carries its own strip plus the load passed to it by the headers | Usually doubled with a new full-length rafter bearing at the plate and ridge |
| Header | Across the top and bottom of the opening | Picks up the cut stubs and transfers their load to the trimmers | Often doubled, same depth as the rafters so the deck stays flat |
| Cripple or tail rafter | The cut stubs above and below the opening | Keeps supporting the deck between header and ridge or wall | Fastened to the header, often with joist hangers |
| Filler strips | Inside the opening, against the trimmers | Narrows the gap to the exact rough opening | Solid lumber fastened securely, never shims alone |
| Joist hangers | Header to trimmer and cripple to header joints | Positive mechanical connection instead of toe-nails alone | Rated hangers with the specified nails in every hole |
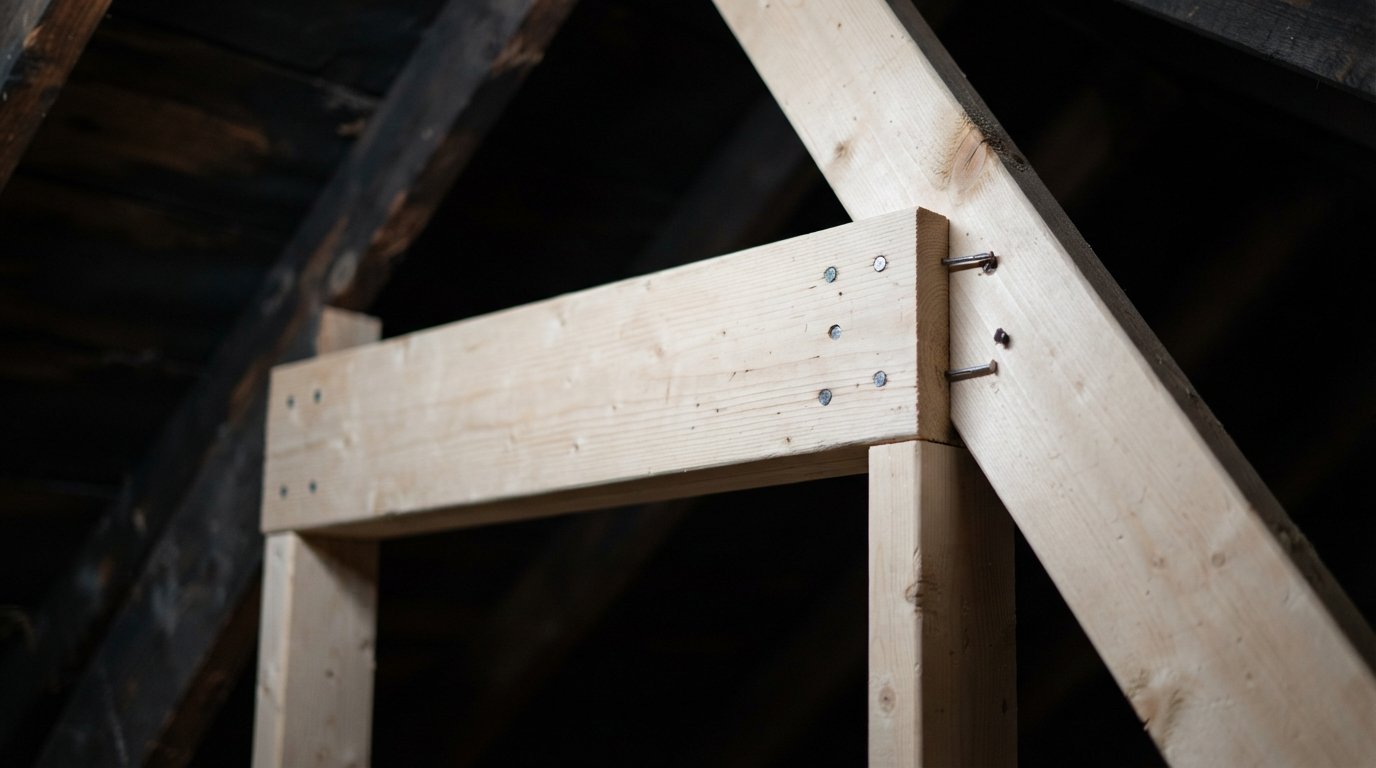
Careful skylight framing shows in the details. The doubling member should fit tight to the wall plate and ridge board rather than stopping in mid-span, headers should be cut square so the deck does not dip at the corners, and connections should use the hanger maker’s specified fasteners, never drywall screws. The building code sets out when headers and trimmers must be doubled and when they need to be specifically designed, generally based on header length and load. Ask your contractor how the framing was sized; if a permit is involved, the plans examiner will ask the same question.
Trusses: why an engineer’s detail comes before the saw
Many houses built in recent decades have engineered trusses, which changes skylight framing completely: triangles of lumber with diagonal webs inside, joined by toothed metal gusset plates, typically 24 inches on centre, with the bottom chord serving as the ceiling joist.
A truss is designed as one structural unit, and the design assumes nothing will be cut. Removing part of a top chord can change how forces travel through the whole truss and its neighbours. Standard practice, and the expectation of building officials, is that trusses are not altered without a modification detail from the truss designer or a professional engineer. That leaves three practical routes:
- Choose a unit that fits between trusses. Narrow skylights and sun tunnels sized for 24 inch spacing need no modification at all.
- Request a truss modification detail. For a wider unit, the designer specifies how the affected truss is headed off and its neighbours reinforced. Expect added cost, some lead time and paperwork in the permit file.
- Move the opening. Shifting the skylight up or down the slope sometimes lets a narrower unit deliver the light you want.
Cutting a truss and adding a header as you would with rafters is not acceptable. If a quote plans truss cutting with no mention of a designer or engineer, ask how the change will be approved.
On cost, skylight framing is usually a modest share of a cut-in when the unit sits within one bay. Cutting and doubling around one rafter typically adds a few hundred dollars of lumber and labour, and a truss modification adds the designer’s fee and more framing time. These are estimates that vary by house, access and scope, so confirm them in a written quote.
Framing the light shaft below the roof
Under a cathedral ceiling, the finish is a simple drywall return. Under a flat ceiling with an attic above, the installer builds a light shaft from the roof opening down to a matching ceiling opening, and its shape changes how bright the room feels.
Straight or flared
A straight shaft drops square from the roof opening and is easiest to frame, but spreads light least. A flared shaft angles one or more walls outward so the ceiling opening is larger. A common layout keeps the downhill wall plumb and sets the uphill wall square to the roof or flared toward the ridge, which lets the room see more sky.
Cutting ceiling joists
A wider ceiling opening may mean cutting ceiling joists, framed with the same logic: double the joists beside the opening, add headers, support the cut ends. In rafter roofs, ceiling joists often tie the rafter bottoms together and stop the walls being pushed outward, so that tying function must be maintained. In a truss roof, the bottom chord is never cut for a shaft without the same engineering detail as the top chord.
Insulating and sealing
Shaft walls sit in a cold attic, so they are treated like exterior walls: insulation on the attic side, a continuous air and vapour barrier on the warm side, and careful sealing where drywall meets the skylight frame. Gaps let warm, moist air into the cold shaft, which shows up as frost and dripping once autumn nights turn cold.
What installers check in the attic first
A responsible quote for a cut-in comes after someone has been in the attic. The same checks apply on every job, including those handled by our York Region skylight installation, replacement and repair team: nobody should recommend a size or sketch a skylight framing plan until they are done.
| What gets checked | Why it matters | What it can change |
|---|---|---|
| Rafter or truss, and the spacing of every nearby bay | Sets the widths that fit without cutting and whether engineering is needed | Unit size, number of units or location |
| Size, condition and moisture marks on the lumber | Rot, past leaks, splits or sagging reduce what the framing can carry | Sistering or repairs before any cutting |
| Wiring, ducts, plumbing vents and fan runs | Anything crossing the planned opening must be rerouted | Adds an electrician or another trade |
| Insulation type and depth | Vermiculite may contain asbestos and must not be disturbed until tested | Testing or abatement by a qualified firm first |
| Sheathing and roofing layers | Old plank boards and several shingle layers affect cutting and flashing | Sheathing repair or local roofing removal |
| Ventilation path and attic access | The shaft must not block soffit to ridge airflow | Shaft shape, baffles or work sequence |
Two items deserve emphasis. Vermiculite, the pebbly grey-brown or gold insulation in many older attics, can contain asbestos; Health Canada advises not disturbing it, so testing and any removal by a qualified firm come before anyone cuts a shaft through it. And older wiring, including knob and tube, needs an electrician’s assessment before it is moved.
Mistakes that show up years later
Poor skylight framing rarely fails dramatically. It reveals itself slowly:
- Single trimmers on a cut rafter can lead to a dip in the roof beside the skylight or cracks at the shaft corners.
- Headers toe-nailed without hangers loosen as the house moves, letting the opening rack out of square and stress the flashing.
- An out-of-square rough opening twists a deck-mounted frame, leaving the sash binding or the flashing fighting the roof.
- Truss chords cut without a detail create structural risk and trouble at resale or during a later permit.
- Unsealed shafts lead to condensation, staining and mould on the shaft walls.
If you are replacing an older unit and suspect any of these, the replacement is the time to open the shaft and correct them, because the skylight and flashing are already off. Ask any contractor whether the roof has rafters or trusses, whether anything will be cut and how it will be sized, how the shaft will be insulated and sealed, and what happens if damaged lumber or vermiculite turns up. Permit rules vary by municipality. Many building departments expect a permit when rafters or trusses are altered for a new opening, while a straight swap of an existing unit often needs none, so call yours before the work is booked.
Frequently asked questions
Can a skylight be installed without cutting any rafters?
Is it safe to cut a rafter for a skylight?
Why can’t trusses be cut like rafters?
Does framing a new skylight opening need a permit?
What is the best shape for a light shaft?
How long does the framing part of a skylight job take?
Plan your skylight framing with an attic visit first
The right skylight is the one your roof structure can carry cleanly, with a shaft that delivers the light you are paying for. Toronto Skylight Installers inspects the attic, measures every bay and explains the framing options before recommending a size, so you know whether you are looking at a single-bay job, a cut rafter or a conversation about engineering. Call us today at (416) 365-7557 or request a free estimate.
Careful skylight framing and installation for houses in York Region and across the wider GTA.