

A living room skylight changes a room more than almost any other single upgrade. It brings daylight down from the most open part of the sky, lights the back of a deep room that windows never reach, and makes grey autumn afternoons feel less gloomy. It can also put a bright patch on the television, overheat the sofa in summer, or look oddly placed if it does not line up with the room. Most of those outcomes are decided during planning, long before anyone cuts the roof.
The decisions that matter are covered below: how big, how many, where on the roof, whether the ceiling is vaulted or flat, how to handle screen glare, and when an opening unit or shades are worth adding.
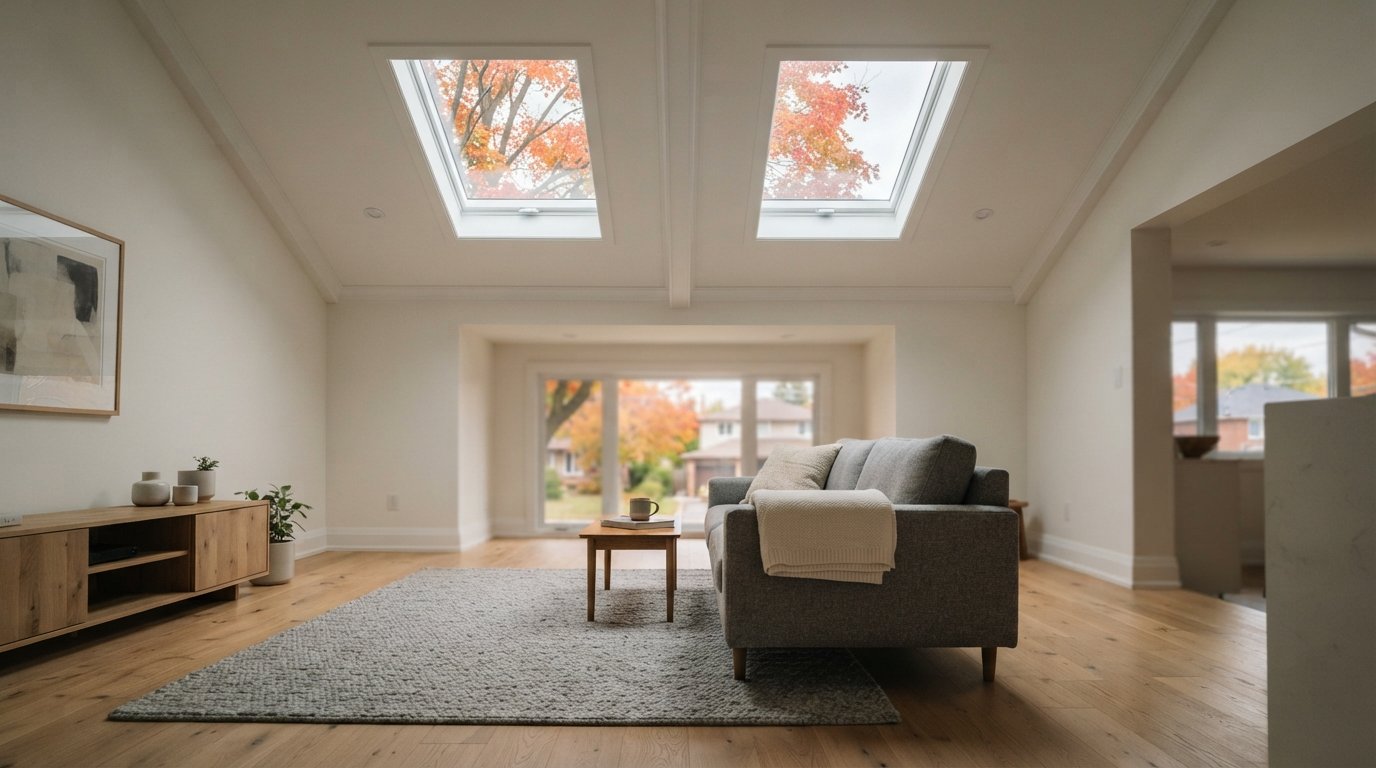
Planning a living room skylight around how you use the room
Before talking about sizes, think about how the room works. A living room is used at all hours: morning coffee, afternoon reading, evening television, family gatherings. The goal is usually soft, even daylight across the seating area without hot spots or glare, plus a way to dim the room when you want to.
Start with three questions:
- Where does the room feel dark? In many homes it is the back half, away from the front windows, or the corner furthest from a patio door.
- Where do you sit and where is the screen? The seating and TV layout drives placement more than anything else.
- What is above the ceiling? A vaulted ceiling under the roof, or a flat ceiling with an attic, leads to very different installations.
For most living rooms, a fixed unit is the simplest choice, because the room rarely needs the ventilation a kitchen or bathroom does. A fixed skylight for living rooms and great rooms has no moving parts, seals tightly and suits rooms where light is the main goal. Venting units are worth considering in some cases, covered further down.
Cathedral ceilings and great rooms
A vaulted or cathedral ceiling follows the roof line, so the skylight sits directly in the ceiling with no shaft. The light enters the room at the glass, and the visual effect is open sky overhead. Great rooms with tall, sloped ceilings are often the most dramatic places to add skylights.
The installation is relatively direct: the roof and ceiling are opened together, the rafters are headed off where needed, and the interior finish wraps into the frame. A few details matter more in these rooms:
- Insulation and ventilation in the roof assembly. Cathedral ceilings have limited space for insulation, and many rely on vent channels between the insulation and the roof deck. The skylight opening must not block those channels or leave gaps in the insulation, or the area around the skylight can develop condensation and frost in winter.
- Rafter spacing. Many skylight sizes are designed to fit between rafters at common spacings. Choosing a size that fits between existing rafters, or that only requires heading off a single rafter, keeps structural changes simple.
- Height. Tall ceilings make the skylight hard to reach, which matters for blinds, cleaning and any venting unit. This is where remote-operated options earn their cost.
Flat ceilings and light shafts
If your living room has a flat ceiling with an attic above, the skylight sits on the roof and a shaft carries light down through the attic to the ceiling. The shaft is where most of the design choices happen.
Straight, angled or flared
A straight shaft drops vertically from the skylight to the ceiling. It is simple, but it delivers a tight patch of light that moves across the floor with the sun. An angled shaft lets the ceiling opening sit somewhere other than directly below the roof opening, which helps when the roof position and the ideal ceiling position do not line up. A flared shaft is wider at the ceiling than at the roof, which spreads the light across more of the room and softens it. For living rooms, flaring at least one or two sides of the shaft is often the best way to get even daylight.
Shaft length and finish
Longer shafts deliver less light than short ones, because light bounces off the walls and loses intensity on the way down. Smooth, light coloured shaft walls help. The shaft also passes through a cold attic, so it needs to be insulated and air sealed like an exterior wall, with the vapour control continuous with the ceiling. A poorly insulated shaft can show condensation and staining by midwinter.
| Ceiling type | How the skylight is installed | Light quality | Rough installed range per unit (estimate) |
|---|---|---|---|
| Cathedral or vaulted ceiling | Directly in the roof and ceiling, no shaft | Strong, direct, sky view overhead | Often about $2,000 to $4,500 |
| Flat ceiling, short straight shaft | Skylight on roof, vertical shaft through attic | Focused patch of light | Often about $3,000 to $5,500 |
| Flat ceiling, flared shaft | Shaft widens toward the ceiling | Softer, spread over a larger area | Often about $3,200 to $6,500 |
| Flat ceiling, angled shaft | Shaft offsets the ceiling opening from the roof opening | Depends on angle and length | Often about $3,500 to $6,500 |
| Sun tunnel instead of a skylight | Small dome with reflective tube | Bright circle of light, no sky view | Often less than a framed skylight |
These are broad estimates only. Size, glass, roof pitch and covering, access, structural work and interior finishing all affect cost, and only an on-site assessment gives a real figure.
How big, and how many units?
A commonly quoted rule of thumb is that skylight glass area should be a small fraction of the room’s floor area: at the lower end for rooms that already have plenty of windows, and higher for rooms with few windows. It is a starting point, not a formula. Orientation, glass type, roof pitch and whether you use shades all change the result.
The bigger question in a living room is often one large unit or several smaller ones. In our experience:
- Two or three smaller units usually spread light more evenly and look more balanced, especially in long rooms or great rooms. They also fit between rafters more easily.
- One large unit creates a stronger focal point and a bigger view of sky, but concentrates light and heat in one area, and may require more structural work.
- Symmetry matters in living rooms. Units that line up with windows, a fireplace, the centre of the seating area or the ridge of a vaulted ceiling look intentional. Units placed only where the rafters happened to allow can look random.
When in doubt, mock up the positions. Mark the proposed openings on the ceiling with painter’s tape and live with them for a few days. It is a simple way to see how they relate to furniture, lights and the TV.
Roof orientation, heat and daylight
The roof plane you choose shapes the light you get. In the GTA, the differences are noticeable through the seasons.
| Roof facing | Light character | Heat and glare | Common fit for a living room |
|---|---|---|---|
| North | Even, cool, consistent through the day | Lowest heat gain and glare | Reading areas, rooms with screens, art on walls |
| East | Bright morning light, softer afternoons | Moderate, mostly early in the day | Morning rooms and breakfast-adjacent spaces |
| South | Strongest light, especially in winter when the sun is low | Highest potential heat gain and glare | Rooms that need warmth and light; plan shades |
| West | Warm afternoon and evening light | Afternoon heat and low-angle glare | Rooms used later in the day; shades recommended |
Modern skylight glass with low-e coatings reduces heat transfer and filters much of the ultraviolet light that fades fabrics and flooring. Glass options vary between manufacturers, so compare the specifications in the manufacturer’s current documents rather than relying on general claims.

Avoiding TV glare and screen washout
Screen glare is the most common complaint we hear about a living room skylight, and it is usually avoidable. Two separate problems get lumped together:
- Reflections on the screen. A bright skylight behind or above the seating area can reflect off a glossy screen straight into viewers’ eyes. This is the main issue in rooms where the skylight sits opposite the TV.
- Washout and contrast. A skylight directly above or in front of the TV makes the screen look dull because the eye adjusts to the brighter surroundings.
Practical ways to manage both:
- Place skylights to the side of the line between the seating and the screen, rather than directly behind viewers or over the TV.
- Use flared shafts on flat ceilings to diffuse the light instead of sending a hard beam into the room.
- Choose north-facing planes for rooms where TV viewing is a priority, if the roof allows.
- Fit shades, so you can dim the room for evening movies or bright afternoons.
- Consider the screen position as part of the plan. Sometimes moving the TV to another wall solves the problem better than moving the skylight.
Shades, blackout and heat control
Shades turn a skylight from a fixed light source into one you control. For a living room, two main types cover most needs:
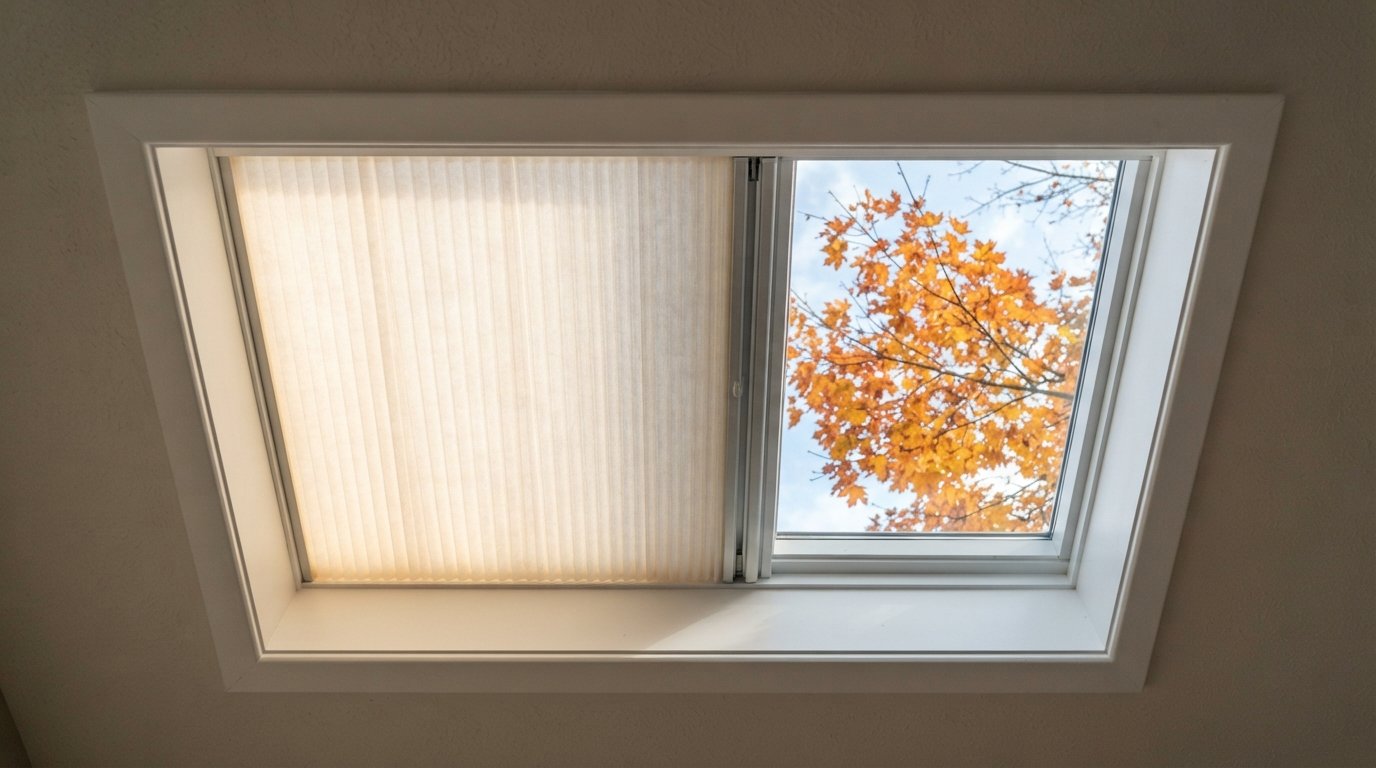
- Light-filtering shades soften and diffuse daylight, reduce glare and keep the room bright. See our light-filtering skylight shades for the options.
- Room-darkening shades block most light for movie nights or bright summer afternoons. Our room-darkening skylight shades page explains how they fit.
On tall ceilings, manual shades operated by a pole can be awkward, so many homeowners choose electric or solar-powered shades with a remote. Shades also help with heat: closing them on hot afternoons reduces the amount of sun reaching the room. Some manufacturers also offer exterior shading accessories for certain models; availability varies, so check what is offered for the unit you choose.
| Shade option | Best for | Operation on tall ceilings | Things to know |
|---|---|---|---|
| Light-filtering | Everyday glare control while keeping the room bright | Pole, electric or solar | Softens light but does not darken the room |
| Room-darkening | Movie nights, bright afternoons, west-facing units | Pole, electric or solar | Blocks most light; small edge gaps are normal |
| Combination or dual shades | Rooms that need both options | Usually electric or solar | More cost, most flexibility where offered |
| Manual pole-operated | Reachable or moderate ceiling heights | Pole hooks into the shade | Simple, but used less on very tall ceilings |
| Electric or solar-powered | Great rooms and vaulted ceilings | Remote or wall control | Can be paired with a venting unit’s controls on some models |
How the room looks after dark
A living room skylight is a bright feature by day and a dark rectangle by night, and in October that switch happens by early evening. Planning for the hours after sunset keeps the ceiling from looking like a black hole above the sofa.
- Light the shaft. On flat ceilings, small recessed lights or a discreet LED strip mounted inside the shaft, wired by a licensed electrician, fill the opening with light at night so it reads as a lit feature rather than a void. Plan the wiring before the shaft is insulated and drywalled.
- Close the shade at night. A pale shade turns the glass into a soft, light surface and also reduces heat loss through the glass on cold nights.
- Keep the room’s main lighting balanced. Pot lights clustered around a skylight opening can look busy. Space them so the ceiling has an even rhythm with the skylights included.
Cold nights also bring the first condensation of the season. A little fogging at the glass edge on a frosty morning is not unusual, but steady dripping in a dry living room usually points to a poorly insulated shaft, air leaks into the attic, or high indoor humidity, and is worth having checked before winter.
Should a living room skylight open?
Living rooms do not usually need ventilation for moisture, but a venting unit can still be worthwhile. In summer, warm air collects at the top of tall rooms, and an opening skylight at the high point lets it escape while cooler air comes in through lower windows. On mild spring and autumn days, it adds a pleasant breeze without opening the whole house.
If you choose a venting unit for a high ceiling, a remote-operated model is the practical choice, and most electric fresh-air skylights include a rain sensor that closes the sash when rain starts. A mix also works well: fixed units for most of the light, with one venting unit near the peak.
What to expect during installation
For a new opening, a typical job involves confirming the rafter or truss layout, cutting the roof opening, framing headers, installing the skylight with its flashing and underlayment, then building and insulating the shaft or finishing the vaulted ceiling. Trusses need particular care, because they cannot be cut without an engineered solution. Our new skylight installation page explains the process in more detail.
Ask whether a building permit is needed for your project, since structural changes to the roof often require one; confirm with your municipality. Ask how the interior will be protected during work, who handles drywall and paint, and what the manufacturer’s warranty covers for the unit, glass and flashing. Warranty terms differ by product, and the manufacturer’s current documents are the reference.
Our crews doing skylight installation, replacement and repair in Halton Region plan living room skylights around furniture layout, screens and roof structure, and we take the same approach across the GTA.
How many skylights does a living room need?
Will a skylight cause glare on my TV?
Will a skylight work with a flat living room ceiling?
Which direction should a living room skylight face?
Do I need blackout shades on a living room skylight?
Should my living room skylight open?
Ready to plan your living room skylight?
The best living room skylights are planned around the furniture, the screen and the roof structure. Toronto Skylight Installers can help you choose the size, number and position of units, recommend the right shaft or vaulted-ceiling approach, and fit shades that suit the way you use the room.
Call us today at (416) 365-7557 or request a free estimate.
Living room skylights planned around real furniture and screens, across Halton Region and the wider GTA.