

Post-war bungalows are some of the best candidates for skylights in the GTA. Their single storey means every room sits directly under the roof, attics are usually shallow, and the typical floor plan has at least one dark interior space: a centre hallway, an inner kitchen or a windowless bathroom. Bungalow skylights can change how those rooms feel with relatively short shafts and modest structural work. They also come with a few quirks that are specific to the way these houses were built, and planning around them is what separates a clean installation from a frustrating one.
We cover the roof slopes, attic framing, room layouts and insulation details that matter in a typical 1950s or 1960s bungalow, and when a sun tunnel is the smarter choice.
Why bungalow skylights work so well
In a two-storey house, a skylight can only light the upper floor, and the shaft often has to pass through a tall attic. In a bungalow, the main living space is right under the roof. That brings several advantages:
- Short shafts. Many bungalow attics are low, especially toward the eaves, so the distance from the roof deck to the ceiling is short. A short shaft delivers more light to the room than a long one of the same size.
- Interior rooms within reach. Hallways, kitchens and bathrooms in the middle of the plan can get daylight that windows never provide.
- Simpler access. A single-storey roof is easier and safer to stage and work on than a two-storey roof, which can help keep the job straightforward.
For a sense of how a standard job runs, our skylight installation page outlines the process from inspection to finishing.
Low-slope roofs and what they mean for product choice
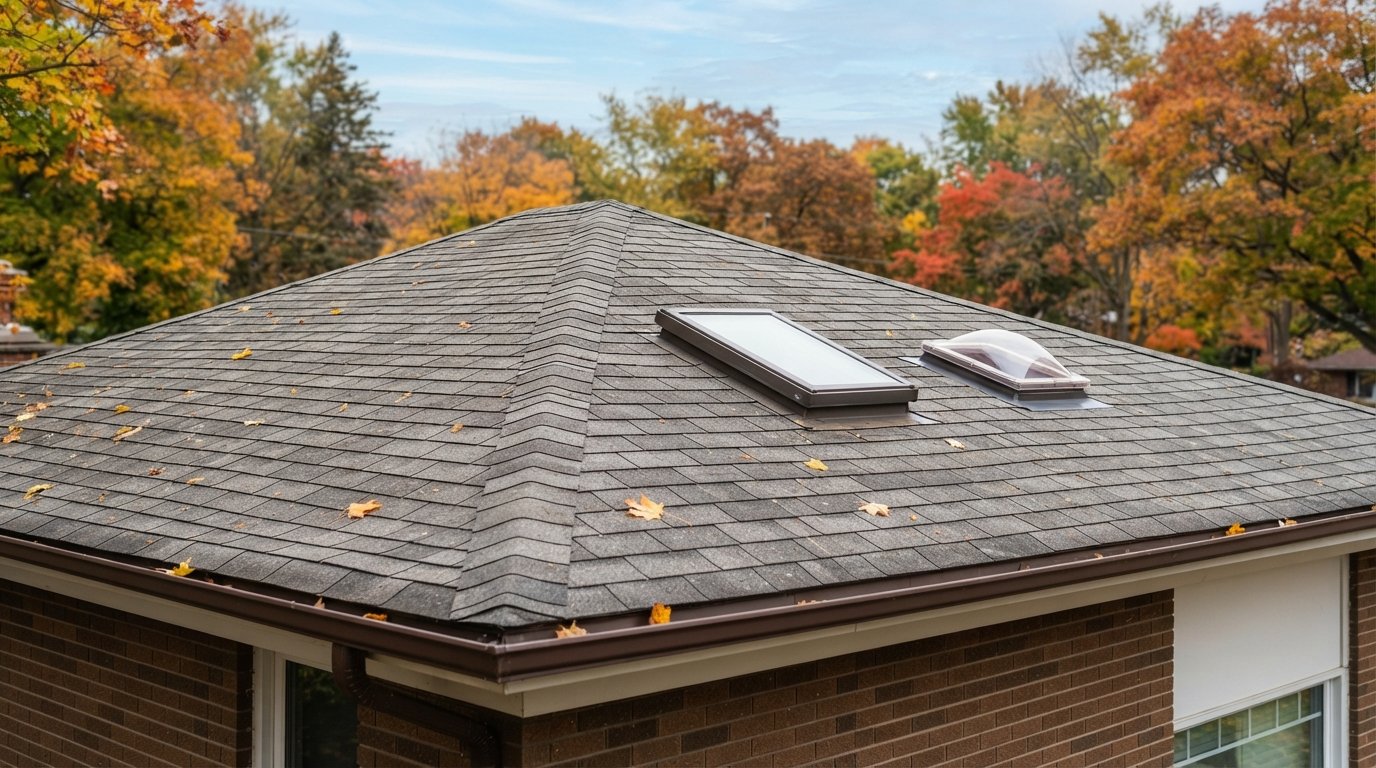
Many post-war bungalows have hip roofs with a relatively gentle pitch. That gentle slope is part of the classic bungalow look, but it narrows the choice of skylight.
- Minimum pitch. Manufacturers specify a minimum roof slope for deck-mounted skylights, which sit close to the roof surface with integrated flashing. Below that slope, water drains too slowly past the unit. Always check the current installation instructions for the specific product.
- Curb-mounted units. On roofs below the minimum for deck-mounted units, a skylight installed on a raised curb keeps the glass and seals higher above the roof surface and away from slow-draining water and leaf debris.
- Hip roof geometry. Hip roofs have short jack rafters near the hips and limited straight runs of rafter. Skylights generally need to sit away from hips and valleys so the flashing can work properly, which limits where they can go on a small hip roof.
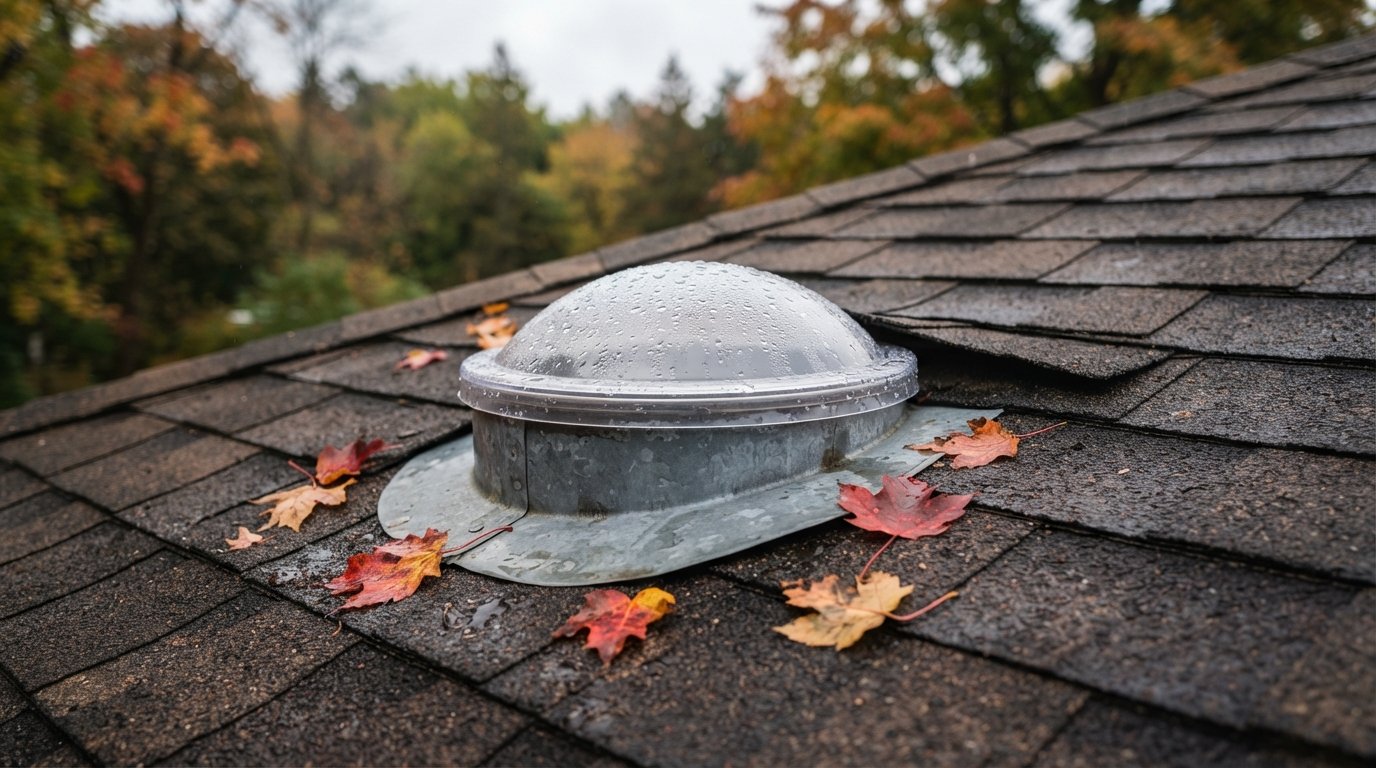
- Leaves in autumn. Gentle slopes hold leaves longer. Keeping the upper side of each skylight clear, through professional maintenance, reduces the risk of water backing up against the flashing.
| Roof or attic condition | What it means | Typical approach |
|---|---|---|
| Pitch at or above the manufacturer’s minimum for deck-mounted units | Standard deck-mounted skylights can be used | Deck-mounted unit with matching flashing kit |
| Pitch below the deck-mounted minimum | Water drains too slowly for low-profile flashing | Curb-mounted skylight or a different product |
| Hip roof with short jack rafters | Limited clear space away from hips and valleys | Careful placement, sometimes a smaller unit or sun tunnel |
| Rafters with ceiling joists | Ceiling joists often help tie the roof together | Head off joists carefully with proper reinforcement |
| Roof trusses | Truss members cannot simply be cut | Fit between trusses or use an engineered modification |
| Two layers of shingles | Flashing kits expect one layer over a solid deck | Strip around the opening or plan with a re-roof |
Rafters, ceiling joists and trusses
Before anything is cut, an installer needs to know how the roof is framed. Bungalows from this era were built in a few different ways, and later renovations sometimes mixed them.
Rafter and ceiling joist roofs
Many post-war bungalows were built with individual rafters running from the outside walls up to a ridge or hip, and ceiling joists running across the house below them. The ceiling joists carry the ceiling, and in many designs they also tie the bottoms of the rafters together so the roof does not push the walls outward. That second job is easy to overlook.
A shaft for bungalow skylights often has to pass through the ceiling joists as well as the rafters. Cutting a ceiling joist means heading it off and transferring its load to the joists on either side, and in some cases the tie function has to be maintained with additional framing. On a small opening between joists, no joist may need cutting at all, which is one reason many bungalow skylights are sized to fit the existing spacing.
Trussed roofs
Some bungalows, particularly later ones and some additions, have prefabricated roof trusses. A truss is an engineered unit in which every member works with the others. Truss members should never be cut or removed without an engineered repair or modification. In a trussed roof, skylights are usually sized to fit between trusses, or a sun tunnel is used instead.
Why this affects layout
The direction the ceiling joists run, and where the rafters sit, can decide whether a skylight lands exactly over the middle of a hallway or slightly off-centre. An angled or offset shaft can bridge the difference, letting the roof opening sit between rafters while the ceiling opening lines up with the room.
Lighting the rooms that windows never reach
The typical post-war bungalow floor plan has bedrooms along one side, living spaces along the other, and a hallway, bathroom and sometimes the kitchen in between. Those central rooms are where bungalow skylights make the biggest difference.
Hallways
A centre hallway is often the darkest space in the house, lit only by borrowed light from bedroom doors. A small skylight or sun tunnel over the hall can transform it, and because hallways are narrow, the light reflects off the walls and spreads well. For long halls, two small units usually work better than one large one.
Kitchens
Inner kitchens and kitchens opened up to living rooms during renovations often lose their original window light. A skylight over the work area or the island adds daylight where it is most useful. For kitchens, consider a venting unit to help release cooking heat, but keep the range hood as the main ventilation.
Bathrooms
Many bungalow bathrooms have small high windows or none at all. A skylight or sun tunnel brings in daylight while preserving privacy. Bathrooms still need a properly ducted exhaust fan regardless of any skylight.
| Room | Common bungalow situation | Often a good fit |
|---|---|---|
| Centre hallway | No windows, borrowed light only | One or two sun tunnels, or a small skylight |
| Inner or opened-up kitchen | Lost window light after renovation | Fixed or venting skylight over the work area |
| Bathroom | Small high window or none | Sun tunnel or small skylight, plus an exhaust fan |
| Living room | Front window, dark back half | Skylight with a flared shaft for even light |
| Bedroom | Windows present, but on the shaded side | Skylight with room-darkening shade |
Sun tunnels as an option
A sun tunnel captures daylight through a small dome on the roof and reflects it down a highly reflective tube to a diffuser in the ceiling. In a bungalow, the short distance from roof to ceiling makes sun tunnels especially effective.
- Small opening. The roof opening usually fits between rafters or trusses without cutting them, which avoids most of the structural questions above.
- Minimal ceiling work. The diffuser opening is small and round, so there is little drywall or plaster repair.
- Rigid tubes carry light more efficiently than flexible ones, and short runs in a bungalow attic usually allow a rigid tube.
- Limits. A sun tunnel gives a bright circle of light but no view of the sky and no ventilation. It suits halls, bathrooms and closets better than living rooms.
Where you want a view of the sky and broad daylight, a framed fixed skylight with a shaft is the better choice. Many bungalows end up with both: a skylight over the kitchen or living area, and sun tunnels in the hallway and bathroom.
| Feature | Framed skylight with shaft | Sun tunnel |
|---|---|---|
| Light | Broad daylight with a view of the sky | Bright, focused circle of light |
| Structure | May require heading off rafters or ceiling joists | Usually fits between framing members |
| Ceiling work | Rectangular opening, shaft framing and drywall | Small round opening for the diffuser |
| Ventilation | Available with venting models | None |
| Rough installed range (estimate) | Often about $2,300 to $4,500 per unit | Often about $900 to $2,000 per unit |
These are broad estimates only. Unit size, roof pitch, roof covering, framing work, access and interior finishing all affect cost. An on-site inspection gives a reliable number.
Attic insulation around new shafts
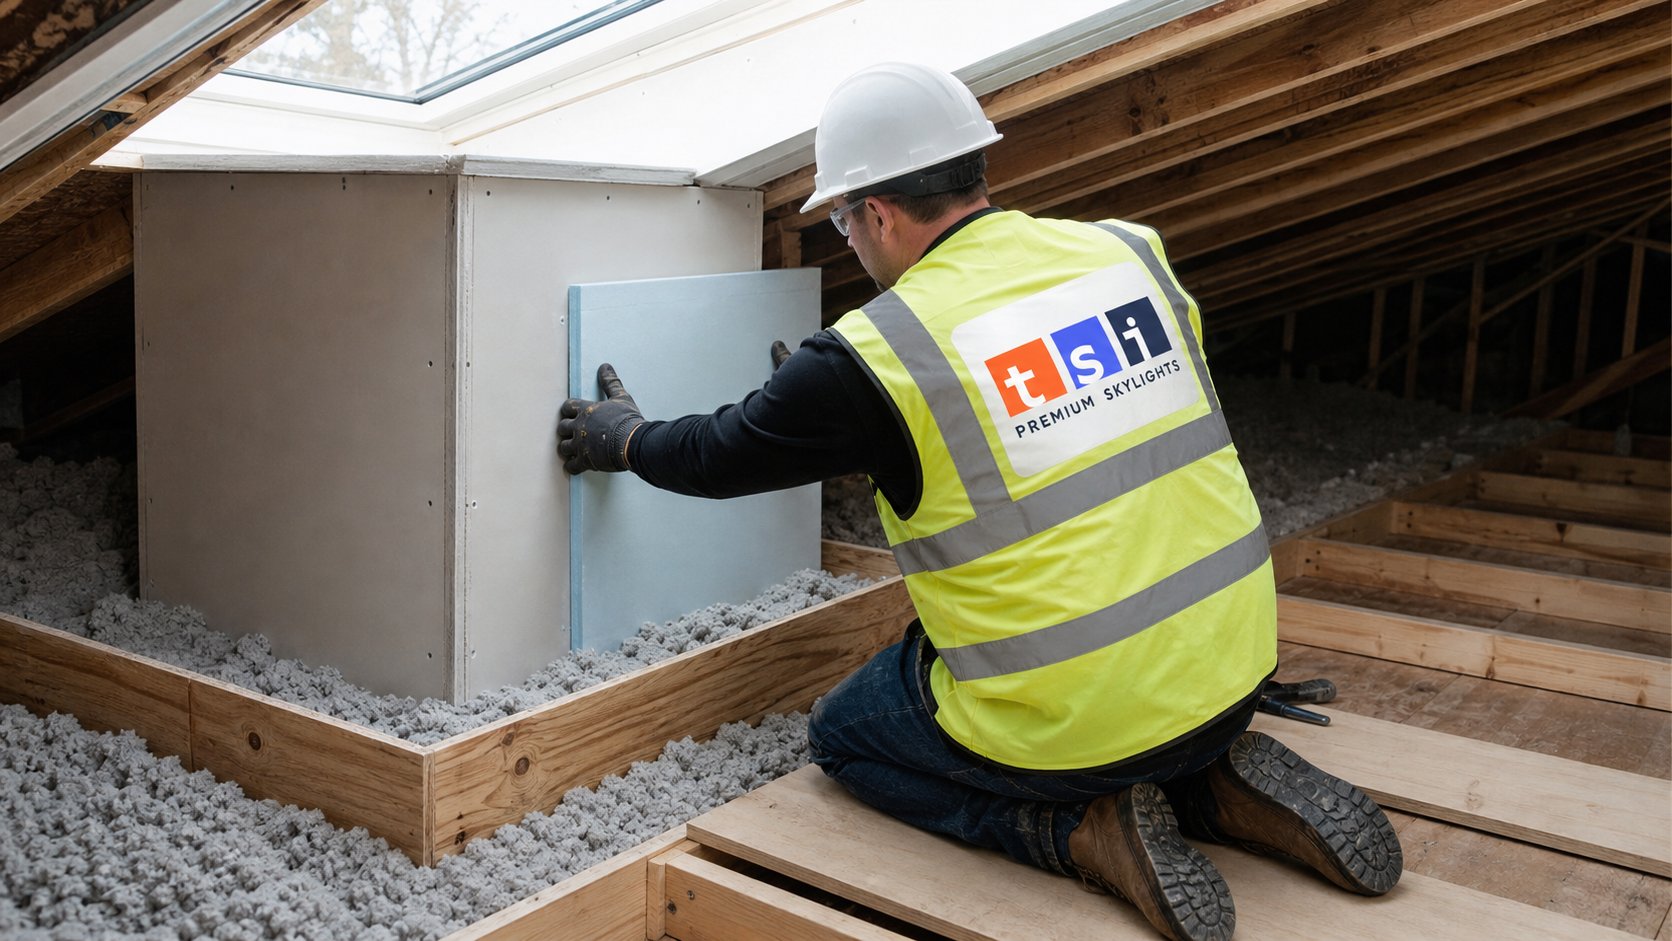
Many bungalow attics have been topped up with blown-in insulation over the years. When a new shaft is added, that insulation has to be handled carefully or it becomes the weak point of the job.
- Check what is there first. If the attic has loose, pebble-like insulation that could be vermiculite, leave it undisturbed and have a sample analysed by an accredited lab before anyone works in the attic. Some vermiculite contains asbestos and must be handled by a licensed abatement contractor.
- Dam the insulation. Build a barrier around the shaft so blown-in insulation stays in place and does not spill into the opening or slump away from the shaft walls.
- Insulate the shaft walls to at least the level of an exterior wall. Short shafts are easier to insulate well, but the top corners against the roof deck are easy to miss.
- Air seal the shaft where it meets the ceiling. Warm, humid air leaking into the attic around a shaft can lead to frost on the roof deck in cold weather.
- Insulate sun tunnel tubes in the attic with an insulating sleeve where the product allows, to reduce condensation inside the tube.
- Keep the eaves clear. Low-slope bungalow attics are tight at the eaves, and insulation must not block soffit ventilation. Baffles help keep air moving.
Done well, insulation and air sealing around bungalow skylights prevent the most common winter complaints: frost on the glass, drips from the shaft and stains on the ceiling.
How the work usually unfolds in a bungalow
Because the living space sits directly below the roof, installing bungalow skylights affects the household more immediately than work on the upper floor of a two-storey house. Knowing the usual sequence helps you prepare.
- Attic inspection and layout. The installer confirms framing, insulation and wiring from the attic, then marks the ceiling opening from below so it lines up with the room.
- Interior protection. Furniture is moved or covered, floors are protected, and plastic is hung to contain dust. In a bungalow, the hallway is often the only route through the house, so plan for it to be partly closed off.
- Roof opening and framing. The roof is opened, rafters or joists are headed off where needed, and the opening is framed square.
- Skylight and flashing. The unit is set, underlayment is lapped around it, and the flashing kit is integrated with the shingles so water sheds past the unit.
- Shaft, insulation and finish. The shaft is framed, insulated, air sealed and drywalled, then taped and readied for paint.
Low bungalow attics can be tight near the eaves, so some shaft work is done from below rather than from inside the attic. A simple single unit is often closed in within a day if the weather cooperates, though finishing, taping and painting usually take longer. In autumn, installers watch the forecast closely, because the roof is open for part of the day and rain bands can move in quickly.
Timing with the roof
Many post-war bungalows are on their second or third roof covering, and some still carry two layers of shingles. If the shingles are approaching the end of their life, it is usually better to add bungalow skylights during a re-roof, when the deck is exposed and new underlayment can be lapped around each unit. If the roof is newer, the skylight can be flashed into the existing shingles, but the installer should explain how they will avoid damaging the surrounding shingles and whether any roofing warranty conditions apply.
Practical questions before you book
- Is your roof pitch above the manufacturer’s minimum for the unit being proposed?
- Is the roof framed with rafters and ceiling joists, or with trusses?
- Will any ceiling joists or rafters be cut, and how will they be reinforced?
- How many layers of shingles are on the roof, and how long do they have left?
- How will the shaft be insulated, dammed and air sealed?
- Is a building permit needed? Structural changes often require one, so confirm with your municipality.
- What does the manufacturer’s warranty cover for this unit? Ask for the current terms in writing.
Our York Region skylight installation, replacement and repair team works on many post-war bungalows, and every job starts with an attic inspection to confirm the framing and insulation before a layout is proposed.
Can skylights be installed on a low-slope bungalow roof?
Will a skylight weaken my bungalow’s ceiling joists?
Is a sun tunnel better than a skylight for a bungalow hallway?
Do roof trusses rule out a skylight in a bungalow?
How do you insulate around a new skylight shaft in a bungalow attic?
Which bungalow rooms benefit most from skylights?
Planning bungalow skylights for your home
A post-war bungalow can gain a lot of light from a few well-placed openings. Toronto Skylight Installers can inspect your roof and attic, confirm the framing, and recommend the right mix of skylights and sun tunnels for your floor plan.
Call us today at (416) 365-7557 or request a free estimate.
Brightening post-war bungalows across York Region and the wider GTA.