

Aurora sits in the middle of York Region, on higher ground than most of the GTA, with a housing stock that ranges from modest postwar bungalows to sprawling estate lots and dense newer subdivisions. That variety is exactly why skylight installation Aurora homeowners are considering rarely comes down to a single product recommendation. The right skylight for a 1950s bungalow with a shallow attic is not the right skylight for a two storey subdivision home with engineered trusses, and neither is right for a flat roofed rear addition. Understanding what sits above your ceiling is the first step in getting daylight into the room you actually want to brighten.
This guide walks through the roof types common across Aurora, the skylight products that suit each one, realistic 2026 installed pricing in Ontario, permit expectations, and the flashing details that decide whether a skylight lasts twenty years or leaks in its third winter. Everything here is written for homeowners planning a real project, not for browsing.
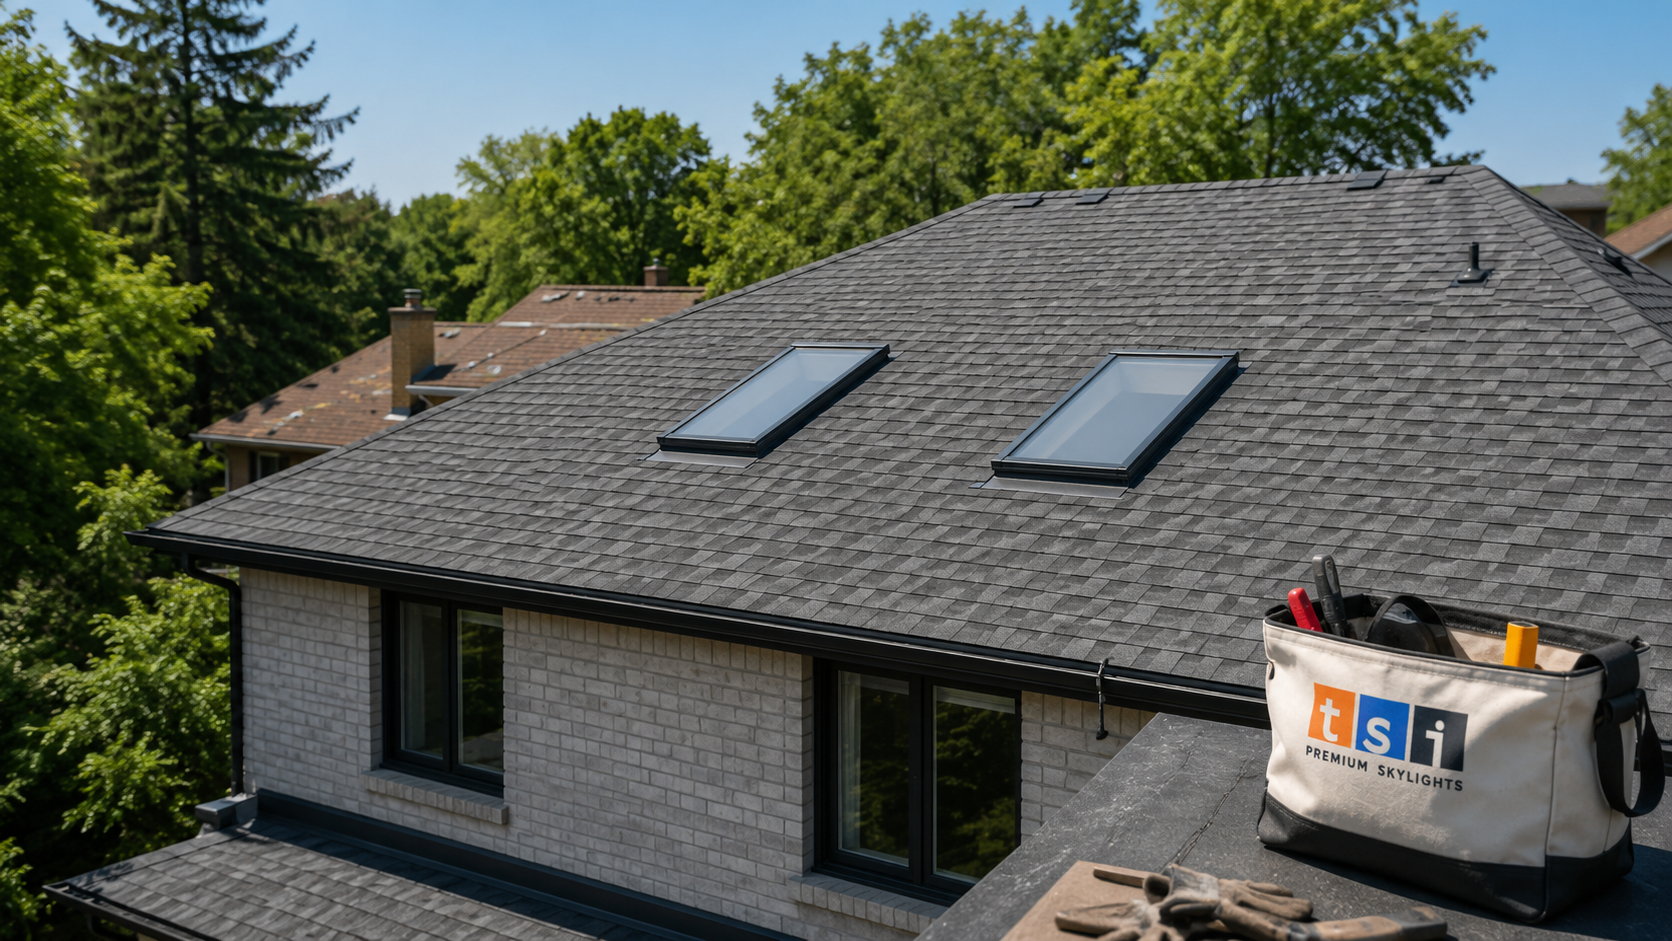
Why Skylight Installation Aurora Projects Start With the Roof, Not the Room
Most homeowners begin with the ceiling. They picture a bright kitchen or a stairwell that no longer needs a lamp at noon. That is the right goal, but the constraints all live above. A successful skylight installation Aurora property owners will be happy with depends on four structural facts: the roof pitch, the framing type, the depth of the attic or ceiling cavity, and the roof covering.
Roof pitch determines how much sky the unit sees and how efficiently water and snow shed away from the curb. Framing type determines whether an opening can be cut at all without engineering. Cavity depth determines whether you get a clean, shallow shaft or a long light well that needs drywall, insulation and vapour control. Roof covering determines the flashing system, and flashing is where the majority of skylight failures originate.
Before quoting any skylight installation Aurora job, a competent installer should be in the attic with a light, not just on the driveway with a tape measure. If nobody asks to see the underside of your roof, the quote is a guess.
Rafters Versus Trusses: The Single Biggest Variable
Older Aurora homes, generally those built before the mid 1970s, are usually framed with dimensional rafters spaced 16 or 24 inches apart. Rafters can be cut and headed off to create a rough opening using standard Part 9 framing practice, which makes skylight installation straightforward and keeps costs predictable.
Newer subdivision homes across Aurora are almost always built with prefabricated engineered trusses. Truss webs and chords are designed as a system, and cutting one without a replacement design compromises the whole assembly. This does not make a skylight impossible. It means the unit has to fit between existing truss members, or a professional engineer has to design and stamp a modification. The most common constraint on skylight installation Aurora subdivision homes present is truss spacing, so the best result usually comes from selecting a skylight width that drops neatly into an existing truss bay, generally around 21 to 22 inches of clear opening.
Aurora Housing Types and the Skylights That Suit Them
Aurora’s building stock falls into a handful of broad categories. None of the guidance below depends on any specific address, and every roof still needs its own inspection, but these patterns hold well enough to guide early planning for skylight installation Aurora wide.
Postwar and Mid Century Bungalows
Aurora’s older bungalows tend to have low to moderate pitch roofs, rafter framing and shallow attic space. These are excellent candidates for skylights because the light well is short and the daylight arrives almost directly. Deck mounted fixed or venting units work well. Where the attic is very shallow, the ceiling opening can often be splayed outward to spread light across a wider area of the room below.
Nineteen Eighties Through Two Thousands Subdivisions
These homes are typically two storey, steeply pitched, and truss framed. Skylights here usually go into second floor bedrooms, ensuites, hallways and stairwells. Truss bay sizing governs the product choice. Steeper pitch is an advantage for water shedding and gives a dramatic angled ceiling, but the shaft is longer and needs proper insulation and an air barrier to prevent condensation.
Estate Lots and Custom Builds
Larger Aurora properties often have complex roof geometry: multiple gables, valleys, dormers and long spans. Skylight placement matters more here because a unit set too close to a valley or a wall intersection creates a snow and ice trap. On these roofs, banks of two or three aligned units frequently deliver better results than one oversized skylight, and electric or solar venting models make sense in high, unreachable ceilings.
Older Brick Homes Near the Town Core
Aurora’s older brick houses closer to the historic centre often have steep roofs, tight attics, and sometimes original board sheathing rather than plywood. Sheathing condition needs to be verified before cutting. In some cases a small section of deck is replaced around the opening to give the flashing a sound substrate to fasten to.
Flat and Low Slope Additions
Rear additions, sunrooms and garage conversions across Aurora frequently have low slope or effectively flat roofs. Standard deck mounted skylights are not appropriate below the manufacturer’s minimum pitch. These roofs need purpose built flat roof skylights installed on a built up curb, which raises the unit above standing water and allows the membrane to be flashed up the sides and terminated correctly.
| Aurora home type | Typical framing | Best skylight choice | Main planning constraint |
|---|---|---|---|
| Postwar bungalow | Dimensional rafters | Deck mounted fixed or manual venting | Shallow attic, short light well |
| 1980s to 2000s subdivision | Engineered trusses | Narrow deck mounted unit in a truss bay | No truss cutting without an engineer |
| Estate or custom home | Mixed rafters and trusses | Multiple aligned units, electric or solar venting | Valleys, dormers and snow drift zones |
| Older brick home near the core | Rafters, board sheathing | Fixed or centre pivot unit | Sheathing condition and steep pitch access |
| Flat or low slope addition | Joists with membrane roof | Curb mounted flat roof skylight | Minimum slope and drainage detailing |
| Interior room with no roof access | Any | Sun tunnel | Routing the tube around obstructions |
Skylight Types Available for Skylight Installation Aurora Roofs
Product selection is simpler once the roof is understood. Five categories cover nearly every residential situation in town.
Fixed skylights do not open. They are the least expensive option, the least likely to leak because there is no operable seal, and the best choice where the only goal is daylight. A fixed skylight suits stairwells, hallways, living rooms and any ceiling too high to reach comfortably.
Manual venting skylights open with a crank or a pole. They work well in rooms with ceilings under roughly three metres where a homeowner can comfortably reach the control. Bathrooms and kitchens benefit most because venting removes moisture at the source instead of pushing it into the rest of the house.
Electric venting skylights operate on a remote and close automatically when a rain sensor is triggered. These are the practical answer for high ceilings, and they can be integrated with a home automation system.
Solar powered venting skylights run on an integrated panel and battery, so no wiring is pulled through the ceiling. For many skylight installation Aurora projects this is the cleanest retrofit path because it avoids opening finished drywall to run a circuit. A solar powered fresh air skylight offers the same rain sensor and remote operation as an electric unit.
Sun tunnels use a reflective tube to carry daylight from a small roof dome to a ceiling diffuser. They are ideal for interior bathrooms, closets, laundry rooms and hallways where a full shaft cannot be built. A sun tunnel skylight installs in a single visit in most cases and needs no framing changes at all.
Glazing matters as much as the frame. For our climate, insulated laminated glass with a low emissivity coating and an argon fill is the sensible baseline for skylight installation Aurora conditions demand. Laminated inner panes hold together if struck, which is a genuine safety benefit over a bedroom or stairwell.
What Skylight Installation Aurora Homeowners Book Costs in 2026
Pricing depends on the unit, the roof, and the interior finishing. The single largest cost driver is not the skylight itself but the shaft and the drywall work below it. A bungalow with a shallow attic can cost far less than a two storey home needing a two metre light well built, insulated, taped and painted.
The ranges below reflect typical installed pricing in the Greater Toronto Area for 2026, including materials, labour, flashing kits and standard interior finishing. Complex roofs, engineering, or structural repair add to these figures.
| Scope of work | Typical installed range (2026) | Usual duration | Notes |
|---|---|---|---|
| Sun tunnel, single unit | $1,300 to $2,400 | Half day | No framing change, minimal drywall |
| Fixed skylight, new opening | $2,800 to $4,800 | 1 to 2 days | Includes shaft framing and finishing |
| Manual venting skylight | $3,400 to $5,600 | 1 to 2 days | Crank or pole operation |
| Solar or electric venting skylight | $4,200 to $7,000 | 1 to 2 days | Rain sensor and remote included |
| Curb mounted flat roof skylight | $4,000 to $7,500 | 1 to 2 days | Curb build plus membrane flashing |
| Like for like replacement of existing unit | $1,900 to $3,600 | Half to one day | Reuses opening, new flashing kit |
| Additional unit installed same visit | Add $1,400 to $2,600 each | Same visit | Shared setup and access costs |
Two cost items surprise homeowners most often. The first is engineering, which applies when a truss must be modified and typically runs several hundred dollars for a stamped drawing. The second is finishing, because painting and trim are frequently excluded from roofing quotes. Ask any contractor quoting skylight installation Aurora work to state clearly where their scope ends and yours begins.
Permits, Ontario Building Code and Town Approvals
Building permits in Aurora are issued by the Town’s Building Division, and the requirement is driven by what happens to the structure, not by the presence of glass. As a general rule, replacing an existing skylight with a comparable unit in the same opening is treated as maintenance and normally does not require a permit. Creating a new opening that involves cutting and heading off structural framing is structural work and generally does.
Ontario Building Code requirements that matter for residential skylight installation Aurora projects include the following. Openings in a roof assembly must maintain the required structural capacity, with headers and trimmers sized for the span and the snow load. Skylights installed over stairs, tubs or showers, or in locations where glazing is subject to human impact, need safety glazing, which laminated units satisfy. The roof assembly’s insulation and air barrier must be continued around the light shaft so the assembly does not become a condensation point. Ventilation of the remaining attic space must be preserved, which means the shaft cannot block soffit to ridge airflow.
Snow load is a real design input in York Region, and Aurora’s elevation means design snow loads are not identical to those used downtown. Headers around a large opening on a wide span roof should be sized accordingly rather than defaulted to a standard detail.
Permit timelines vary with the Town’s workload. Homeowners should budget a couple of weeks between application and permit for a simple residential structural alteration, and longer if an engineered truss modification drawing is part of the submission. A contractor familiar with skylight installation and repair services throughout Aurora should be able to tell you at the quoting stage whether your specific job triggers a permit.
The Skylight Installation Aurora Process, Step by Step
A well run skylight installation Aurora homeowners book should follow a predictable sequence. Knowing the sequence makes it easy to tell whether a crew is cutting corners.
Site assessment. Attic inspection, framing confirmation, sheathing check, measurement of the proposed location from both inside and outside, and confirmation of pitch and roof covering condition.
Product and placement selection. Unit size chosen to suit framing, orientation considered for heat gain, and shaft geometry planned. North facing units give even light with minimal heat. South facing units give the most light and the most solar gain, which is why blinds or a low emissivity coating matter there.
Interior protection and ceiling opening. Dust containment, floor protection, and the ceiling opened first so the framing can be verified before anything is cut from above.
Structural framing. Rafters cut and headed, or the opening set within a truss bay. Temporary support used where required.
Roof opening and unit set. Shingles or membrane rolled back, deck cut, underlayment and ice and water shield applied around the opening, and the skylight fastened to the deck per the manufacturer’s instructions.
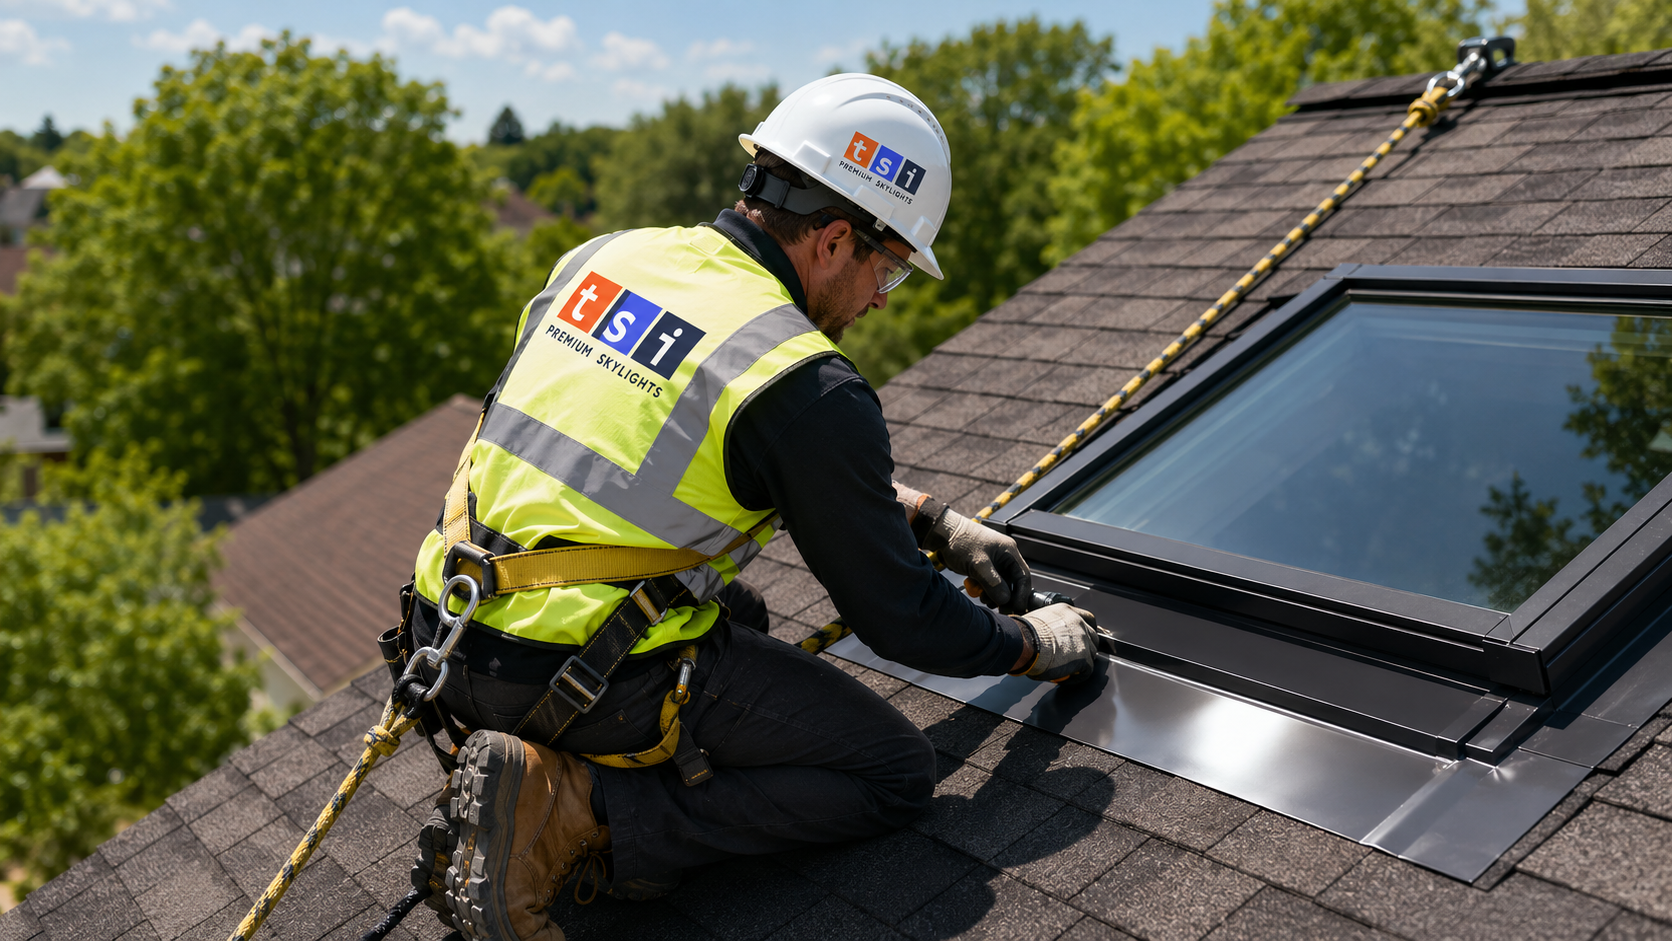
Flashing. The manufacturer’s flashing kit installed in the correct order: sill, step flashing woven into each shingle course, then head flashing. This is the step that determines long term performance more than any other.
Shaft construction and finishing. Shaft framed, insulated to the same standard as the roof assembly, air and vapour barrier continued and sealed, drywall installed, taped and finished.
| Project stage | Typical time on site | What the homeowner should see |
|---|---|---|
| Assessment and quote | 45 to 90 minutes | Installer in the attic, written scope |
| Permit application, if required | 1 to 3 weeks | Drawings submitted to the Town |
| Framing and roof opening | 3 to 6 hours | Opening dried in the same day |
| Flashing and weatherproofing | 2 to 4 hours | Ice and water shield plus manufacturer’s kit |
| Shaft insulation and drywall | 4 to 8 hours | Continuous insulation and sealed vapour barrier |
| Finishing and cleanup | 2 to 4 hours | Magnet sweep for fasteners, debris removed |
Flashing, Ice Dams and Aurora’s Winter Climate
Nearly every skylight leak traced back to its cause turns out to be a flashing or a condensation problem rather than a failed seal in the glass. Aurora gets meaningful snowfall and repeated freeze and thaw cycles, and both conditions test the perimeter of a skylight harder than steady rain ever does. Any skylight installation Aurora weather has to survive needs its water management detailed for meltwater, not just for rainfall.
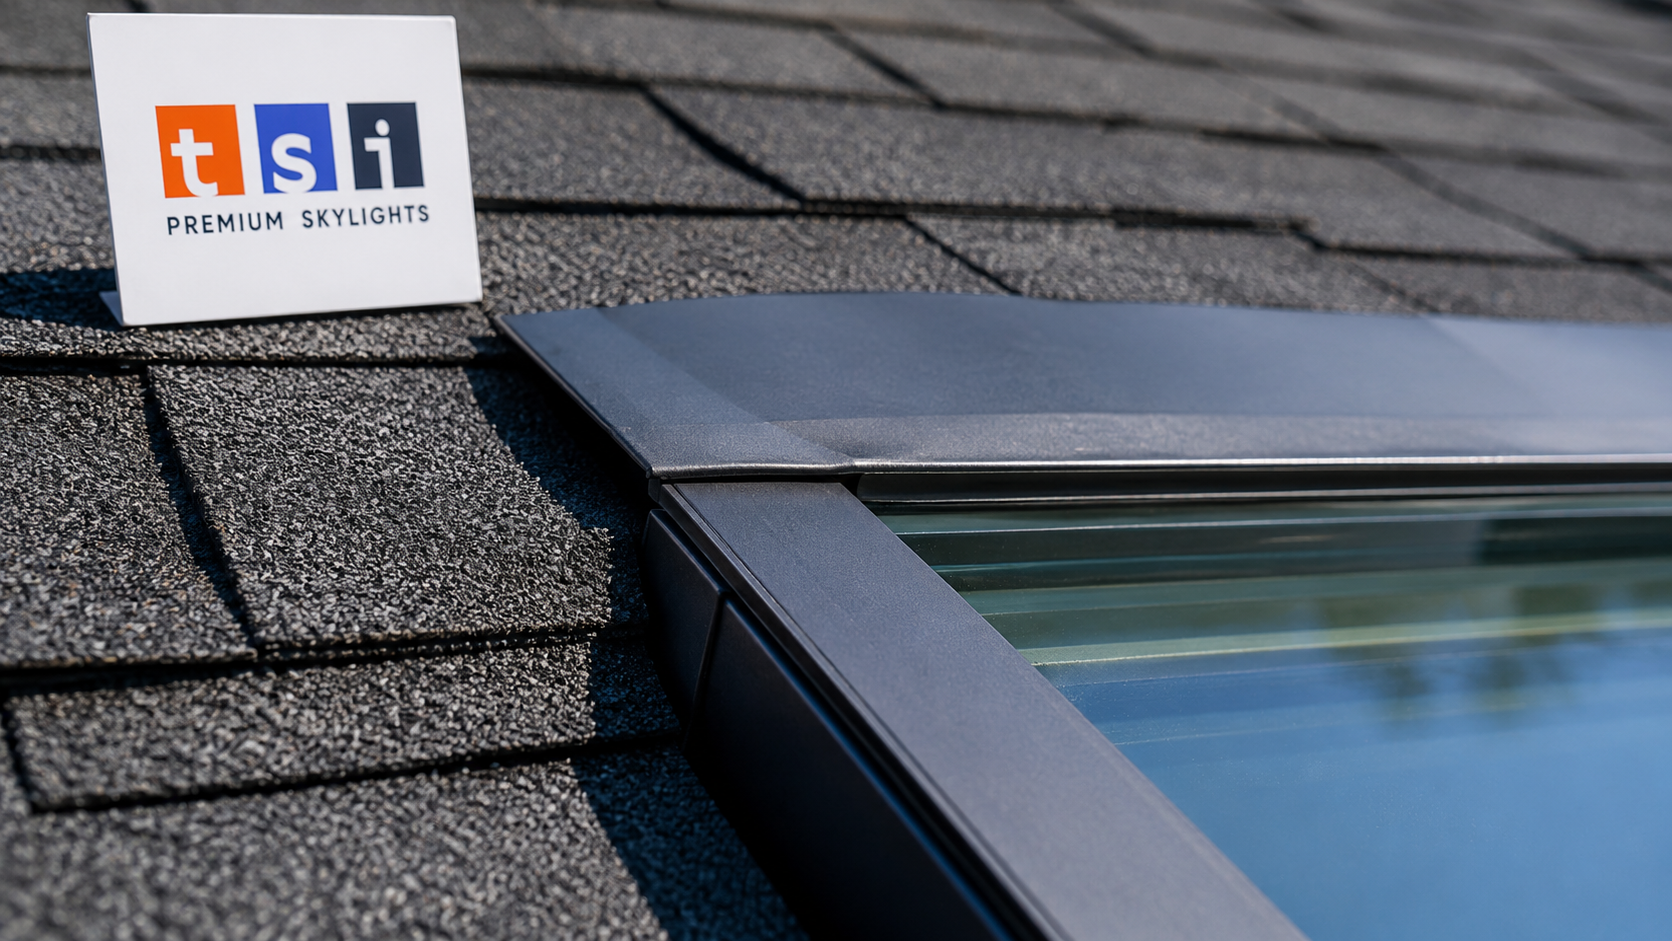
Three details protect a skylight through an Ontario winter. First, a continuous membrane of ice and water shield wrapped up the sides of the curb and extended well past the opening on the upslope side. Second, the manufacturer’s own flashing kit rather than a site fabricated substitute, because the kit is designed and tested for that specific frame profile. Third, a shaft that is insulated and air sealed properly so warm indoor air never reaches the cold glass edge.
That third point deserves emphasis. Many homeowners who report a leaking skylight actually have condensation. Warm humid air leaks past an unsealed vapour barrier at the shaft, hits the cold aluminum cladding or glass edge, condenses, and drips. The fix is air sealing, not roofing. A proper assessment distinguishes the two before anyone climbs on the roof.
Snow drift is the other Aurora specific factor. Units placed immediately below a dormer wall, in a valley, or tight against a chimney will collect drifted snow that lingers long after the rest of the roof is clear. Moving a unit half a metre during planning is free. Moving it after installation is not.
Maintenance, Lifespan and When to Replace Instead of Repair
A well installed modern skylight should give twenty to thirty years of service. Seals, flashing and operating hardware age at different rates, and knowing which component has failed decides whether you are looking at a repair or a replacement.
Condensation trapped between the panes means the insulating glass seal has failed, and the glazing unit or the whole skylight needs replacing. Staining at the head of the shaft usually points to flashing. Difficulty opening a venting unit is usually hardware. Cracked or chalky exterior gaskets are an early warning that the unit is nearing the end of its service life.
Annual maintenance after a skylight installation Aurora crews complete is simple: clear leaves and debris from around the frame, check that the flashing is not lifted or punctured, confirm the interior perimeter is dry, and operate venting units through a full cycle so the hardware does not seize. Homeowners who want a professional set of eyes can book skylight repair services or arrange a full skylight replacement when a unit has reached the end of its useful life.
If your existing units are original to a 1990s subdivision home, replacement is usually the better value. Modern glazing packages perform dramatically better, and combining replacement with a scheduled reroof saves on access and flashing costs. Detailed information on our approach to professional skylight installation covers what is included in a standard scope of work.
Choosing an Installer for Skylight Installation Aurora Homeowners Can Trust
Roofing and skylight work is not licensed the way electrical work is, so the burden of vetting falls on the homeowner. Ask for proof of WSIB coverage and liability insurance, in writing, before work starts. Ask whether the crew doing the work is employed by the company or subcontracted. Ask which manufacturer’s flashing kit will be used and whether it is included in the price.
Ask specifically about the warranty structure. Skylights carry a manufacturer’s product warranty, commonly ten years on the unit and up to twenty on the glass seal, but the installation workmanship warranty is separate and comes from the contractor. A product warranty is worthless if the leak is a flashing error, so the workmanship term matters more for skylight installation Aurora buyers should compare carefully.
Finally, confirm who handles the interior finishing. Some roofing companies frame and dry in the opening and leave drywall to the homeowner. Others complete the shaft to a paint ready finish. Both approaches are legitimate, but the quote should say which one you are buying. Toronto Skylight Installers is based in the Toronto area and serves Aurora along with Newmarket, Richmond Hill and the rest of York Region.
Do I need a permit for skylight installation in Aurora?
How much does a skylight cost to install in Aurora?
Can a skylight be installed if my roof has engineered trusses?
Will a skylight leak during an Aurora winter?
How long does the installation take?
Which skylight is best for a flat or low slope roof?
Book Your Skylight Installation Aurora Consultation Today
Whether you are brightening a bungalow kitchen, adding daylight to a second floor hallway in a subdivision home, or fitting curb mounted units to a low slope addition, the right plan starts with a proper look at your roof. Toronto Skylight Installers assesses the framing, confirms whether a permit applies, recommends a unit that fits your structure, and completes the work from roof opening to finished drywall.
Call us today at (416) 365-7557 or request a free consultation to get an honest assessment and a written scope with no guesswork.
Toronto Skylight Installers proudly serves Aurora, Newmarket, Richmond Hill, Markham, Vaughan and communities across York Region and the Greater Toronto Area.