

Adding daylight to a closed-in hallway, a dark ensuite or a north-facing kitchen is one of the highest-value upgrades available to a homeowner, and skylight installation Burlington property owners commission each year consistently ranks among the most requested improvements in Halton Region. Burlington sits between the Niagara Escarpment and Lake Ontario, and its housing stock ranges from compact postwar bungalows through 1970s and 1980s two-storey subdivisions to newer estate builds and modern infill. Each of those roof structures behaves differently once a hole is cut in it, which is why pricing, product selection and installation method vary so much across the city. This guide walks through 2026 costs, product options, permit realities and the workmanship details that separate a skylight that performs for twenty-five years from one that starts weeping at the flashing in its third winter.
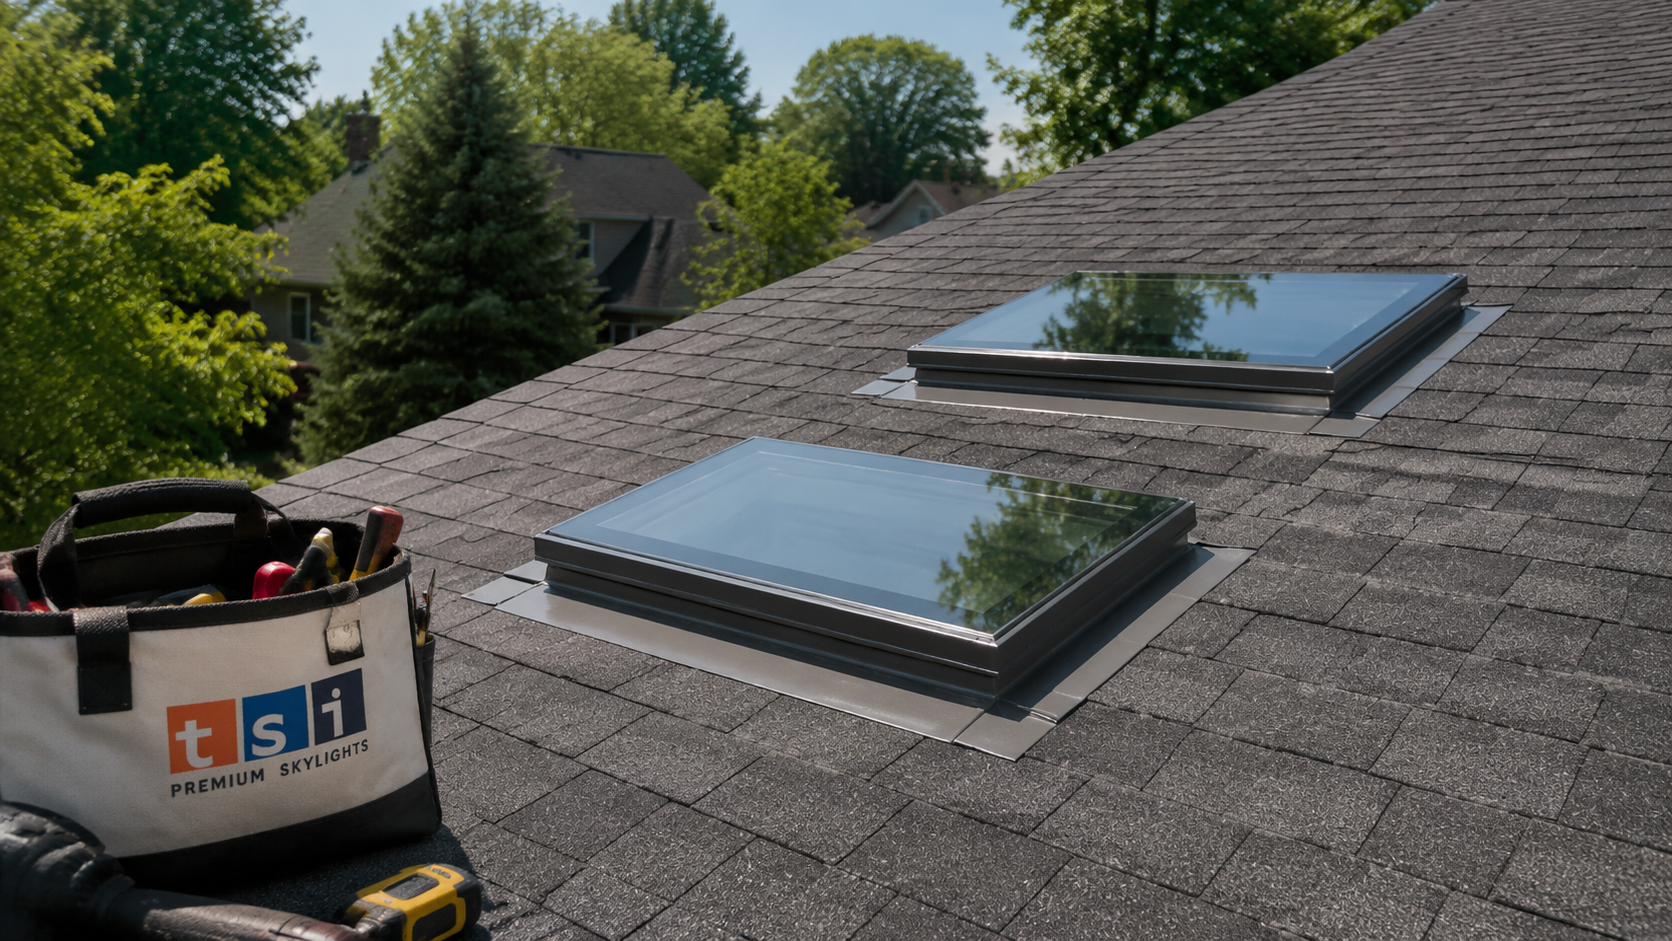
What Skylight Installation Burlington Homeowners Should Expect
A skylight is not a window laid flat. It is a penetration through the single most weather-exposed assembly on the house, and it has to be integrated into the roof drainage plane, the attic ventilation path, the insulation envelope and the interior ceiling finish all at once. A proper skylight installation Burlington job therefore involves roofing, carpentry, insulation, vapour control and drywall finishing, usually across two or three site visits rather than a single afternoon.
The sequence is broadly consistent. The crew confirms rafter or truss spacing from inside the attic, marks the opening, cuts and frames the roof deck, sets the skylight unit, installs the manufacturer’s flashing kit in the correct order relative to the shingle courses, then builds and insulates the interior light shaft before finishing it in drywall. On a bungalow with a shallow attic the shaft may be less than a metre deep. On a two-storey home with a finished second floor, the ceiling opening may need to align with a joist bay and travel further, which adds framing and finishing labour.
Homeowners weighing skylight installation in Burlington should also decide early whether the unit is fixed or venting. Fixed units are cheaper, simpler and leak-resistant by design because there are no moving seals. Venting units, whether manual, electric or solar powered, exhaust hot air and humidity, which matters in bathrooms, kitchens and upper-floor stairwells where summer heat stacks. That single decision moves the budget more than almost any other variable, so it is worth settling before you start comparing quotes.
How Burlington’s Housing Character Shapes the Job
Burlington’s older neighbourhoods south of the QEW contain a large share of postwar bungalows and sidesplits with modest roof pitches, plank or narrow-board sheathing under the shingles, and shallow attics. These are often excellent candidates for skylights because the light shaft is short and the resulting daylight reaches deep into the living space. The trade-off is that older sheathing sometimes needs partial replacement around the opening, and older roofs may be close enough to the end of their service life that a skylight should be scheduled alongside a re-roof rather than ahead of one.
The larger subdivisions built from the 1970s onward tend to use engineered roof trusses. Trusses cannot be cut or modified without engineering review, so skylight installation Burlington crews working on truss-framed homes generally size the unit to fit cleanly between existing webs. That is a real constraint and one of the most common reasons a homeowner’s preferred skylight width is not achievable without added cost. It is also a reason to be sceptical of any quote produced without an attic inspection.
Estate properties in the rural north end and along the escarpment often have steeper pitches, complex roof planes and taller cathedral ceilings. Steeper roofs need more staging and fall protection time, and cathedral ceilings frequently allow a direct-mount skylight with no shaft at all, which produces excellent light but demands careful insulation detailing at the perimeter to avoid condensation. Newer infill and custom homes may already have a suitable structural opening or a framing layout that accommodates one easily, which reduces the cost of skylight installation in Burlington significantly.
None of this is guesswork that should happen on quote day. A credible estimate for skylight installation in Burlington starts with an attic inspection or, where the attic is inaccessible, a structural assessment from below. Any contractor who quotes a firm price over the phone without seeing the framing is guessing, and that guess is usually corrected upward once the work begins and the real conditions are exposed.
2026 Cost Guide for Skylight Installation in Burlington
The figures below reflect supply-and-install pricing typical across Halton Region in 2026, including the roof work, flashing kit, basic framing and a standard finished light shaft. They exclude permit fees, engineered drawings, extensive drywall repair and specialty glazing. Prices are given as ranges because roof pitch, shaft depth, site access and product tier all move the number. Treat any quote for skylight installation Burlington work that falls well outside these bands as a prompt for more questions rather than an outright bargain.
| Skylight type | 2026 supply and install range | Typical on-site time | Best suited to |
|---|---|---|---|
| Fixed deck-mounted skylight | $2,400 to $3,900 per unit | 1 day roof, 1 day interior | Hallways, stairwells, closed rooms needing light only |
| Manual venting skylight (pole operated) | $3,200 to $4,800 per unit | 1 day roof, 1 day interior | Lower ceilings, powder rooms, laundry areas |
| Electric venting skylight | $4,200 to $6,200 per unit | 1 to 2 days plus electrical | High ceilings where wiring is already accessible nearby |
| Solar powered venting skylight | $4,000 to $5,900 per unit | 1 day roof, 1 day interior | Bathrooms and kitchens with no accessible wiring |
| Sun tunnel or tubular skylight | $1,300 to $2,400 per unit | Half day to 1 day | Interior bathrooms, walk-in closets, pantries, hallways |
| Curb-mounted unit on a low-slope or flat section | $3,400 to $6,500 per unit | 1 to 2 days | Rear additions, garage conversions, modern flat-roof builds |
Two units installed on the same visit almost always cost less per unit than two separate jobs, often by fifteen to twenty-five percent, because setup, staging, fall protection and disposal are shared. If you are considering a pair of skylights in a kitchen or a primary bedroom, quote them together. Homeowners who plan skylight installation Burlington projects around an upcoming roof replacement save again, since the flashing integration happens once rather than twice.
Cost Variables That Move the Final Number
The base price of the unit is rarely where quotes diverge. The difference between two bids on the same house usually lives in the items below, so ask any contractor to itemise them rather than bury them in a single line. Transparent line items are one of the clearest signals that a company handling skylight installation in Burlington has actually assessed your roof rather than applied a template.
| Cost item | 2026 range | When it applies |
|---|---|---|
| Interior light shaft framing and drywall | $600 to $1,800 | Any attic-separated ceiling; deeper shafts cost more |
| Engineered drawings for truss modification | $700 to $1,600 | Truss-framed roofs where the opening exceeds one bay |
| Building permit and inspection | $200 to $600 | Structural alteration or enlarging an existing opening |
| Laminated or triple-glazed upgrade | $350 to $900 per unit | Bedrooms, lower-clearance ceilings, noise-sensitive rooms |
| Factory blinds or shades | $300 to $850 per unit | South and west exposures with afternoon heat gain |
| Sheathing or rafter repair discovered on opening | $300 to $1,200 | Older roofs with prior moisture damage |
| Painting and final finishing of the shaft | $250 to $700 | Most projects unless the homeowner paints |
Be cautious with quotes that land dramatically below these ranges. The most common corner cut in skylight installation Burlington homeowners encounter is the use of caulking and generic step flashing in place of the manufacturer’s engineered flashing kit. That approach can look acceptable for two or three seasons and then fail, and when it fails the repair usually involves removing shingles, replacing wet sheathing and redoing the interior finish. The saving disappears many times over.
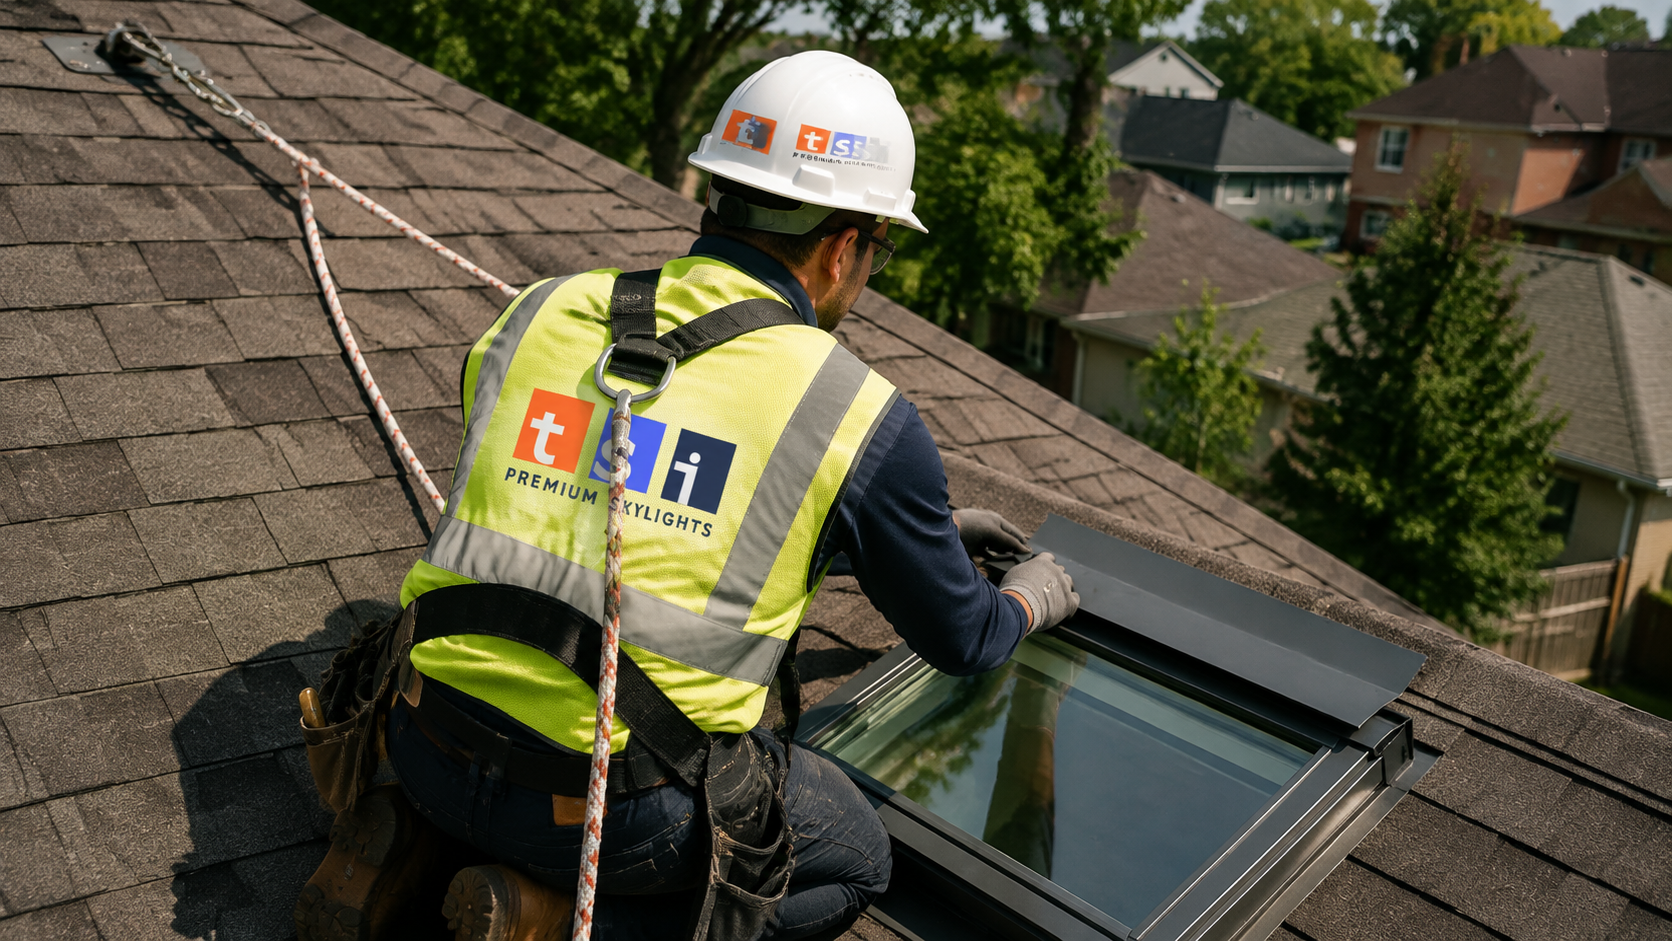
Choosing the Right Skylight Product for Your Home
Product selection should follow the room, not the catalogue. A dark hallway or stairwell needs light, not ventilation, so a fixed skylight delivers the best value per dollar and keeps skylight installation Burlington budgets in check. A bathroom or kitchen benefits enormously from a venting unit, and a solar powered fresh air skylight avoids the cost and disruption of running new wiring through a finished ceiling while still offering rain-sensor auto-close and remote operation.
Where the target room has no straight path to the roof, or where a large ceiling opening would be visually intrusive, sun tunnel skylights are frequently the smarter choice. A reflective tube can travel several metres and turn corners, delivering surprising brightness into an interior bathroom or a windowless walk-in closet for roughly half the cost of a conventional unit. Many Burlington bungalows and sidesplits are ideal candidates because the attic run is short and unobstructed.
Homes with rear additions, modern flat-roofed sections or converted garages need a different assembly again. Flat roof skylights are curb-mounted on a raised, insulated kerb so that water drains away rather than pooling against the frame. Never allow a standard pitched-roof deck-mounted unit to be fitted on a low-slope roof. It is a predictable leak and it voids the manufacturer warranty.
Glazing matters more than most homeowners expect. Low-emissivity coatings, argon fill and a warm-edge spacer all reduce winter heat loss and summer heat gain, and laminated inner panes are good practice over any occupied space where a falling pane would be a hazard. In rooms facing south or west, pairing a solar-control glazing package with a factory blind is usually cheaper over the life of the unit than trying to correct overheating later with window film or aftermarket shades.
Permits, Ontario Building Code and Compliance in Burlington
Whether a permit is required depends on what the work does to the structure. Replacing an existing skylight with a same-size unit in the same opening is generally treated as maintenance and does not require a permit. Creating a new opening, enlarging an existing one, or cutting or modifying engineered trusses is structural work, and the City of Burlington building department will expect a permit application. Truss modification also requires drawings sealed by a professional engineer, which is why that line item appears in the cost table above and why permit questions come up on so many skylight installation Burlington enquiries.
The Ontario Building Code drives several design decisions on every job. Headers must be sized for the span with the load path carried down to bearing. Glazing over habitable space should be safety glazing, with laminated inner panes preferred. The insulated light shaft must maintain continuity of both the thermal insulation and the air and vapour barrier so that warm indoor air cannot reach the cold cavity and condense. Attic ventilation must remain unobstructed around the new shaft, because a blocked soffit-to-ridge path creates exactly the moisture problems the shaft detailing is meant to prevent.
Condensation complaints are the single most misdiagnosed skylight issue in this climate. Homeowners see water on the interior frame in February, assume a leak, and call for a repair that is not needed. In most cases the glass is simply the coldest surface in a humid room and interior moisture is condensing on it. The remedy is ventilation and air sealing, not sealant. Any contractor handling skylight installation and repair services across Burlington should be able to tell the difference on site, because the two problems have completely different solutions and one of them is far cheaper.
Project Timeline: What the Installation Actually Looks Like
Most residential jobs run across a two to three week calendar window even though the actual labour is two or three days. Product lead time is usually the longest single element, particularly for venting units, custom sizes and specialty glazing. Planning skylight installation in Burlington for late spring through early autumn gives the best weather window and avoids opening a roof in freezing conditions, when membrane adhesion and sealant performance both suffer.
| Stage | Typical duration | What happens |
|---|---|---|
| On-site assessment and quote | 45 to 90 minutes | Attic inspection, framing check, sizing, product options, written estimate |
| Product order and delivery | 1 to 4 weeks | Stock units ship fastest; venting, custom and specialty glazing take longer |
| Permit and engineering, if required | 1 to 3 weeks | Drawings prepared, application filed, approval issued before work starts |
| Roof work and unit installation | About 1 day per unit | Opening cut and framed, unit set, flashing kit installed, roof made watertight |
| Shaft framing, insulation and drywall | 1 to 2 days | Shaft built, insulated, air and vapour barrier sealed, board hung and taped |
| Finishing, paint and final walkthrough | About 1 day | Compound sanded, trim installed, painting, operation tested, site cleaned |
A responsible crew never leaves an opening unprotected overnight. If weather forces a stop mid-installation, the opening should be temporarily decked and covered with a mechanically fastened waterproof membrane, not a tarp weighted down with lumber. Ask how this is handled before you sign anything. It is a fair proxy for how the rest of the job will be run, and it is a question very few homeowners think to ask.
Flashing, Waterproofing and Why Skylights Actually Leak
Manufacturers do not build leaky skylights. Poor integration causes leaks, and the pattern is consistent enough to be predictable. Failures cluster at four points: the head flashing where water arriving from up-slope must be diverted around the unit, the side step flashing where each piece must lap the course below, the sill flashing at the low side, and the ice and water membrane that should extend well beyond the opening on all four sides. Every skylight installation Burlington roofs receive should address all four in sequence.
In Burlington’s climate the up-slope head detail carries the heaviest load. Snow accumulates behind the curb, melts against the warm glass, refreezes at the colder shingle line and can push water back up under the courses. A properly executed skylight installation Burlington crews stand behind combines a full-width head flashing with a generous membrane run and, on lower-pitch roofs, an added cricket or diverter above the unit to move water sideways before it ever reaches the frame.
If you already have a leaking unit, resist the urge to have it caulked. Sealant is a maintenance material, not a waterproofing system, and applying it over a flashing fault hides the symptom while the sheathing continues to absorb water. Professional skylight repairs start by identifying whether the source is flashing, glazing seal failure, condensation or a roof problem several metres up-slope. Where a unit is more than twenty years old and the seals have failed, skylight replacement usually costs less than repeated repair attempts and restores the warranty position.
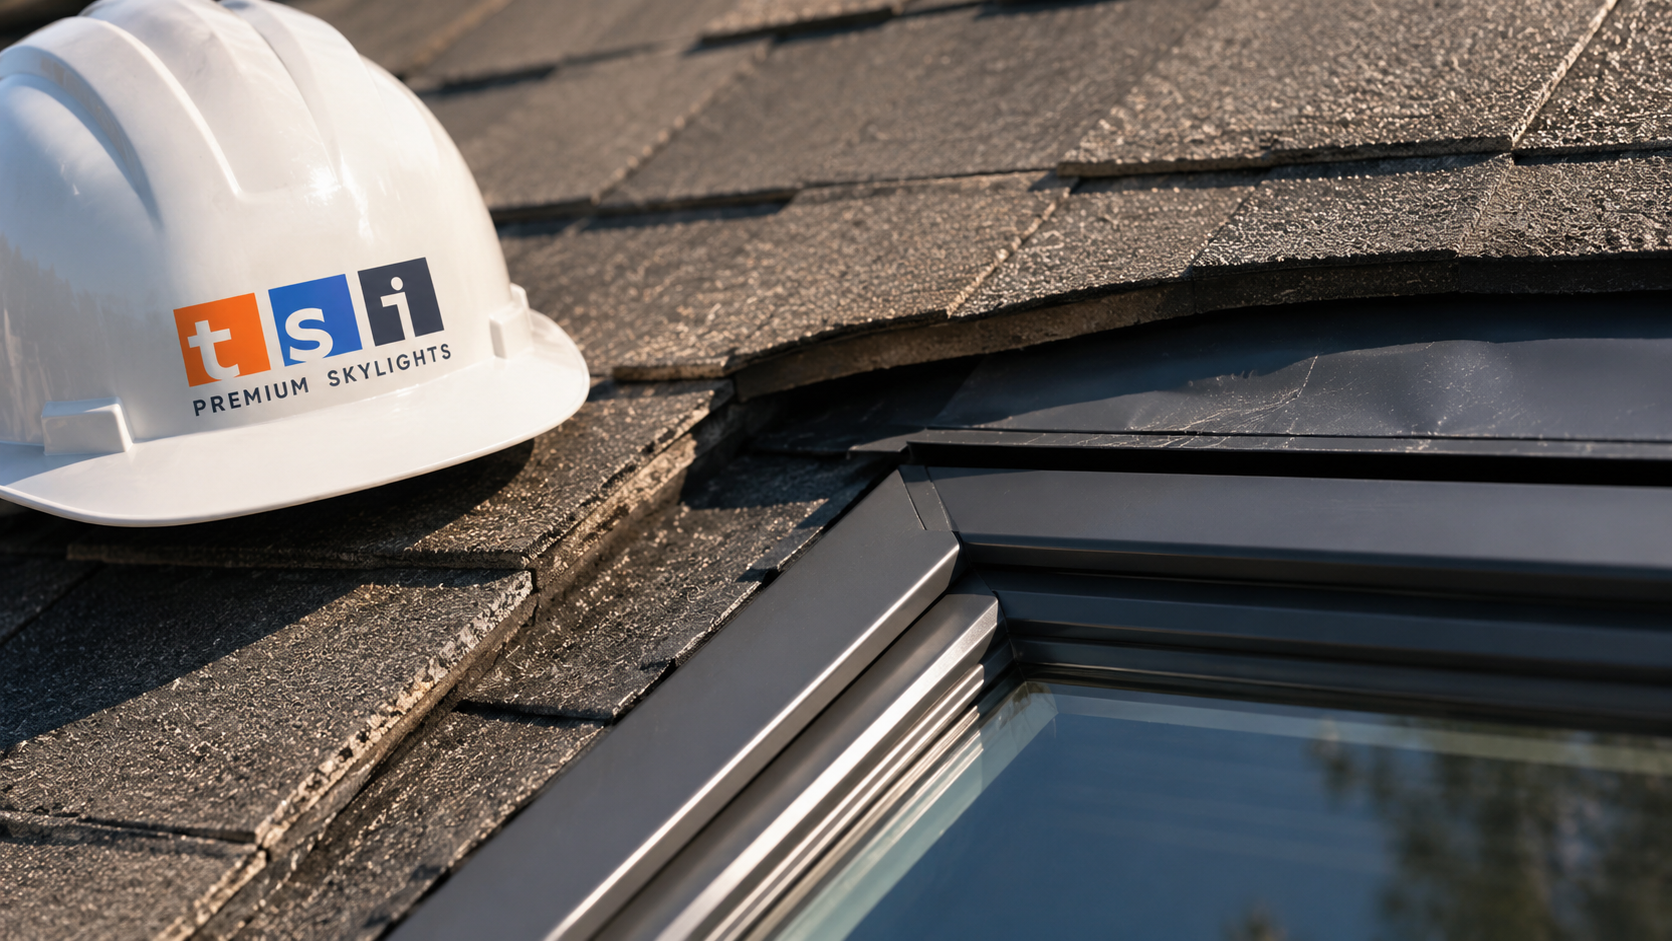
Maintenance, Warranties and Long-Term Performance
A well-installed modern skylight is close to maintenance free, but close is not the same as zero. Once a year, clear leaves and debris from the up-slope side and the flashing channels, check that the exterior gasket is intact and pliable, wash the glass, and operate any venting mechanism through its full travel so the seals and hardware do not seize. On solar powered units, wipe the small photovoltaic panel clean so the battery keeps charging properly through the shoulder seasons. Annual attention of this kind protects the value of a skylight installation in Burlington for decades.
Warranties typically separate the sealed glass unit from the rest of the assembly. Insulated glass units commonly carry ten to twenty year coverage against seal failure, frames and hardware carry shorter terms, and blinds and electrical components are shorter again. Installation workmanship warranty is separate and comes from the contractor, not the manufacturer. Ask for both terms in writing before you commit to skylight installation Burlington quotes you are comparing. A manufacturer warranty is also conditional on the unit being installed according to instructions with the correct flashing kit, which is one more reason the cheapest bid can be the most expensive outcome.
Expect a quality unit installed correctly to give twenty-five to thirty years of service in this climate. Older acrylic domes and site-built curbs from the 1970s and 1980s rarely reach that, which is why so much of the skylight work in Burlington’s established neighbourhoods is replacement rather than new installation. If your existing units are original to a home of that vintage, budget for replacement rather than repeated repair and treat any leak as a signal to plan rather than patch.
Working With the Right Contractor
Skylight work sits awkwardly between trades. General renovators often subcontract the roof portion, and general roofers often treat the interior shaft as somebody else’s problem. The result is a divided warranty and a finger-pointing exercise if anything goes wrong. A specialist carries the roof opening, the flashing, the shaft and the finish under one scope and one line of accountability, which is the practical argument for hiring a dedicated skylight company rather than adding the work to a broader renovation contract.
Before hiring for skylight installation Burlington work, confirm the basics: WSIB coverage and liability insurance, a written scope naming the exact product model and flashing kit, a stated workmanship warranty term, and a clear plan for weather protection and debris removal. Ask to see photographs of completed head flashing details rather than finished interior shots, because the interior always looks good and the roof detail is what actually determines performance. Detailed guidance on scope and process is available on the skylight installation service page.
How much does skylight installation in Burlington cost in 2026?
Do I need a permit for skylight installation Burlington projects?
How long does a skylight installation take from start to finish?
Will a new skylight leak or cause condensation problems?
Can skylights be installed in a truss-framed Burlington home?
Should I install a skylight before or after replacing my roof?
Book Your Skylight Installation Burlington Consultation Today
Daylight changes how a room is used, and the difference between a skylight that performs quietly for decades and one that becomes an annual worry comes down to framing, flashing and shaft detailing. Toronto Skylight Installers is a Toronto-area specialist serving Burlington and the wider Halton Region, handling the roof opening, the flashing integration, the insulated shaft and the interior finish as a single scope with a single point of accountability.
Call us today at (416) 365-7557 or request a free consultation to arrange an on-site assessment, an attic and framing check, and a clear written quote with the product model and flashing kit named in the scope.
Toronto Skylight Installers serves Burlington, Oakville, Milton and communities throughout the Greater Toronto Area with professional skylight installation, replacement and repair.