

Milton has grown faster than almost any other community in Halton Region, and its housing stock tells that story plainly. Postwar bungalows sit a short drive from subdivisions built within the last fifteen years, older brick homes cluster near the original town centre, and larger estate properties spread out toward the escarpment. That mix is exactly why skylight installation in Milton is rarely a one-size-fits-all job. A low-slope addition on a 1950s bungalow and a steep asphalt roof on a 2018 two-storey need different units, different flashing, and different framing work, even when the homeowner is asking for the same thing: more natural daylight.
This guide covers the practical side of skylight installation in Milton: which skylight types suit which roof, what a properly scoped project costs in 2026, how permits and the Ontario Building Code apply, how long the work takes, and what separates an installation that stays dry for twenty-five years from one that leaks in its third spring. Everything below reflects how the work is actually done on GTA and Halton homes, not a manufacturer brochure.
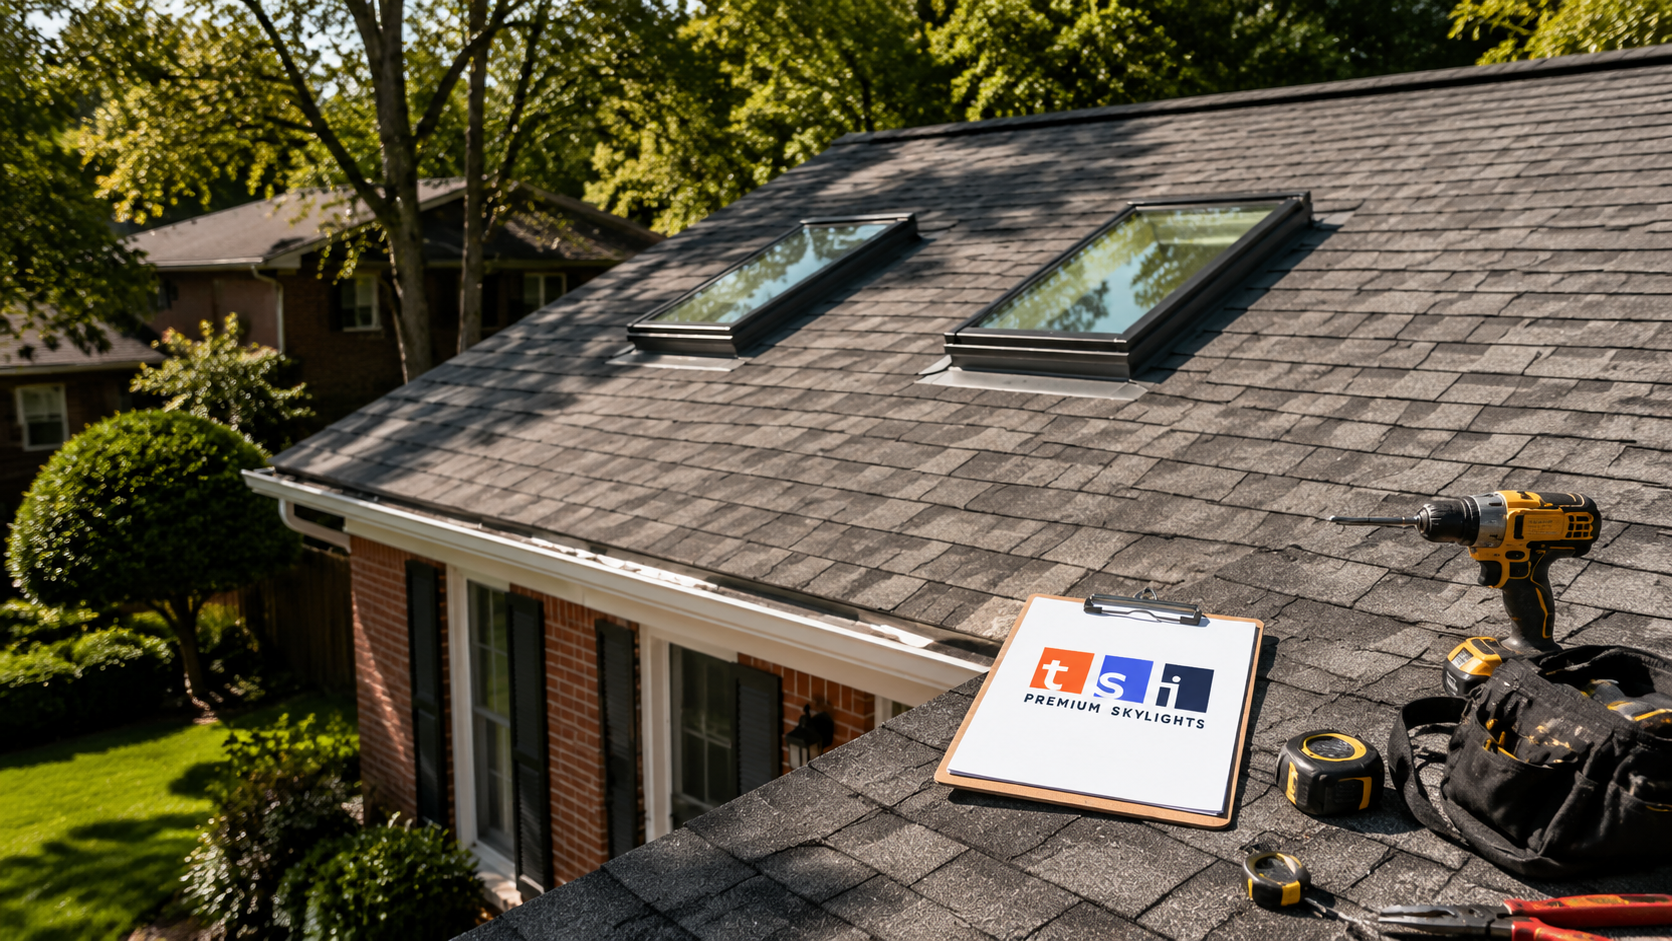
Why Skylight Installation in Milton Deserves Careful Planning
Southern Ontario gives homeowners a demanding climate to design around. Milton sees hot, humid summers, freeze and thaw cycles through late autumn and early spring, ice buildup at roof edges, and driving rain from the west. A skylight is a deliberate opening cut through the one assembly that keeps all of that out. Done properly, it is no more vulnerable than the rest of the roof. Done casually, it becomes the first place water finds.
The second reason planning matters is that Milton homes vary so widely in age and construction. Many of the older bungalows near the town core were built with rafter framing and shallow attics, which makes a straight, short light shaft easy to build. Newer subdivision homes are almost always built with engineered roof trusses, and truss webs cannot be cut or altered without an engineered repair detail. That single structural difference changes where a skylight can go, how large it can be, and how much interior finishing work follows, which is why no two quotes for skylight installation in Milton look quite the same.
Third, daylight behaves differently depending on orientation. North-facing skylights deliver steady, even light with very little heat gain. South-facing units bring the most light and the most summer heat, so they benefit from low-E glazing and often a blind. East-facing units brighten mornings, and west-facing units catch strong late-afternoon sun that can overheat a room in July. Deciding orientation before ordering is one of the cheapest ways to get a better result from skylight installation in Milton.
Finally, skylight installation in Milton is a roofing job before it is a daylighting job. The glazing unit is the easy part. The flashing, the membrane detailing, the deck preparation, and the interior air and vapour control are what determine whether the installation performs. Any conversation that skips straight to product colours and blinds is skipping the part that matters.
Milton Housing Types and the Skylights That Suit Them
Matching the unit to the house is the first real decision in any skylight installation in Milton. Here is how the local housing character usually maps to product choice.
Postwar and mid-century bungalows
These homes typically have modest roof spans, shallow pitches between 4:12 and 6:12, and accessible attics. They are excellent candidates for deck-mounted skylights over kitchens, hallways, and rear additions. Because the attic is shallow, the light shaft is short, which means more of the daylight actually reaches the room rather than being absorbed by a long drywall chase. Where the attic is tight or the roof plane sits directly over a small bathroom or closet, a sun tunnel is often the smarter option because it needs no framing changes and no drywall shaft.
Newer subdivision homes
Homes built from the 1990s onward in Milton’s newer neighbourhoods almost always use prefabricated roof trusses at 600 mm on centre. Standard skylight widths are sized to fit between trusses precisely so that no structural member has to be cut. When a homeowner wants a larger unit or a pair of units side by side, headers and an engineered detail may be required. These homes also tend to have deep attic space, which means longer light shafts. A flared shaft, wider at the ceiling than at the roof, spreads light much more effectively than a straight box.
Older brick homes near the town centre
Century and near-century homes bring their own considerations: steeper roof pitches, sometimes original board sheathing instead of plywood, occasional slate or cedar heritage roofing, and framing that was never dimensioned to modern standards. Deck preparation is a bigger part of the job here, and it is common to replace a section of sheathing around the opening before the unit goes in. The payoff is significant, since these homes often have dark upper hallways and stairwells that a single well placed skylight transforms.
Estate lots and larger custom homes
Larger properties on the outskirts of Milton often have complex roof geometry with valleys, dormers, and multiple planes. Skylight placement here is as much about avoiding water concentration points as it is about daylight. A unit placed too close to a valley collects runoff from two roof planes and is far more likely to give trouble. On these homes, grouped skylights and larger fixed units over stairwells or great rooms are common, and the engineering of the opening deserves proper attention.
Flat and low-slope additions
Rear additions, garage conversions, and sunroom roofs frequently have slopes below 2:12. Standard deck-mounted units are not rated for these slopes. The correct solution is a curb-mounted unit set on a built-up curb, which is exactly what flat roof skylights are designed for. Curb height matters more than almost anything else when skylight installation in Milton involves a low-slope roof.
Skylight Types and Products to Consider
Once the roof is understood, product selection becomes straightforward. Most skylight installation in Milton falls into one of five categories.
Fixed skylights do not open. They are the simplest, most affordable, and least leak-prone option, and they deliver the most glass area per dollar. They suit stairwells, hallways, living rooms, and any space where ventilation is not the goal. If daylight is the entire objective, a fixed skylight is usually the best value.
Manual venting skylights open with a crank or pole. They work well in reachable ceilings under about three metres and are a reasonable choice for bathrooms and kitchens where humidity needs an exit. Above that height, the operating pole becomes awkward enough that most homeowners stop using it.
Electric fresh air skylights open on a motor with a remote or wall switch and typically include a rain sensor that closes the unit automatically. They require a wiring run to the unit, which adds cost if the attic access is difficult.
Solar-powered fresh air skylights run on an integrated solar panel and battery, so no wiring is needed. They open by remote, close on rain, and in Canada they frequently qualify for treatment as a solar product rather than a standard window. A solar-powered fresh air skylight is the usual recommendation for high ceilings and vaulted rooms.
Sun tunnels use a reflective tube to carry daylight from a small roof dome down through the attic to a ceiling diffuser. They fit where a conventional skylight will not, need no drywall shaft, and install in a few hours. They will not give you a view of the sky, but for interior bathrooms, closets, laundry rooms, and windowless hallways they solve a problem nothing else solves cheaply.
| Skylight type | Typical supplied and installed cost, 2026 | Best suited to | Install time per unit |
|---|---|---|---|
| Fixed deck-mounted skylight | $1,400 to $2,400 | Stairwells, hallways, living rooms | 4 to 6 hours |
| Manual venting skylight | $2,000 to $3,200 | Bathrooms and kitchens with reachable ceilings | 5 to 7 hours |
| Electric fresh air skylight | $2,600 to $4,200 | High ceilings with attic wiring access | 6 to 9 hours |
| Solar-powered fresh air skylight | $2,800 to $4,500 | Vaulted rooms, no wiring available | 5 to 8 hours |
| Sun tunnel, 250 mm or 350 mm | $900 to $1,900 | Interior bathrooms, closets, hallways | 2 to 4 hours |
| Curb-mounted unit on a low-slope roof | $2,200 to $4,800 | Additions, sunrooms, garage conversions | 6 to 10 hours |
Ranges reflect a single unit on a straightforward asphalt roof with reasonable access. Multiple units installed on the same visit generally reduce the per unit cost of skylight installation in Milton, since setup, staging, and site protection are shared across the job.
What Skylight Installation in Milton Costs in 2026
Homeowners are usually surprised by how much of a skylight budget is not the skylight. The glazing unit itself is often less than half the total. The rest is deck work, flashing, framing, interior shaft construction, drywall, paint, and disposal.
A realistic all-in budget for one fixed skylight with a short shaft in a Milton bungalow lands between $2,200 and $3,400 once interior finishing is included. The same unit in a two-storey subdivision home with a two metre shaft, a flared opening, and painted drywall usually lands between $3,000 and $4,600. Solar venting units, larger openings, and heritage roof coverings push the number higher.
Cost drivers worth understanding before you request quotes for skylight installation in Milton:
- Shaft length. A short chase in a shallow attic is a half day of interior work. A tall flared shaft in a deep truss attic can add a full day of framing plus drywall, taping, and painting.
- Structural modification. Fitting between existing rafters or trusses is normal work. Cutting a truss web or spanning more than one bay requires an engineered detail and adds both cost and time.
- Roof covering. Asphalt shingles are the easiest and least expensive to reintegrate. Metal, cedar, slate, and torch-applied modified bitumen all cost more to open and close correctly.
- Roof age. If the shingles are near end of life, installing a new skylight into a failing roof is money spent twice. It is often better to combine the two projects.
- Access. Steep pitches, tall walls, restricted side yards, and landscaping that limits staging all add labour hours.
- Glazing upgrades. Laminated glass, triple glazing, and factory-fitted blinds each add a few hundred dollars per unit.
One more note on value. If you already have skylights that fog, leak, or have failed seals, a like-for-like skylight replacement is far less expensive than a brand new opening, because the framing and shaft already exist. Where the existing unit is sound but the flashing has failed, targeted skylight repairs can extend service life by years.
Permits, the Ontario Building Code, and Local Approvals
Whether a permit is required depends on what the work involves. In most Ontario municipalities, including Milton, replacing an existing skylight with a comparable unit in the same opening is treated as maintenance and does not require a building permit. Creating a new opening in the roof structure is structural work, and structural work generally does require a permit from the Town of Milton building department.
The practical rule: if a rafter, truss, or joist is being cut, headed, or modified, expect to submit for a permit. Your contractor should confirm the requirement with the municipality rather than guessing, and permit responsibility should be stated clearly in the written quote.
The Ontario Building Code shapes several details of any skylight installation in Milton:
- Glazing safety. Overhead glazing must be laminated or otherwise approved so that a failure cannot drop glass into the room below. Tempered outer panes with a laminated inner pane are the common configuration.
- Structural support. Any cut framing member must be supported by properly sized headers. Engineered trusses cannot be altered without a detail from a qualified designer.
- Thermal performance. Skylights installed in Ontario homes must meet the energy efficiency requirements applicable to fenestration, which in practice means insulated low-E units rather than single glazing.
- Air and vapour control. The shaft has to maintain continuity of the ceiling air barrier and insulation, otherwise warm indoor air reaches cold surfaces and condensation follows.
- Ventilation continuity. The shaft must not block attic airflow from soffit to ridge. Baffles are used to preserve the vent path around the opening.
Skipping the permit on a structural opening creates a problem that resurfaces years later at resale, when a home inspector or lawyer asks for documentation that does not exist. The permit fee for a residential skylight opening in Halton is a small fraction of the project cost and is worth paying.
How a Professional Skylight Installation Unfolds
A properly run skylight installation in Milton follows a predictable sequence. Understanding it makes it easier to judge whether a quote is complete.
Assessment. The installer inspects the roof covering and its remaining life, checks the attic for framing type and obstructions such as ducts, plumbing stacks, and wiring, measures the proposed location from both above and below, and confirms orientation and sightlines from inside the room.
Specification and quote. Unit type, size, glazing, blinds, flashing kit, permit responsibility, shaft construction, drywall finish level, and cleanup should all be itemized. Vague single line quotes are where disputes begin.
Interior preparation. Floors and furnishings are covered, and a dust containment barrier is set up. The ceiling is opened and the shaft location is confirmed against the roof layout.
Framing the opening. The roof deck is cut from above, headers are installed, and the rough opening is squared to the manufacturer’s dimensions. Precision here prevents flashing problems later.
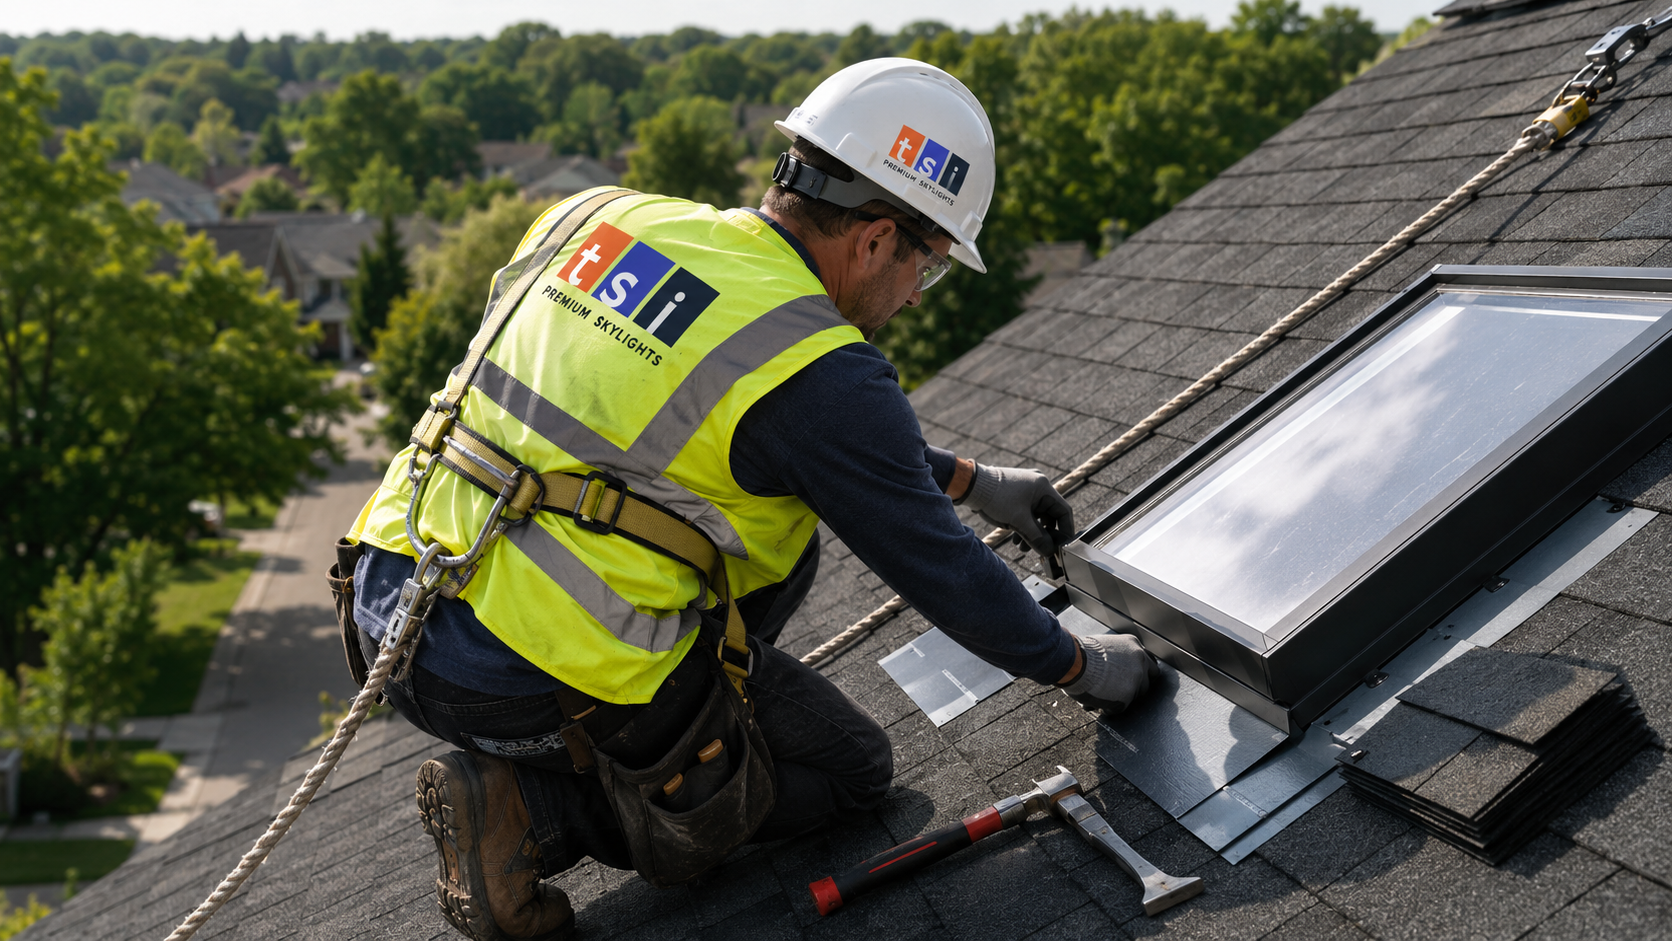
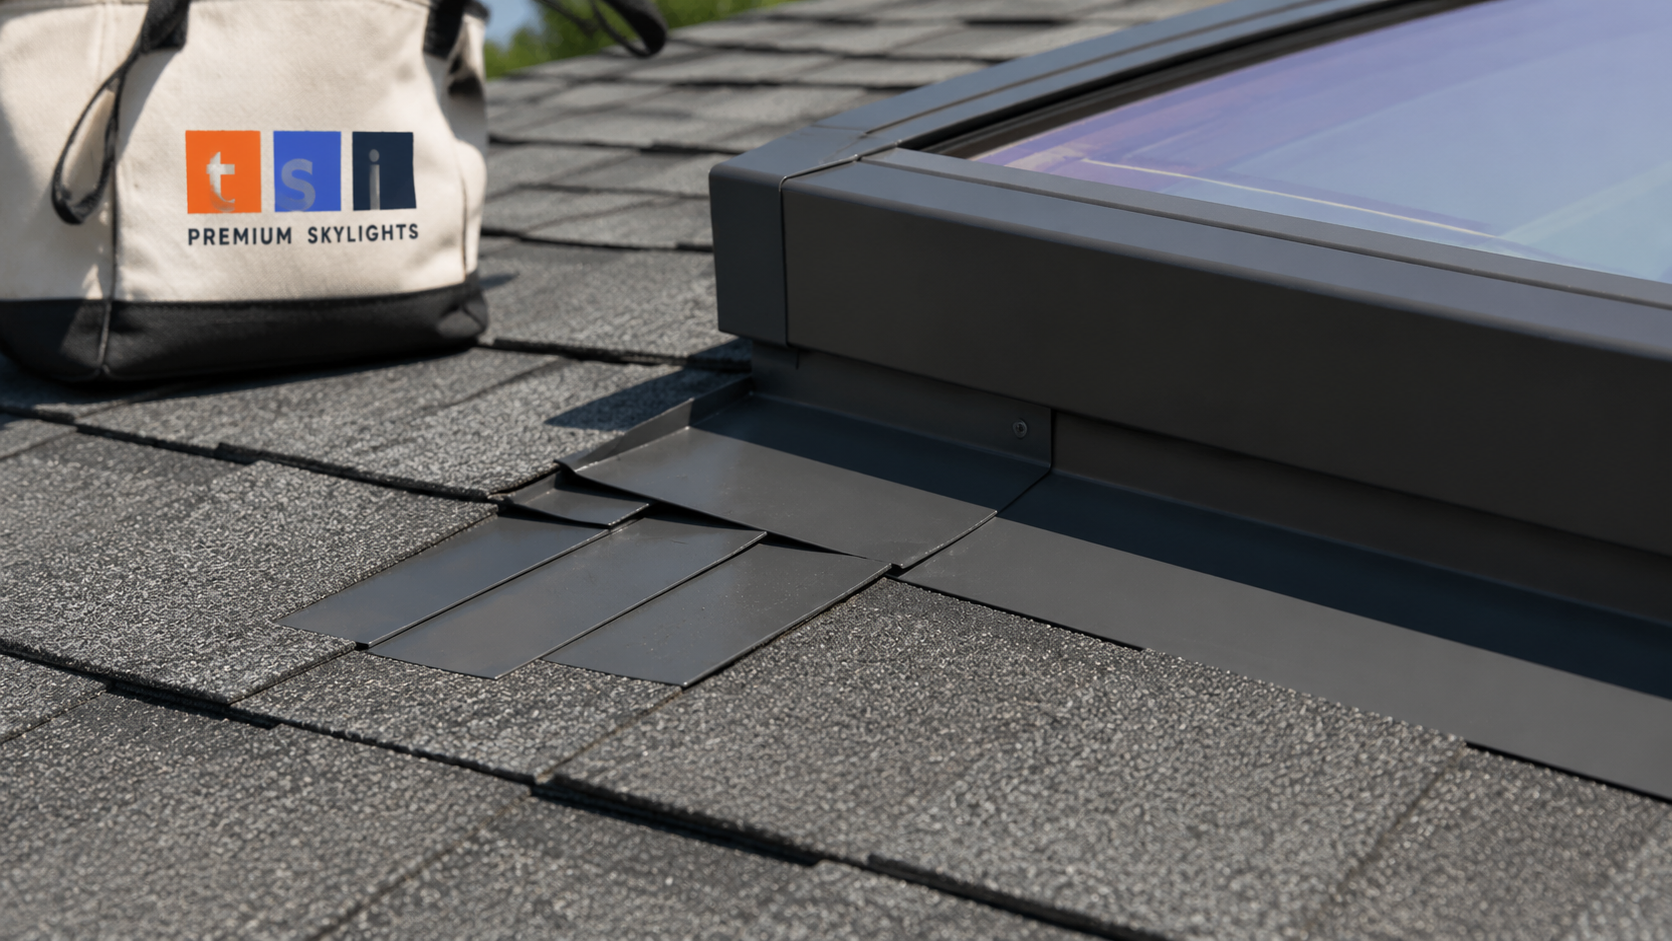
Membrane and unit installation. Self-adhered ice and water membrane is applied around the opening and lapped correctly onto the deck. The unit is set, fastened to the manufacturer’s schedule, and the factory flashing kit is installed in order: sill first, then step flashing woven with the shingle courses, then head flashing at the top.
Roof reintegration. Shingles or membrane are cut, fitted, and sealed around the flashing so that water sheds over the assembly at every point rather than being asked to stop at a bead of caulking.
Shaft construction and finishing. The shaft is framed, insulated, air sealed, drywalled, taped, and painted. Flaring the shaft outward toward the ceiling is a small extra cost that meaningfully increases delivered daylight.
Inspection and handover. A permitted job is inspected by the municipality. The homeowner receives warranty documents, operating instructions for venting units, and a walkthrough of the finished work.
| Project stage | Typical duration | What the homeowner should expect |
|---|---|---|
| On site assessment and measurement | 60 to 90 minutes | Attic access needed, photos taken, options discussed |
| Permit application and review, if required | 5 to 15 business days | Drawings submitted to the Town of Milton |
| Unit ordering and delivery | 1 to 3 weeks for standard sizes | Custom sizes and finishes take longer |
| Roof opening and unit installation | 4 to 9 hours | Roof is opened and closed the same day |
| Shaft framing, drywall, and paint | 1 to 3 days | Drying time between drywall coats |
| Municipal inspection and handover | 30 to 45 minutes | Warranty paperwork and operating instructions |
Most skylight installation in Milton projects involving a single unit on a straightforward roof are complete within a week of the unit arriving, with the roof itself never left open overnight.
Materials and Details That Matter in Halton Weather
Milton sits close enough to the escarpment to get its share of wind driven rain, and far enough into southern Ontario to get long freeze and thaw seasons. Both of those conditions punish shortcuts. The specifications below are what a durable skylight installation in Milton should include.
| Component | Recommended specification | Why it matters locally |
|---|---|---|
| Glazing | Laminated inner pane, tempered outer pane, low-E coating, argon fill | Meets overhead safety glazing rules, reduces summer heat gain and winter heat loss |
| Flashing | Manufacturer’s factory kit matched to the roof covering, never site-fabricated | Factory kits are tested as a system and preserve the warranty |
| Underlayment | Self-adhered ice and water membrane extending at least 150 mm past the curb on all sides | Backs up the flashing during ice damming and wind driven rain |
| Curb height, low-slope roofs | Minimum 200 mm above the finished roof surface | Keeps standing water and snow accumulation below the glazing seal |
| Shaft insulation | Full-depth insulation with a continuous air and vapour barrier | Prevents condensation forming on the shaft in January |
| Attic ventilation | Baffles maintained around the opening from soffit to ridge | Blocked airflow causes moisture buildup and premature deck decay |
One detail deserves emphasis. Caulking is a finishing material, not a waterproofing strategy. A correctly installed skylight sheds water mechanically through lapped, layered components, and would remain watertight even if every bead of sealant were removed. If a contractor’s plan depends on sealant, that is a signal to keep looking.
Common Mistakes to Avoid
Most skylight problems in the GTA trace back to a handful of avoidable errors, and every one of them shows up occasionally in skylight installation in Milton work done without proper roofing experience.
- Installing into a roof near end of life. If the shingles have three or four years left, the skylight will have to be disturbed when the roof is replaced. Combining the projects saves money and avoids a second opportunity for a flashing error.
- Site-built flashing. Fabricated aluminum and generous caulking may look acceptable on day one. It rarely survives five Ontario winters and it voids most manufacturer warranties.
- Placing the unit in a valley or below a chimney. Concentrated runoff plus a penetration is a predictable failure.
- Oversizing. A skylight that is too large for a west-facing room turns it into a greenhouse in July. Two smaller units usually beat one oversized unit for even light distribution.
- Ignoring the shaft. A poorly insulated, unsealed shaft will drip condensation on cold mornings, and homeowners almost always misdiagnose it as a leak.
- Skipping the permit on structural work. The cost of retroactive documentation at resale far exceeds the original permit fee.
- Choosing on price alone. The gap between a careful installation and a rushed one is a few hundred dollars up front and several thousand in remediation later.
Homeowners comparing quotes across Halton and beyond often find it useful to look at how the same contractor handles work in neighbouring markets. Our Milton skylight installation and repair services page sets out local coverage in detail, and the broader skylight installation service overview explains the process and product range across every community we serve.
Maintenance, Lifespan, and Long Term Performance
A well executed skylight installation in Milton is not maintenance free, but the maintenance is light. Twice a year, ideally in late spring and late autumn, clear debris from the head flashing where leaves and needles collect, check that the surrounding shingles are flat and intact, and look at the interior shaft for staining. On venting units, cycle the mechanism and wipe the gasket so it seats cleanly.
Expected service life depends mostly on the sealed unit. Modern insulated glazing units in quality skylights typically last twenty to thirty years before the seal degrades and internal fogging appears. Flashing kits, when properly installed with a membrane behind them, often outlast the glazing. Blinds, motors, and rain sensors are serviceable components with shorter lifespans.
Two symptoms are commonly confused. Condensation forming on the inside face of the glass during a cold snap is usually an indoor humidity or shaft insulation issue, not a leak. Fogging between the panes, which cannot be wiped away, means the sealed unit has failed and the glazing needs replacement. Actual leaks almost always appear at the head of the unit or at the corners, and they show up during driving rain or a thaw rather than on a still, cold morning.
Homeowners who plan for eventual replacement do better than those who wait for failure. A skylight nearing thirty years old, on a roof scheduled for replacement, should simply be replaced at the same time. That approach keeps the roof assembly consistent in age and avoids opening a finished roof twice.
How much does skylight installation in Milton cost in 2026?
Do I need a building permit for skylight installation in Milton?
Can a skylight be installed in a home built with roof trusses?
Will a new skylight leak?
How long does the work take from start to finish?
Should I replace my roof and skylight at the same time?
Book Your Skylight Installation in Milton Consultation Today
Whether you are adding daylight to a dark hallway in a postwar bungalow, planning a pair of units over a family room in a newer subdivision, or replacing a fogged thirty year old skylight on an older brick home, the right starting point for skylight installation in Milton is an on site assessment. Toronto Skylight Installers is based in the Toronto area and serves homeowners throughout Milton and Halton Region, with the same crews, products, and installation standards we use across the GTA.
Call us today at (416) 365-7557 or request a free consultation to have your roof assessed, your options priced, and your project scheduled.
Toronto Skylight Installers proudly serves Milton, Halton Region, and communities across the Greater Toronto Area with professional skylight installation, replacement, and repair.