

Adding daylight to a room that has never had it is one of the few renovations that changes how a house feels every single day, and that is why skylight installation Oshawa homeowners are researching has become such a common project across the city. A hallway that always needed a lamp at two in the afternoon, a north-facing kitchen that reads as grey nine months of the year, a finished attic bedroom with one small gable window: these are the rooms that a properly placed skylight transforms. The catch is that a skylight is a hole cut through the two layers of your home that are supposed to keep water out, so the quality of the work matters more than the brand printed on the glass. This guide covers what skylight installation Oshawa pricing looks like in 2026, how the city’s mix of postwar bungalows, 1970s sidesplits and newer truss-framed subdivisions changes the job, which unit types make sense in which rooms, and what the Ontario Building Code and the City of Oshawa permit process actually require. Nothing here is theoretical. It is the same information a homeowner comparing skylight installation Oshawa quotes would get standing in their own hallway with a contractor pointing at the ceiling.
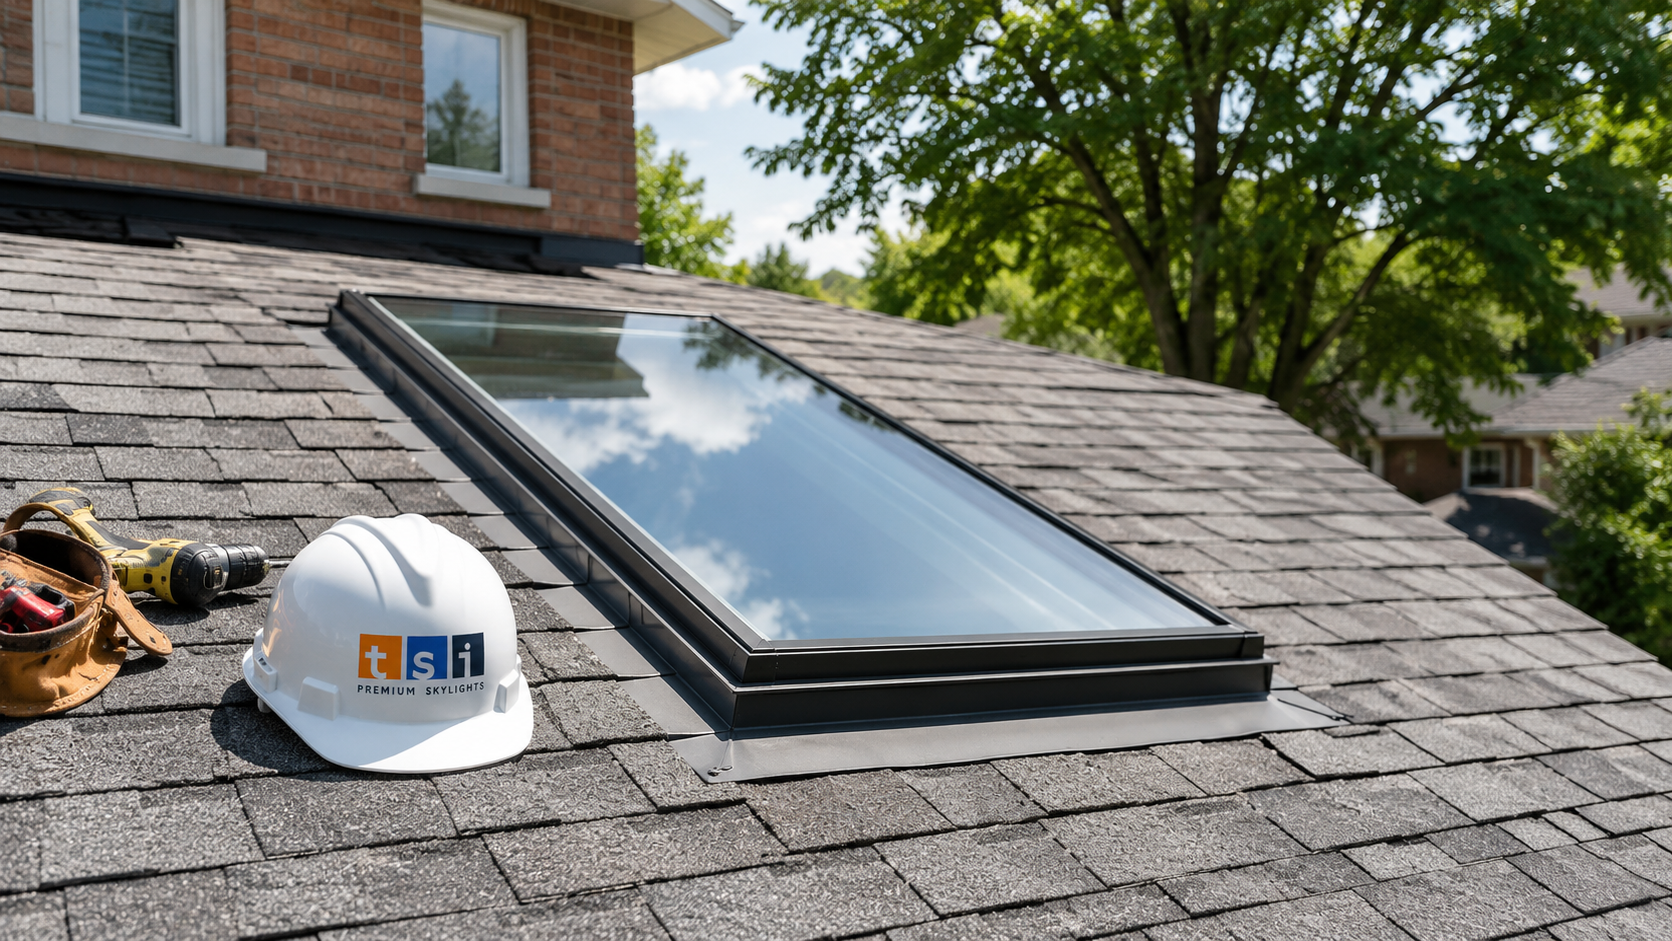
What Skylight Installation Oshawa Homeowners Pay in 2026
Pricing for skylight installation Oshawa projects splits into three parts: the unit itself, the roof work, and the interior work. Homeowners tend to shop the first part and forget the other two, which is why quotes that look wildly different often are not comparing the same scope at all. A bare unit price of $700 means very little if the framing, flashing, drywall shaft, insulation, vapour barrier, paint and disposal are quoted separately or not at all.
The figures below reflect typical 2026 installed pricing in Durham Region for a single unit on a walkable asphalt shingle roof, including flashing, interior finishing of the light shaft to a paint-ready state, and cleanup. They are ranges, not quotes, because the depth of your attic and the framing you have behind the drywall move the number more than anything else.
| Skylight Type | Installed Cost Range (2026) | Typical Best Use |
|---|---|---|
| Sun tunnel / tubular daylight device | $1,100 to $2,100 | Hallways, closets, small bathrooms, stairwells |
| Fixed deck-mounted skylight | $1,700 to $3,000 | Living rooms, stairwells, rooms with existing ventilation |
| Manual venting skylight | $2,400 to $3,700 | Reachable ceilings, kitchens, low-slope cathedral rooms |
| Electric fresh air skylight | $3,100 to $4,900 | High or vaulted ceilings, bathrooms, primary bedrooms |
| Solar powered fresh air skylight | $3,300 to $5,300 | High ceilings where running new wiring is impractical |
| Curb-mounted unit on a flat or low-slope roof | $2,700 to $5,600 | Rear additions, garage conversions, flat-roofed extensions |
Two adjustments push a skylight installation Oshawa quote toward the upper end. The first is a long light shaft: a bungalow with a deep attic may need a framed and drywalled shaft two metres long, which is a small carpentry and drywall job in its own right. The second is structural modification, covered further down. Multiple units installed on the same day usually reduce the per-unit cost by a few hundred dollars, since setup, staging and disposal are shared across the project.
How Oshawa’s Housing Stock Changes the Job
Oshawa is not one housing type, and the difference between its eras of construction has a direct effect on what skylight installation Oshawa contractors can and cannot do without an engineer involved.
The older central and south parts of the city carry a large stock of postwar bungalows and one-and-a-half-storey homes, many with brick exteriors and shallow-pitch roofs framed with dimensional lumber rafters at roughly 400 mm on centre. Rafter framing is the friendliest case for a new skylight. A rafter can be cut and the load carried by doubled headers above and below the opening, which means the rough opening can be wider than a single rafter bay and the unit can be sized to the room rather than the framing.
The 1960s and 1970s sidesplits and two-storey homes through the central and north end are similar in that respect, though attic depths vary and many of these homes have had a second layer of shingles added at some point, which changes how the flashing has to be integrated.
Newer subdivision homes in the north end and the estate-lot builds on the city’s edges are usually framed with engineered roof trusses at roughly 600 mm on centre. Trusses are a completely different situation. A truss is a designed structural assembly, and cutting a chord or a web member without an engineered repair detail compromises it. In practice this means one of two things: either the skylight is sized to fit between two trusses, which caps the rough opening at roughly 560 mm of clear width, or a licensed engineer designs a modification and the work is done to that drawing. Neither is a problem, but the second adds cost and lead time, and any contractor who offers to simply cut a truss and carry on should be shown the door.
Roof covering matters too, and it is one of the first things a skylight installation Oshawa estimator will look at. Most of the city is asphalt shingle, which is the simplest and least expensive substrate to flash into. Metal roofs, cedar, and the low-slope membrane roofs found on rear additions and garage conversions each require different flashing approaches and different unit types, and they all cost more to detail correctly.
Choosing the Right Skylight Type for the Room
Most homeowners start by asking what a skylight costs and end up realizing the more useful question is what the room actually needs. Light, ventilation, and privacy are three separate problems, and the unit that solves one may be the wrong choice for another. Every skylight installation Oshawa project starts with that question rather than with a product catalogue.
Fixed units
A fixed skylight does one job extremely well: it delivers daylight with the fewest moving parts and the lowest long-term failure risk. There is no operator, no chain, no motor and no seal that opens and closes thousands of times. For a stairwell, a living room, or any space that already has adequate ventilation from windows, fixed is usually the right call and the most durable one.
Venting units
A venting skylight adds exhaust. Because hot, humid air rises, a skylight that opens at the highest point of a room clears steam and cooking moisture faster than a wall window ever will. In a bathroom or a kitchen this is a real functional gain, not a luxury. Manual units make sense where the ceiling is reachable with a pole. Above about three metres, or in any bathroom where the operator hardware would be inconvenient, an electric or solar powered fresh air skylight with a rain sensor is the practical choice.
Sun tunnels
A sun tunnel is the underrated option in Oshawa’s bungalow stock. It uses a small roof dome and a reflective tube to bring daylight down through the attic into an interior room, with no framed shaft, no truss modification, and a fraction of the interior finishing work. For a windowless hallway, a walk-in closet, an ensuite, or a basement stairwell landing, it delivers a surprising amount of light for the price. It will not give you a view of the sky, which is the tradeoff.
Flat roof units
Rear additions, sunrooms and converted garages frequently sit under low-slope or flat roofs. These need flat roof skylights built on a raised curb so water sheds away from the glass rather than pooling against it. Installing a standard sloped-roof unit on a flat deck is one of the more reliable ways to create a leak.
| Type | Ventilation | Relative Daylight | Suits Truss-Framed Roofs | Maintenance Load |
|---|---|---|---|---|
| Fixed deck-mounted | None | High | If sized between trusses | Lowest |
| Manual venting | Good, needs reach | High | If sized between trusses | Low |
| Electric fresh air | Excellent, remote operated | High | If sized between trusses | Moderate, motor and sensor |
| Solar fresh air | Excellent, no new wiring | High | If sized between trusses | Moderate, battery over time |
| Sun tunnel | None | Moderate, diffuse | Yes, fits easily | Very low |
Permits, the Ontario Building Code, and What Gets Inspected
Homeowners are often surprised that skylight installation Oshawa work can require a building permit. The rule of thumb is straightforward: replacing an existing skylight with a unit of the same size in the same opening generally does not require a permit, because nothing structural changes. Cutting a new opening through a roof does alter structure, and a permit from the City of Oshawa building services department is generally required. Permit fees for a project of this size are modest, typically in the low hundreds of dollars, and the review is quick compared with a larger renovation.
Any experienced skylight installation Oshawa contractor will either handle the application or tell you plainly that it is your responsibility. What they should never do is suggest skipping it. An unpermitted structural alteration can surface during a future sale, and an insurer reviewing a water damage claim on unpermitted work is not a conversation you want to have.
On the code side, the requirements that matter most to a homeowner are these. Skylight glazing must be safety glazing, which in practice means tempered glass on the outer pane and laminated glass on the inner pane so that a failure does not drop shards into the room below. Any structural member that is cut has to be properly headed off, and engineered trusses require a design from a qualified professional before modification. The roof assembly’s insulation and air barrier have to be maintained continuously around the new shaft, which is the step most often skipped and the one that causes condensation complaints the following winter.
That last point deserves emphasis. In an Ontario winter, warm indoor air that leaks into a poorly sealed light shaft will condense on the cold surfaces inside it. Homeowners then report a “leaking skylight” in February when the actual problem is an air sealing failure. Insulating and air-sealing the shaft properly is not an upsell, it is part of doing the job.
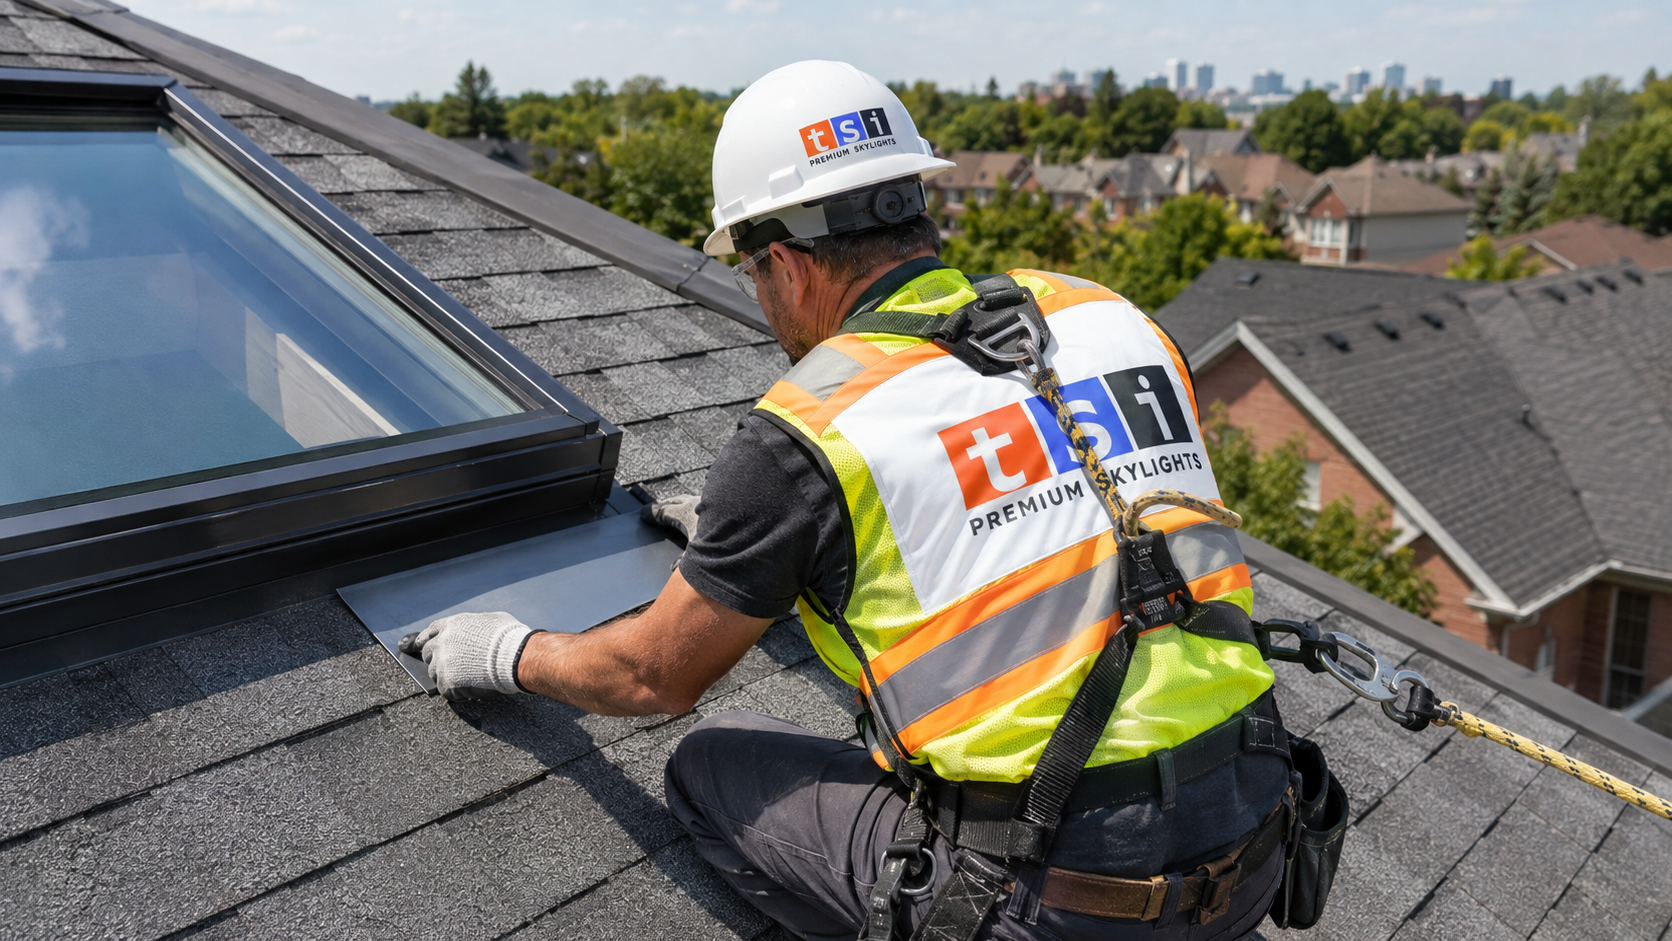
What Installation Day Actually Looks Like
A single-unit skylight installation Oshawa crews carry out on an accessible asphalt shingle roof is normally a one-day or two-day job. Knowing the sequence helps you evaluate a quote, because a crew that skips steps will finish faster and you will pay for it later.
- Interior layout and confirmation. The ceiling location is confirmed from inside, then verified in the attic against the actual framing. This is where a planned position sometimes shifts by a rafter bay. It is far better to move the unit now than to discover the conflict after the roof is open.
- Protection and containment. Floors and furnishings below are covered, and the work area is contained. Cutting drywall overhead is dusty work.
- Cutting the ceiling and framing the opening. The interior opening is cut, headers installed where a rafter is interrupted, and the shaft framing set. On a truss roof this step follows the engineered detail or is avoided entirely by sizing between trusses.
- Opening the roof. Shingles are removed around the location, the deck is cut, and the unit is set and fastened to the deck or curb. This is the step that determines whether the roof stays dry, and it is always completed the same day it is started.
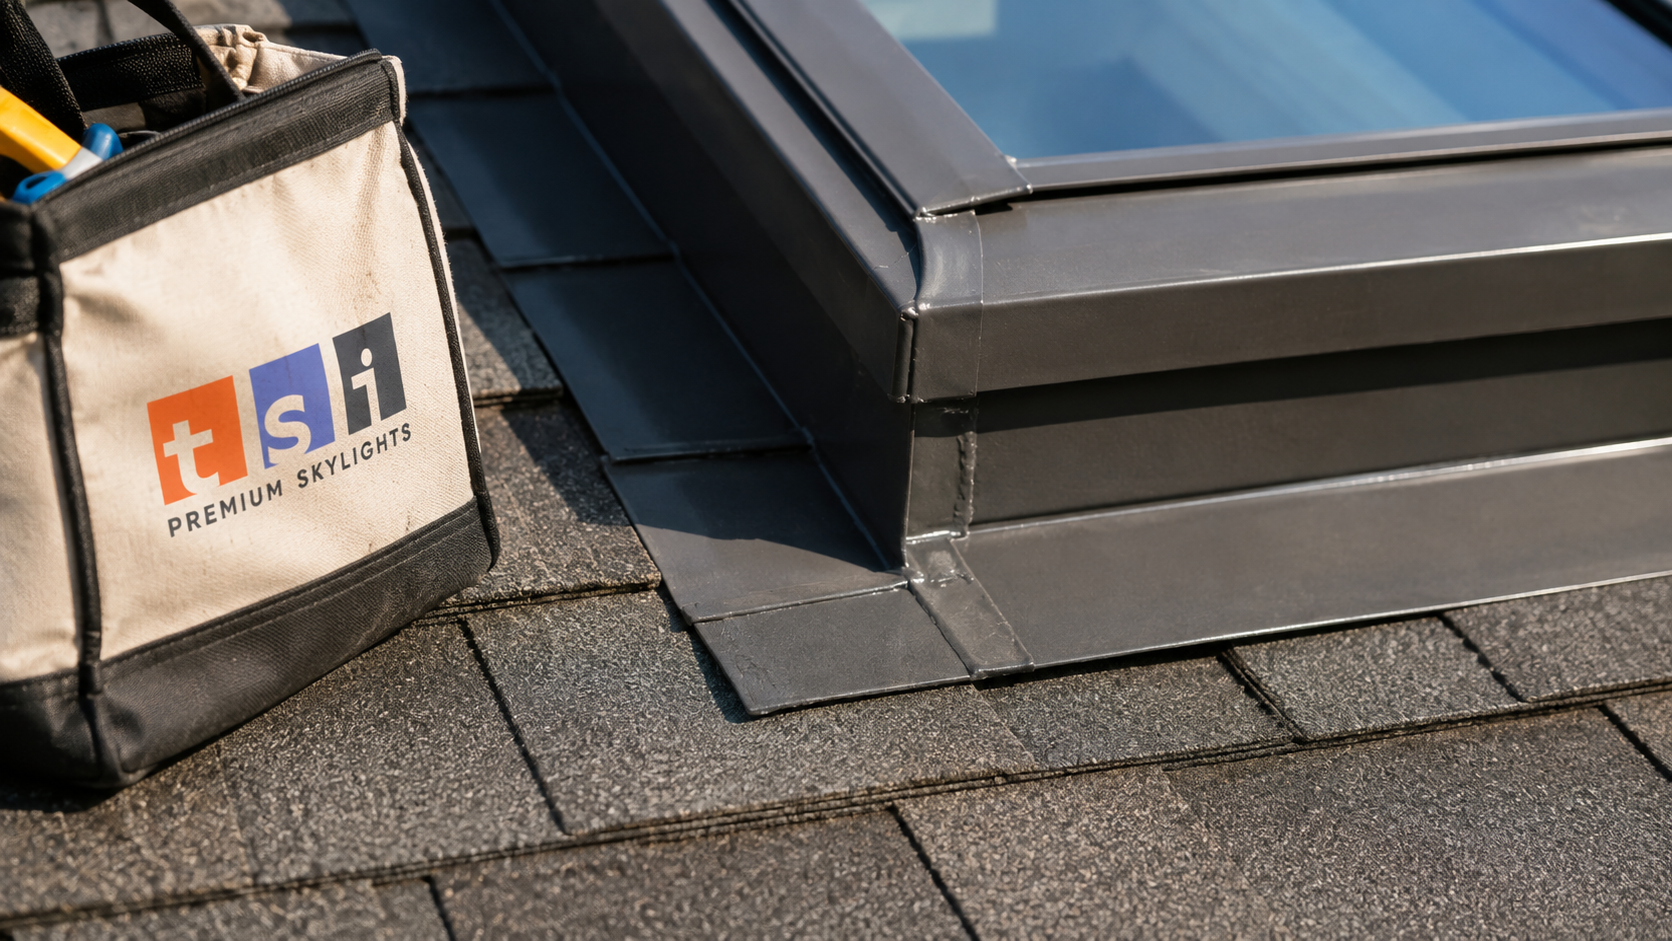
- Flashing. Underlayment, then the manufacturer’s flashing kit installed in the correct sequence: sill flashing first, step flashing woven up both sides with the shingle courses, head flashing last. Sealant is a supplement to correct flashing, never a substitute for it.
- Insulation and air sealing. The shaft is insulated to the surrounding assembly’s value and the air and vapour barrier is made continuous.
- Interior finishing. Drywall, taping, corner bead, and a sanded, paint-ready surface. Most contractors leave final paint to the homeowner unless it is quoted.
- Cleanup and a water test. Debris removed, magnets run for nails, and where conditions allow, a hose test to confirm the flashing performs before the crew leaves.
Homeowners planning skylight installation Oshawa work often ask about weather. Roofs are opened only when the forecast supports it, and a competent crew will reschedule rather than gamble. Late spring through early autumn gives the most reliable working conditions, and it is also when sealants and adhesives cure properly. Winter installation is possible but adds cost and scheduling risk.
Glass, Coatings, and Winter Performance in Durham Region
Ontario’s climate is hard on glazing. A skylight faces the sky, which means it loses heat to a cold night sky faster than a vertical window and gains solar heat faster on a July afternoon. The glass package is therefore not a detail to economize on when planning skylight installation Oshawa work. The cost difference between a builder-grade unit and a well-specified one is usually a few hundred dollars, and it shows up in comfort every winter for the next twenty-five years.
Look for double or triple glazing with a low-emissivity coating and an inert gas fill, a warm-edge spacer to reduce condensation at the perimeter of the glass, and laminated inner glass for both safety and a measurable reduction in rain noise. If the room takes strong afternoon sun, ask about a coating with a lower solar heat gain coefficient, or plan for an integrated blind from the outset. Retrofitting a blind later on a high ceiling costs more than specifying it at installation.
| Upgrade | Typical Added Cost | What It Actually Does |
|---|---|---|
| Low-E coating with argon fill | Often included in quality units | Cuts winter heat loss and summer solar gain; treat as a baseline requirement |
| Triple glazing | $250 to $600 per unit | Further reduces heat loss and interior surface chill on cold nights |
| Laminated inner pane | $150 to $350 per unit | Safety glazing plus a noticeable drop in rain and hail noise |
| Factory blind, manual | $200 to $450 per unit | Glare and privacy control; light-filtering or room-darkening options |
| Factory blind, solar powered | $400 to $800 per unit | Remote operated blind for ceilings that cannot be reached |
| Rain sensor on a venting unit | Usually included on electric and solar models | Closes the unit automatically when precipitation is detected |
Placement: Getting the Light Right the First Time
Where a skylight goes matters as much as which one you buy, and this is the part of skylight installation Oshawa planning that homeowners most often underestimate. Orientation drives the character of the light. A north-facing slope gives soft, even daylight with very little heat gain, which is ideal for a home office or a room with a television. South-facing gives the most light and the most heat, excellent in winter and worth pairing with a blind or a low solar-gain coating for July. East-facing brings morning light, west-facing brings strong late-afternoon sun and the most glare.
Shaft geometry is the second lever. A shaft cut straight down delivers a narrow, defined beam of light. A flared shaft, where the drywall opening widens as it comes down into the room, spreads light much more broadly from the same roof opening. Flaring costs a little more in framing and drywall and is almost always worth it in a bungalow with a deep attic.
As a rough sizing guide, a skylight of roughly five percent of a room’s floor area gives comfortable general daylight, and around ten percent produces a bright, distinctly daylit space. Two smaller units spaced apart frequently look better and light more evenly than one oversized unit, particularly in a truss-framed home where each opening is limited by the bay width anyway. Mature trees are worth considering too, since a large maple that shades the roof in summer will also cut the light you paid for.
Choosing an Installer and Comparing Quotes Fairly
A skylight is sold by a manufacturer but its performance is delivered by whoever installs it. The overwhelming majority of skylight leaks are flashing and integration failures, not glass or seal failures. That makes installer selection the highest-leverage decision in any skylight installation Oshawa project.
Ask every skylight installation Oshawa contractor for proof of WSIB coverage and liability insurance, and ask specifically who does the roof work. Some general renovators cut the ceiling and subcontract the roof portion, which can be fine but should be disclosed. Ask whether the manufacturer’s flashing kit is being used, since site-fabricated flashing is a common shortcut. Confirm in writing who is responsible for the permit, whether the interior shaft is finished to paint-ready or left framed, and what the warranty covers on labour as distinct from the unit’s own warranty.
Because Oshawa skylight installation and repair services are delivered by crews travelling from across the GTA, it is also fair to ask about response time if something goes wrong. A company that can be back on your roof within a reasonable window after a storm is worth more than one that saves you a hundred dollars up front. Toronto Skylight Installers is based in the Toronto area and serves Oshawa and the rest of Durham Region, and our approach to professional skylight installation is to quote the complete scope, framing, flashing, insulation and interior finishing included, so there are no surprises after the ceiling is open.
Be cautious with a quote that is dramatically lower than the others. Nine times out of ten the difference is scope: no permit, no shaft insulation, no interior finishing, or a site-bent flashing instead of the engineered kit. Ask each contractor to itemize, then compare like against like.
Maintenance and What to Expect Over Twenty Years
A well-installed skylight with a quality glass package should give twenty to thirty years of service, which is why skylight installation Oshawa homeowners are right to treat it as a long-term investment rather than a cosmetic upgrade. Getting there takes very little effort.
Clear leaves and needles from the flashing channels each autumn, since debris damming above the head flashing is a common cause of water backing up under the shingles. Check the exterior gasket and the surrounding shingles visually every couple of years, ideally at the same time as a general roof inspection. Operate venting units a few times a season so the seals and hardware do not seize. Inside, watch for condensation patterns: light seasonal moisture on the glass during a cold snap is normal in a humid house, but staining on the drywall at the corners of the shaft points to an air sealing or flashing issue that should be looked at promptly.
When a unit does reach end of life, the tell-tale signs are fogging between the panes, which indicates a failed seal, and persistent staining that returns after cleaning. At that point replacing the unit in the existing opening is usually far more economical than repeated repairs, and it avoids the framing and permit work entirely. For isolated flashing or seal problems on an otherwise sound unit, targeted skylight repair work is the sensible first step.
Frequently Asked Questions About Skylight Installation
How much does skylight installation cost in Oshawa in 2026?
Do I need a building permit for a new skylight in Oshawa?
Can a skylight be installed in a home with roof trusses?
How long does a skylight installation take?
Will a skylight leak or make the room too hot?
What is the best time of year for skylight installation Oshawa homeowners should plan around?
Book Your Skylight Installation Oshawa Consultation Today
If you are weighing a skylight for a dark hallway, a north-facing kitchen or a finished attic room, the fastest way to get a real number is an on-site assessment that looks at your actual framing, attic depth and roof covering. Toronto Skylight Installers handles skylight installation Oshawa homeowners can plan around, serving Oshawa and the rest of Durham Region with full-scope work: permit support, framing, manufacturer flashing kits, insulated and air-sealed shafts, and paint-ready interior finishing.
Call us today at (416) 365-7557 or request a free consultation to review your options and get a written, itemized quote.
Toronto Skylight Installers is based in the Toronto area and proudly serves Oshawa, Whitby, Ajax, Pickering and communities across the Greater Toronto Area.