

Skylight installation in Richmond Hill is one of the few renovations that changes how a house feels the moment the work is finished. A north-facing hallway that needed a lamp at two in the afternoon becomes usable. A galley kitchen tucked under a low soffit stops feeling like a basement. Because Richmond Hill’s housing stock spans everything from modest postwar bungalows to large estate homes on deep lots and dense newer subdivisions, the right approach to skylight installation Richmond Hill homeowners should be considering varies enormously from street to street and roof to roof.
This guide covers what a properly executed skylight installation in Richmond Hill costs in 2026, which product types make sense for different roof and ceiling configurations, how the Ontario Building Code and municipal permit process apply, and what separates an installation that stays dry for twenty-five years from one that stains the drywall by the second spring. Everything below reflects current Ontario market pricing and standard installation practice, not marketing estimates.
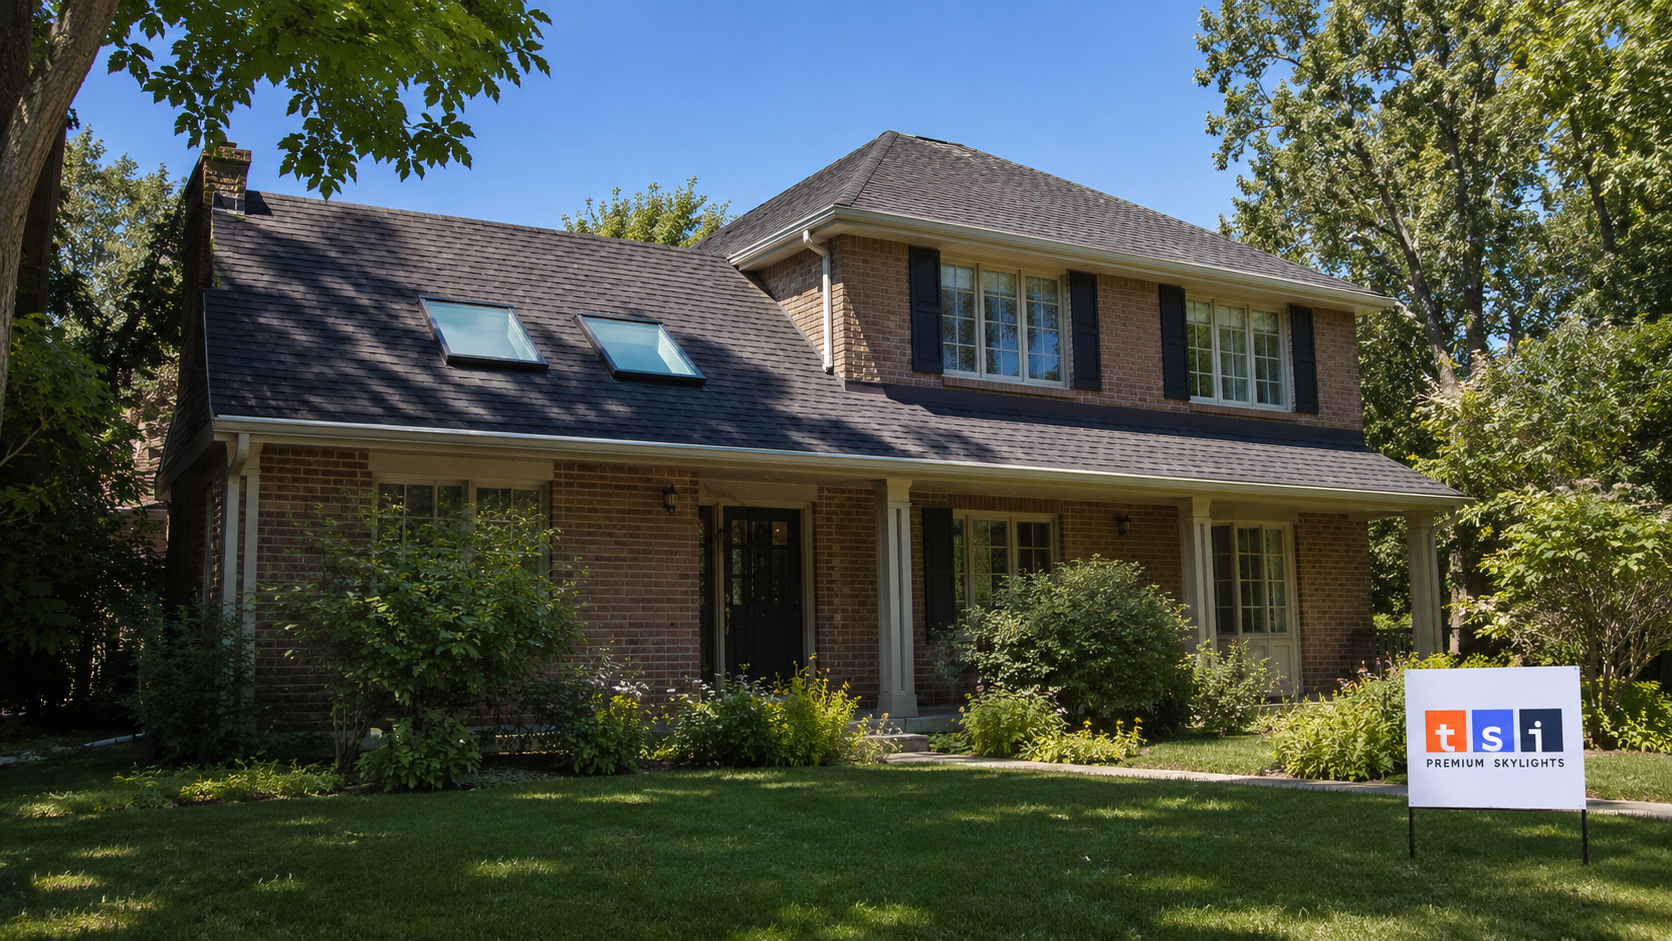
What Skylight Installation in Richmond Hill Actually Involves
Most homeowners picture skylight installation in Richmond Hill as cutting a hole and dropping in a window. The unit itself is genuinely the simple part. The work that determines whether the project succeeds happens in three places: the rafter or truss framing, the flashing interface where the skylight meets the roof covering, and the light shaft that carries daylight from the roof deck down to the finished ceiling.
On the framing side, an installer has to open the roof deck without compromising the structure. In older Richmond Hill homes built with dimensional rafters, this usually means cutting one rafter and installing doubled headers above and below the opening to transfer the load. In newer subdivision homes framed with engineered roof trusses, cutting a truss chord is not permitted without an engineered repair detail, so the skylight is normally sized to fit between existing trusses. That single difference is the biggest driver of cost and feasibility on any given roof.
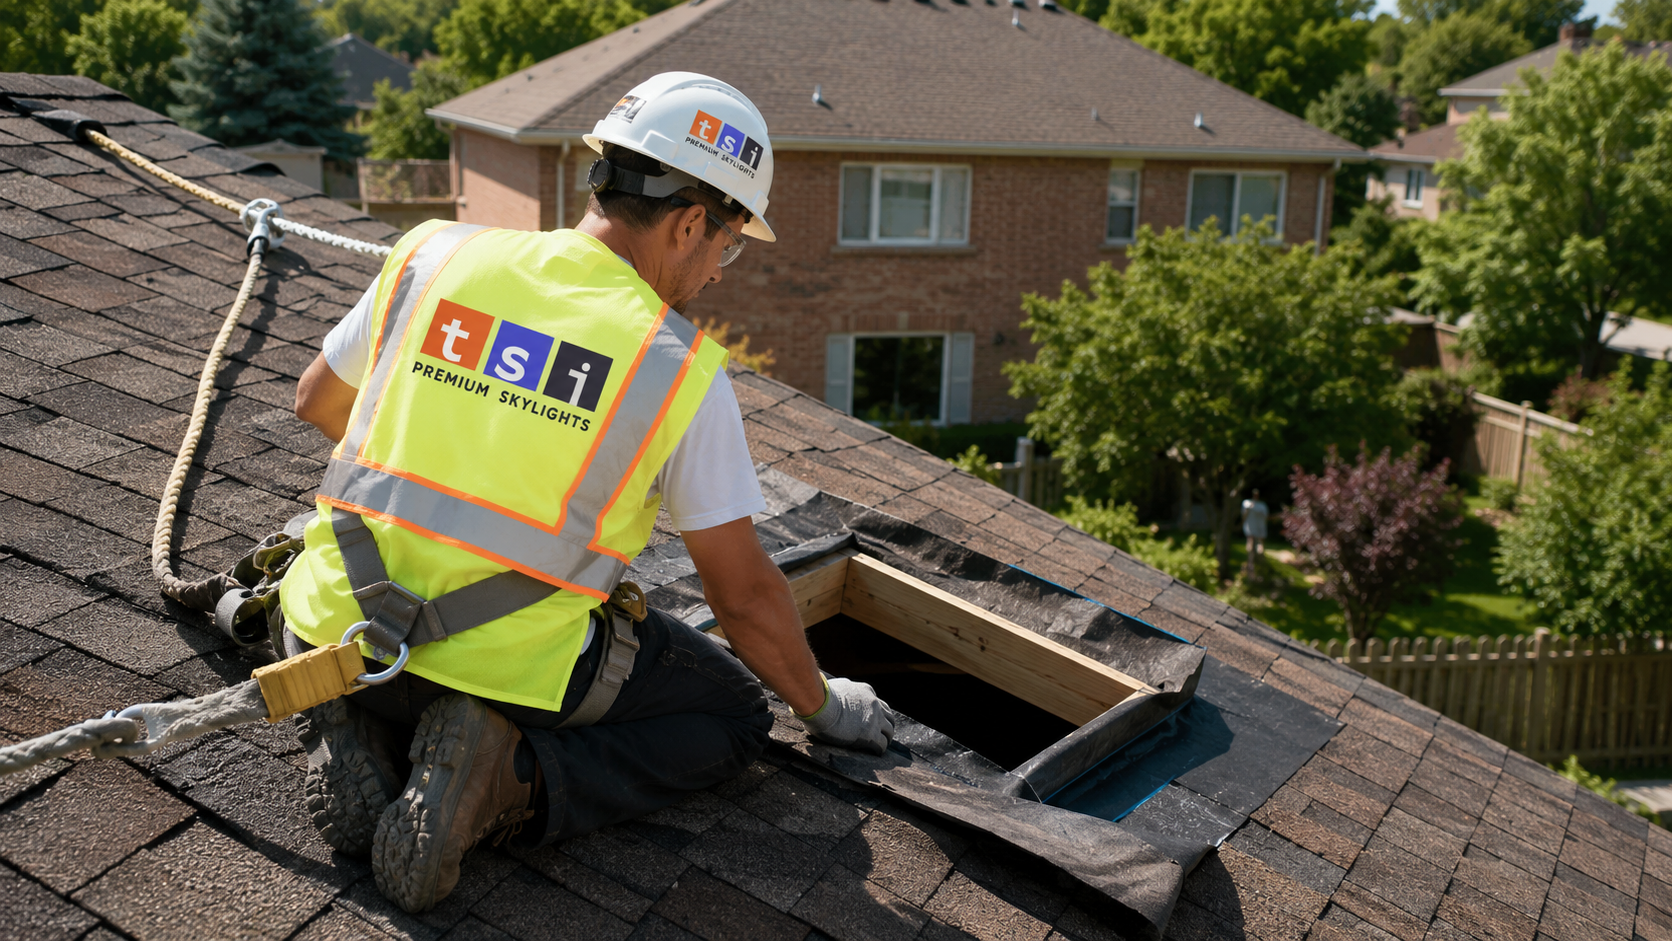
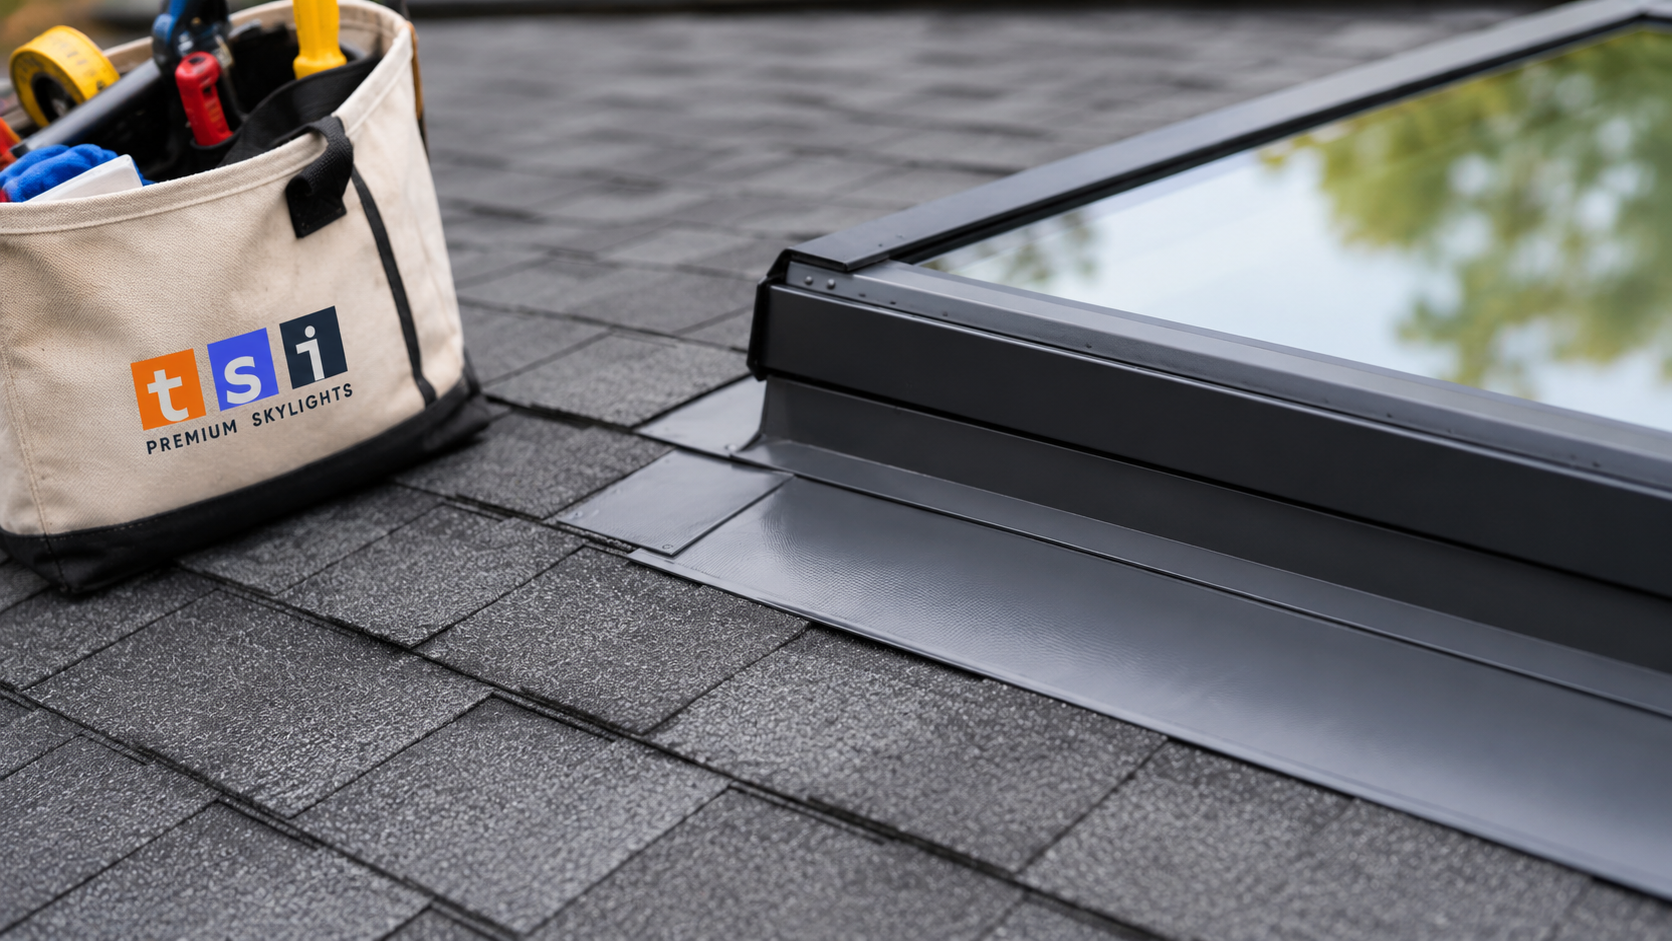
The flashing interface is where nearly every skylight failure originates. A quality installation uses the manufacturer’s engineered flashing kit matched to the roof covering, with underlayment properly lapped, a head flashing that diverts water around the curb, and step flashing woven into the shingle courses. Caulk is a supplement, never the waterproofing system. Any contractor who describes the seal as a good bead of caulking is describing a leak that has not happened yet.
The light shaft is the part homeowners see every day. A straight shaft carries light directly down. A splayed shaft, flared wider at the ceiling than at the roof, spreads light across a much larger area and generally looks better in a bedroom or bathroom. Shaft construction, insulation, vapour barrier, drywall, taping, and paint typically account for a third to nearly half of the total project cost on a house with an attic, which is why two quotes for the same skylight model can differ by thousands of dollars. Anyone comparing bids for skylight installation Richmond Hill contractors have submitted should confirm exactly how much shaft work each price includes.
How Richmond Hill’s Housing Stock Shapes Your Skylight Options
Richmond Hill did not develop as one uniform build-out, and that matters to skylight installation in Richmond Hill more than most homeowners expect. The older core areas include postwar bungalows and side-splits with shallow attics, dimensional lumber framing, and roof pitches that are forgiving to work on. These houses are excellent candidates for skylight installation in Richmond Hill because the framing can usually be modified without an engineer, the attic is accessible, and the shaft runs are short.
Larger established lots throughout the municipality carry two-storey brick homes and custom builds, many with vaulted or cathedral ceilings in great rooms and primary bedrooms. Where a cathedral ceiling exists, there is no shaft at all: the skylight passes straight through the assembly, which simplifies interior finishing but demands careful attention to insulation continuity and condensation control at the perimeter. These projects tend to be the fastest form of skylight installation in Richmond Hill and the most dramatic in terms of the visual result.
Newer subdivision housing, including the townhome and detached stock built from the 1990s onward, is almost universally truss framed. Trusses sit at consistent spacing, typically around 24 inches on centre, which effectively fixes the maximum width available for skylight installation in Richmond Hill subdivisions unless an engineered modification is undertaken. Many homeowners in these areas end up choosing two smaller skylights in a row rather than one large unit, which often produces better light distribution anyway and costs less than an engineered truss alteration.
Flat and low-slope roof sections appear on additions, rear extensions, and some contemporary builds. These require curb-mounted units designed for low-slope application rather than standard deck-mounted models. If your project involves one of these, a purpose-built flat roof skylight is the correct product, and installing a conventional pitched-roof unit on a low-slope deck is a guaranteed water problem within a few seasons.
The practical takeaway is that quoting skylight installation in Richmond Hill responsibly requires an attic inspection and a roof assessment before any number is issued. Phone quotes given without seeing the framing are guesses, and they are usually revised upward once the crew arrives.
2026 Skylight Installation Costs in Richmond Hill
Pricing for skylight installation in Richmond Hill follows the broader GTA market closely, since the same suppliers, product lines, and labour pool serve the whole region. The table below reflects typical installed pricing in 2026, including the unit, the flashing kit, roof work, framing where required, and standard shaft finishing to a paint-ready condition. Prices exclude HST and assume reasonable roof access on a two-storey or lower structure. Difficult access, steep pitches above roughly 8:12, slate or tile roofing, and engineered truss modifications all push costs above these ranges.
| Skylight Type | Unit Cost (2026) | Installed Cost Range | Best Suited For |
|---|---|---|---|
| Fixed deck-mounted skylight | $450 to $900 | $2,200 to $3,800 | Hallways, stairwells and living rooms where ventilation is not needed |
| Manual venting skylight | $800 to $1,400 | $2,900 to $4,600 | Rooms with reachable ceilings and pole-operated openings |
| Electric venting skylight | $1,400 to $2,300 | $3,800 to $6,000 | High ceilings, bathrooms and kitchens with a moisture load |
| Solar-powered venting skylight | $1,600 to $2,600 | $4,000 to $6,400 | Homeowners avoiding new wiring runs through finished ceilings |
| Sun tunnel or tubular skylight | $350 to $800 | $1,400 to $2,600 | Closets, powder rooms and interior hallways with long attic runs |
| Curb-mounted low-slope skylight | $900 to $1,900 | $3,400 to $6,500 | Flat roof additions and rear extensions |
Several factors move a quote within or beyond these ranges. A splayed shaft through a deep attic adds material and labour compared with a short straight shaft. Adding a second or third unit on the same roof plane during one mobilization reduces the per-unit price meaningfully, often by fifteen to twenty-five percent, because setup, staging, and fall protection are already in place. Blinds, whether manual, solar, or hard-wired, typically add $250 to $700 per opening installed. Homeowners budgeting for skylight installation in Richmond Hill should treat blinds as part of the project rather than an afterthought, because retrofitting them later on a high ceiling means bringing equipment back.
One cost worth planning for honestly: if your roof covering is within a few years of replacement, coordinating the two projects is far cheaper than installing skylights now and disturbing the flashing later. Detailed guidance on scope and sequencing is covered on the skylight installation service page, and homeowners who want area-specific information can review the full range of Richmond Hill skylight installation and repair services available across the municipality.
Choosing the Right Skylight Type for Your Home
Product selection for skylight installation in Richmond Hill should follow the room, not the catalogue. The most expensive unit is not automatically the right one, and homeowners regularly overspend on venting hardware in rooms that never needed it.
Fixed skylights are sealed units that admit light only. They are the most economical option, the least likely to develop mechanical problems, and entirely appropriate for hallways, stairwells, home offices, and living areas. A fixed skylight installed properly will outlast most of the roof around it.
Venting skylights open to exhaust heat and humidity. They earn their price in bathrooms, kitchens, and top-floor bedrooms where summer heat stratifies against the ceiling. Manual units operated by a control rod are the least expensive; electric units are convenient but require a wiring run; solar-powered fresh air skylights carry their own photovoltaic panel and battery, which avoids opening a finished ceiling to pull cable. Most quality venting units include a rain sensor that closes the skylight automatically.
Sun tunnels deliver daylight through a reflective tube rather than an open shaft. They are the right answer for windowless interior spaces where a full skylight would be impractical or disruptive. A sun tunnel skylight can often be installed in a few hours with no drywall work beyond the ceiling ring, which makes it the least invasive daylighting option available.
Glazing matters as much as the frame. In Ontario’s climate, laminated safety glass on the interior pane is standard on quality residential units, argon fill and a low-emissivity coating are effectively baseline, and the frame should be thermally broken. Acrylic dome units still exist at the low end of the market. They yellow, they craze under UV exposure, and they perform poorly in winter. They are not a bargain, and replacing one early erases whatever was saved up front.
| Home or Roof Configuration | Where It Shows Up in Richmond Hill | Shaft Work Required | Typical Added Cost |
|---|---|---|---|
| Cathedral or vaulted ceiling | Great rooms and primary bedrooms in larger and custom homes | None, the unit passes straight through the assembly | $0 to $400 |
| Shallow attic over a bungalow or side-split | Postwar core-area housing | Short straight or lightly splayed shaft | $700 to $1,400 |
| Deep attic over a two-storey home | Established brick two-storeys and estate lots | Full splayed shaft, framed, insulated and drywalled | $1,300 to $2,600 |
| Engineered truss roof | Subdivision detached homes and townhomes, 1990s onward | Unit sized between trusses, no chord cutting | $0, but the width is limited |
| Low-slope or flat rear addition | Additions and contemporary builds | Site-built or manufactured curb required | $500 to $1,200 |
Permits, the Ontario Building Code, and Inspections
Skylight installation in Richmond Hill falls under the Ontario Building Code, administered locally by the municipality’s building division. Whether a permit is required depends on the scope of the work rather than on the product you select.
As a general rule, replacing an existing skylight with a unit of the same size in the same opening is treated as maintenance and does not typically require a building permit. Creating a new opening is structural work: it modifies the roof framing, and a permit is normally required. Any project that involves cutting or altering an engineered truss requires documentation from a qualified designer or engineer, and building departments enforce this consistently because a modified truss without an engineered repair is a genuine structural concern. In practice, most new skylight installation Richmond Hill homeowners commission on a truss roof is designed specifically to avoid that situation.
Code requirements homeowners should understand before signing a contract:
- Glazing in a sloped overhead position must be safety glazing. Laminated glass on the interior pane is the standard compliant approach because it holds together if the pane is broken.
- Headers and trimmers around the opening must be sized to carry the redistributed roof load, including Ontario’s ground snow load for the region.
- The insulation and air barrier must be continuous around the shaft. A gap here is the most common source of winter condensation that gets misdiagnosed as a roof leak.
- Where a skylight is installed close to a property line or interacts with a spatial separation requirement, additional provisions may apply, which is why scope review happens before quoting.
- Work must be scheduled around the required inspections, so the shaft cannot be closed up before the framing is signed off on a permitted job.
A contractor handling skylight installation in Richmond Hill should be able to tell you clearly whether your project needs a permit, and should be willing to pull it. Permit fees for a small residential structural alteration in York Region municipalities generally sit in the low hundreds of dollars, and the inspection that follows is protection for you rather than an obstacle. Contractors who suggest skipping the permit are transferring their risk onto your title and your insurance.
What Happens on Skylight Installation Day
The duration of skylight installation in Richmond Hill depends almost entirely on the interior work. A single fixed skylight in a cathedral ceiling can be completed in a day. A pair of venting units with splayed shafts through a deep attic is realistically a two to four day project once drywall curing and painting are included. Understanding the sequence helps you plan the household around it.
The crew starts with fall protection setup and interior protection. Furnishings below the work area are moved or covered, and a dust containment barrier is set where the ceiling will be opened. The ceiling opening is cut first on most projects so the framing can be assessed from below, then the roof deck is opened from above during a confirmed dry-weather window.
Framing follows. Rafters are cut and headed off, or the opening is trimmed between trusses. The curb or deck-mount frame is set dead level and square, because a skylight that is out of square will never seal predictably no matter how much flashing is added afterward. Underlayment is lapped, the manufacturer’s flashing kit is installed in sequence, and shingles are woven back in around the head, sides, and apron.
Interior work comes last: shaft framing, insulation, vapour barrier, drywall, taping, sanding, and priming. Most contractors leave the final finish coat of paint to the homeowner or price it separately, so confirm which you are getting before the contract is signed.
Weather governs everything. A responsible installer will not open a roof deck ahead of rain, and a rescheduled day is a sign of judgment rather than disorganization. Summer, which is when most skylight work in York Region is scheduled, offers the most reliable dry windows and the shortest interior drying times between drywall coats, which is why the majority of skylight installation in Richmond Hill happens between May and October.
Flashing, Leaks, and Why Skylights Get an Unfair Reputation
Skylights carry a reputation for leaking that is almost entirely undeserved by modern products. Contemporary units from established manufacturers are engineered assemblies with tested flashing systems and warranties that run ten years or longer on the glass seal. When water shows up at a skylight, the cause is nearly always one of four things: an installation that skipped the engineered flashing kit, deteriorated roof covering around an aging unit, ice damming above the skylight in winter, or interior condensation that was never a leak at all. None of those failures are inherent to the product, and all of them are avoidable when skylight installation in Richmond Hill is done to the manufacturer’s published detail.
Condensation deserves particular attention in Ontario homes. When indoor humidity is high and the glass surface is cold, moisture forms on the interior pane and runs down into the shaft, staining drywall in a pattern that looks exactly like a roof leak. The fix is not roofing work. It is humidity control, better shaft insulation and air sealing, and in many cases a venting unit that can exhaust moist air directly.
Ice damming is the genuinely seasonal risk. Warm air escaping into a poorly insulated attic melts snow, which refreezes at the cold eave and backs water up under the shingles. A skylight in the flow path becomes the place where the water finds its way in. Attic insulation and ventilation are the actual remedy, and any contractor who proposes only more sealant around the skylight is treating a symptom rather than the cause.
| Symptom | Most Likely Cause | Typical 2026 Repair Range | Urgency |
|---|---|---|---|
| Water droplets on the interior glass only | Indoor humidity plus cold glazing, not a leak | $0 to $600 for humidity and insulation correction | Low, address before winter |
| Staining at the top of the light shaft | Failed head flashing or a lifted shingle course | $450 to $1,300 | High |
| Fogging between the panes | Failed insulated glass seal | $900 to $2,400 for unit replacement | Moderate |
| Venting unit will not close fully | Motor, control or hinge hardware failure | $350 to $900 | High during the rain season |
| Leaking only during winter thaws | Ice damming caused by attic heat loss | $700 to $2,800 including attic work | High |
If any of these symptoms are already present in your home, they are worth diagnosing before a new project is planned, and dedicated skylight repair services can resolve most of them without full replacement. Where a unit is more than twenty years old and showing seal failure, skylight replacement is usually the better economic choice than repeated repairs on obsolete hardware.
Energy Performance Through an Ontario Year
A skylight is an opening in the most thermally demanding surface of your house, so performance specifications are not optional reading. Ontario sees design temperatures well below minus twenty degrees Celsius in winter and sustained humidity in summer, and a poor-quality unit will make itself known in both seasons. Specification review is a standard part of planning skylight installation in Richmond Hill, not a detail to leave to the supplier.
Look for a low U-factor, which measures heat loss. Quality residential skylights in this market land roughly between 0.30 and 0.45. Solar heat gain coefficient matters in the other direction. A lower number reduces summer heat, which is useful on south and west-facing roof planes, while a slightly higher number can be welcome on a north-facing plane where winter warmth is a benefit. Orientation should drive glazing selection, and a competent installer will ask which way the roof plane faces before recommending a product.
Shades and blinds change the equation more than most homeowners expect. A room-darkening blind on a west-facing bedroom skylight can cut afternoon heat gain substantially and makes the difference between a skylight people love and one they resent every July. Solar-powered blinds retrofit cleanly to compatible units without wiring, which is worth confirming at the product selection stage rather than a year later.
The shaft itself is a quiet performance factor. An uninsulated or poorly air-sealed shaft loses heat continuously and creates exactly the cold interior surfaces that condensation needs. Proper shaft detailing is not an upsell. It is the difference between a skylight that performs as specified and one that quietly underperforms its own label for its entire service life.
Maintenance, Warranty, and Getting Twenty-Five Years From the Investment
Skylights are low-maintenance, not no-maintenance. A short annual routine protects the value of your skylight installation in Richmond Hill and keeps small issues from becoming interior damage.
- Clear leaves, needles, and debris from the head flashing and the roof plane above the unit each autumn. Debris dams water exactly where the flashing is most vulnerable.
- Inspect the exterior gasket and cladding every couple of years for cracking, chalking, or lifting.
- Test venting mechanisms, rain sensors, and blind motors at the start of each season rather than discovering a failure during a storm.
- Clean the interior glass with a non-abrasive cleaner and avoid anything that could damage a low-emissivity coating.
- Watch the shaft drywall for the earliest hairline staining, which is far cheaper to address than a saturated ceiling.
On warranty, understand the two separate coverages. The manufacturer warrants the unit and typically the insulated glass seal for ten years or more. The installer warrants the workmanship, which is what actually protects you against flashing and shaft defects. Get the workmanship term in writing, and confirm the contractor carries liability insurance and WSIB coverage before work begins. Homeowners elsewhere in the region can find the same service standards across York Region, including neighbouring Markham and Vaughan.
Frequently Asked Questions
How much does skylight installation in Richmond Hill cost in 2026?
Do I need a building permit for a skylight in Richmond Hill?
Can a skylight be installed in a home with roof trusses?
How long does a skylight installation take from start to finish?
Will a skylight leak or make my house colder in winter?
Should I replace my roof at the same time as skylight installation in Richmond Hill?
Book Your Skylight Installation in Richmond Hill With a Specialist Team
Toronto Skylight Installers is a Toronto-area specialist serving homeowners throughout Richmond Hill and the wider GTA. Every skylight installation in Richmond Hill starts with an attic and roof assessment so the quote reflects your actual framing, roof covering, and ceiling configuration rather than a generic price. We handle product selection, permits where required, structural framing, engineered flashing, and full shaft finishing, and we stand behind the workmanship in writing.
Call us today at (416) 365-7557 or request a free consultation to review your options for skylight installation in Richmond Hill and receive a firm written estimate.
Toronto Skylight Installers proudly serves Richmond Hill, Markham, Vaughan, Aurora, Newmarket, and communities throughout the Greater Toronto Area.