

If you are dreaming up a bright, airy sunroom or planning a new addition at the back of your Toronto home, the roofline is the detail that most homeowners overlook until it is too late. Skylight sunroom addition planning Toronto homeowners tackle early in the design phase almost always ends with a brighter, more comfortable, more energy-efficient space than projects where the skylight gets bolted on as an afterthought. Whether you are converting a screened porch, building a four-season sunroom, or adding a family room extension off the kitchen, the sequence in which you choose your skylight, your roof pitch, your framing, and your glazing package determines whether the finished room feels like a sun-drenched retreat or an overheated greenhouse. This guide walks through everything a GTA homeowner needs to know before the first permit application goes in.
Why Skylight Sunroom Addition Planning Toronto Projects Need an Early Start
Most sunroom and addition projects in Toronto begin with a floor plan sketch and a wish list of windows, and the roof only gets serious attention once the framing package is already at the truss supplier. That is backwards. Proper skylight sunroom addition planning Toronto contractors recommend starts with the roof, because the skylight location dictates ceiling height, rafter spacing, insulation strategy, and even where the HVAC supply runs will go. A skylight that is sized and positioned during the design stage can be integrated into the structural drawings, the vapour barrier detailing, and the shingle or membrane layout without a single change order. A skylight that gets added after the roof deck is closed in almost always costs more, because the contractor has to cut back finished roofing, reframe an opening, and patch flashing around materials that were never meant to be disturbed twice.
There is also a comfort dimension. Sunrooms and additions in the Toronto climate swing from bright, low-angle summer sun to long grey stretches through the shoulder seasons, and the skylight you choose has to perform well across that whole range. Getting the glazing package, shading strategy, and ventilation right at the planning stage means you are not fighting glare and heat gain in July while wishing for more daylight in November. That is the heart of good skylight sunroom addition planning Toronto design: matching the opening to the room’s actual use, not just its footprint on paper.
Matching Skylight Types to Your Sunroom or Addition
Not every skylight belongs in every sunroom, and matching the unit to the room is a core part of skylight sunroom addition planning Toronto professionals walk through with clients before a single order is placed. The right choice depends on your roof pitch, the room’s orientation, and how much airflow you want to introduce. A fixed skylight is the simplest and most budget-friendly option for pure daylighting, and it works well over a seating area where you want light without opening a vent overhead. If you would rather capture passive solar gain without running new electrical, a solar powered skylight opens and closes on its own small solar panel and battery, which is popular in additions where running a switched circuit to the roof is inconvenient. Many Toronto sunrooms and rear additions are built with a low-slope or flat roof section, and for those, flat roof skylights are purpose-engineered with curbs and flashing systems designed for minimal pitch, unlike a standard pitched-roof unit forced onto a flat deck. For interior rooms or additions that do not have direct roof access above the space you want to brighten, a sun tunnel skylights system can pull daylight through the attic space using a reflective tube, which is a clever workaround when a full skylight well is not structurally practical.
The table below summarizes how each option tends to perform in a typical GTA sunroom or addition context, so you can bring an informed shortlist to your first consultation.
| Skylight Type | Best Roof Condition | Ventilation | Typical Use in a Sunroom |
|---|---|---|---|
| Fixed skylight | Pitched roof, 15-45 degrees | None | Daylighting over a seating or dining nook |
| Solar powered skylight | Pitched roof | Motorized, self-powered | Passive cooling without new wiring |
| Flat roof skylight | Low-slope or flat deck | Fixed or vented options | Rear additions with a flat roof section |
| Sun tunnel | Any pitch, with attic space | None | Interior rooms without direct roof access |
Choosing between these options is one of the most consequential decisions in skylight sunroom addition planning Toronto homeowners make, because swapping a fixed unit for a vented one after the drywall is finished means reopening the ceiling. Bring your room’s orientation and airflow goals to this decision rather than picking based on price alone.
Structural and Permit Considerations for the Toronto Market
Every skylight opening interrupts a rafter or truss line, and the City of Toronto and surrounding municipalities require an engineered framing plan whenever a new roof penetration is introduced as part of a permitted addition. This regulatory reality is one of the reasons skylight sunroom addition planning Toronto homeowners handle before construction saves so much back-and-forth with the building department. This is not a step to skip, even on a small sunroom project. Your building permit application will typically need to show the skylight’s rough opening dimensions, the header and trimmer framing around it, the insulation values for the surrounding roof assembly, and how the flashing ties into the existing roof covering. Additions in older Toronto neighbourhoods with legacy roof framing sometimes need extra structural review before a skylight opening can be cut, particularly where the original rafters are undersized by current code.
Energy code compliance is another piece that catches homeowners off guard. Ontario’s building code sets minimum thermal performance requirements for skylights, and a poorly rated unit can actually push your whole addition out of compliance on the energy efficiency worksheet, forcing upgrades elsewhere in the envelope to compensate. This is why experienced skylight sunroom addition planning Toronto professionals pull the glazing spec sheet before the permit drawings are finalized rather than after.
| Planning Step | Who Handles It | Typical Timing | Why It Matters |
|---|---|---|---|
| Structural framing plan | Engineer or designer | Before permit submission | Confirms header size and load path around the opening |
| Energy code worksheet | Designer or building department | With permit application | Skylight U-value affects overall envelope compliance |
| Flashing and waterproofing detail | Skylight installer | Before roof deck closes in | Prevents leaks at the roof-to-skylight junction |
| Interior well and drywall return | General contractor | After skylight is set | Determines how light disperses into the room |
Placement, Orientation, and Sizing Guidelines
Orientation changes everything about how a skylight behaves. A south-facing skylight over a Toronto sunroom will flood the space with strong, direct light for most of the day, which is wonderful in the shoulder seasons but can turn a west-facing all-glass room into an oven on a July afternoon without some form of shading or a solar powered vented unit to relieve heat buildup. North-facing skylights deliver a softer, more consistent light that many homeowners prefer for reading nooks or home offices tucked into an addition, since it avoids the harsh contrast of direct sun.
Sizing is just as important as orientation. A common rule of thumb used in skylight sunroom addition planning Toronto designers apply is keeping total skylight glazing area to somewhere between five and fifteen percent of the floor area below, depending on how much wall glazing the sunroom already has. A room with floor-to-ceiling windows on three sides needs far less skylight area than an enclosed addition with only a single window wall. Overshooting on skylight size is a common mistake that leads to glare, uneven temperatures, and higher cooling loads in summer.
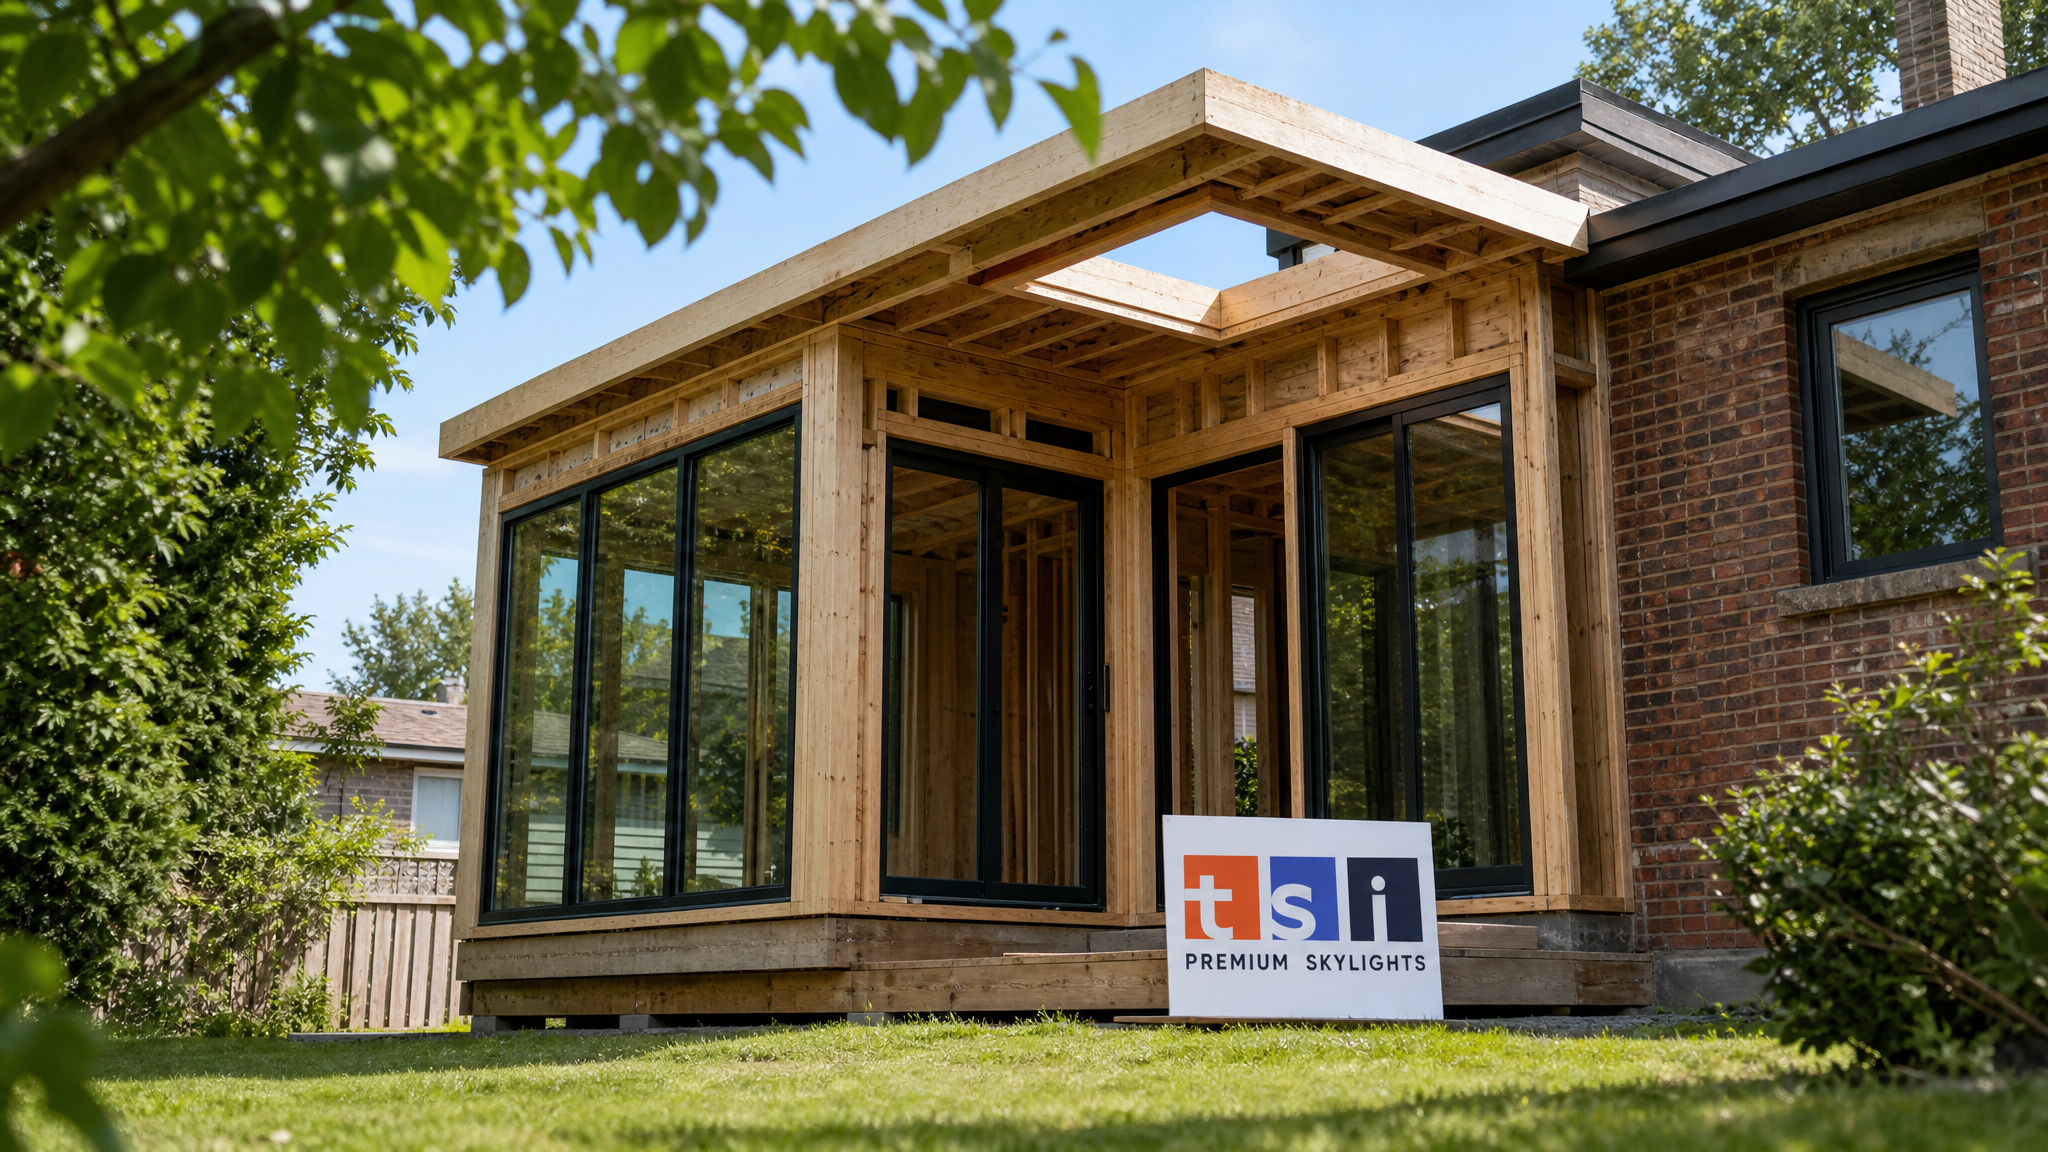
Placement relative to structural members matters too. Centring a skylight between two rafters avoids unnecessary framing changes, while a wider unit that spans multiple rafter bays requires a header and additional trimmers, which adds cost and requires more careful load transfer. Discuss rafter or truss spacing with your installer before finalizing a skylight width, since a few centimetres of difference can move a project from a straightforward retrofit to a full reframe.
Working with a Professional Installer From Design Through Completion
A sunroom or addition project touches structural framing, roofing, insulation, drywall, and often electrical work for a motorized or solar unit, so coordinating a skylight installation alongside a general contractor takes clear communication from day one. Bringing a skylight specialist into the conversation during the design phase, rather than after the framing is set, is the single biggest lever homeowners have over the outcome of their skylight sunroom addition planning Toronto project. An experienced installer can flag rafter conflicts, recommend the right glazing package for your room’s orientation, and coordinate flashing details with the roofer so the two trades are not working from mismatched assumptions.
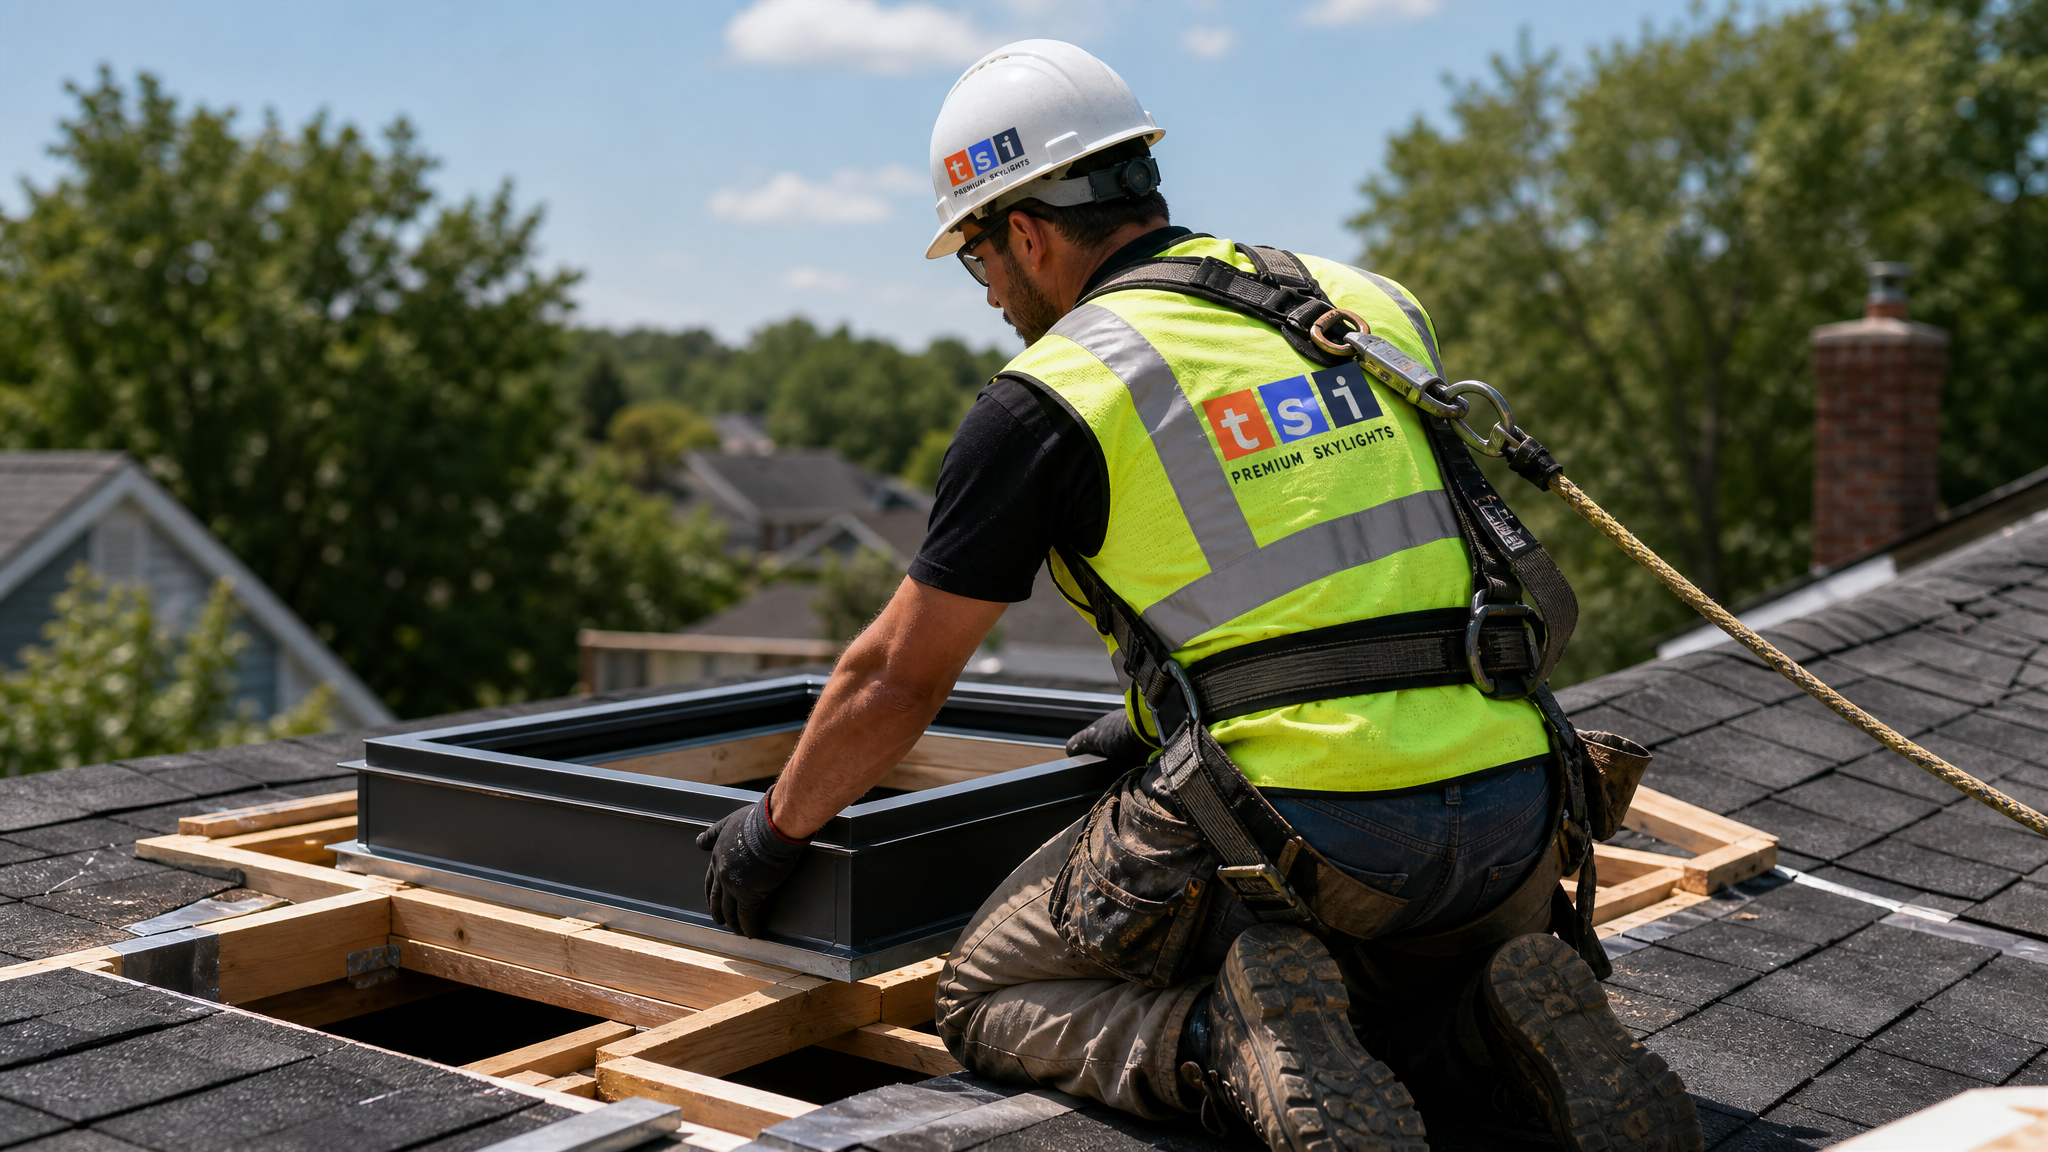
Our skylight installation team routinely works alongside sunroom builders and general contractors across the GTA, reviewing framing plans before the roof deck closes in and setting units so that flashing integrates cleanly with the surrounding roofing material. For additions where an existing skylight is simply being relocated or upgraded as part of the renovation, our skylight replacement service handles the transition without disturbing more of the existing roof than necessary. And for brand-new openings being cut into a roof that has never had a skylight before, our new skylight installation process starts with a site visit to confirm rafter layout and roof condition before any cutting begins.
Budgeting for Your Skylight and Addition Timeline
Cost is usually the first question homeowners ask, and it is a fair one, since the skylight is often a meaningful line item within a larger addition budget. Pricing depends on the unit type, the size of the opening, the roof pitch, and whether electrical work is required for a motorized or vented model. Getting a realistic number early is part of responsible skylight sunroom addition planning Toronto households can build the rest of their addition budget around, rather than discovering a surprise cost once the framing is already underway.
| Skylight Category | Typical Installed Range | Key Cost Drivers | Timeline Impact |
|---|---|---|---|
| Fixed skylight, standard size | Entry-level of the range | Opening size, roof access | Fits within a standard framing schedule |
| Solar powered vented skylight | Mid-range | Solar-powered motor and shade kit | Adds a short lead time for the motor unit |
| Flat roof skylight with curb | Mid to upper range | Custom curb fabrication and membrane detailing | Coordinated with flat roof membrane installation |
| Sun tunnel system | Lower range | Tunnel length and attic obstructions | Fastest installation of the group |
Beyond the unit itself, factor in the framing labour, interior drywall return, and any shading accessories you want from the start, since retrofitting blinds or shades into a finished skylight well is more disruptive than building them in during the addition’s construction phase. Homeowners who work through this table with their installer during early skylight sunroom addition planning Toronto meetings tend to avoid the mid-project budget surprises that stall additions.
If your addition includes a larger footprint intended for mixed residential and workspace use, or you are attaching a home office pavilion with commercial-grade glazing requirements, our team also handles commercial skylights specifications for those larger openings.
Common Mistakes to Avoid in Sunroom Skylight Projects
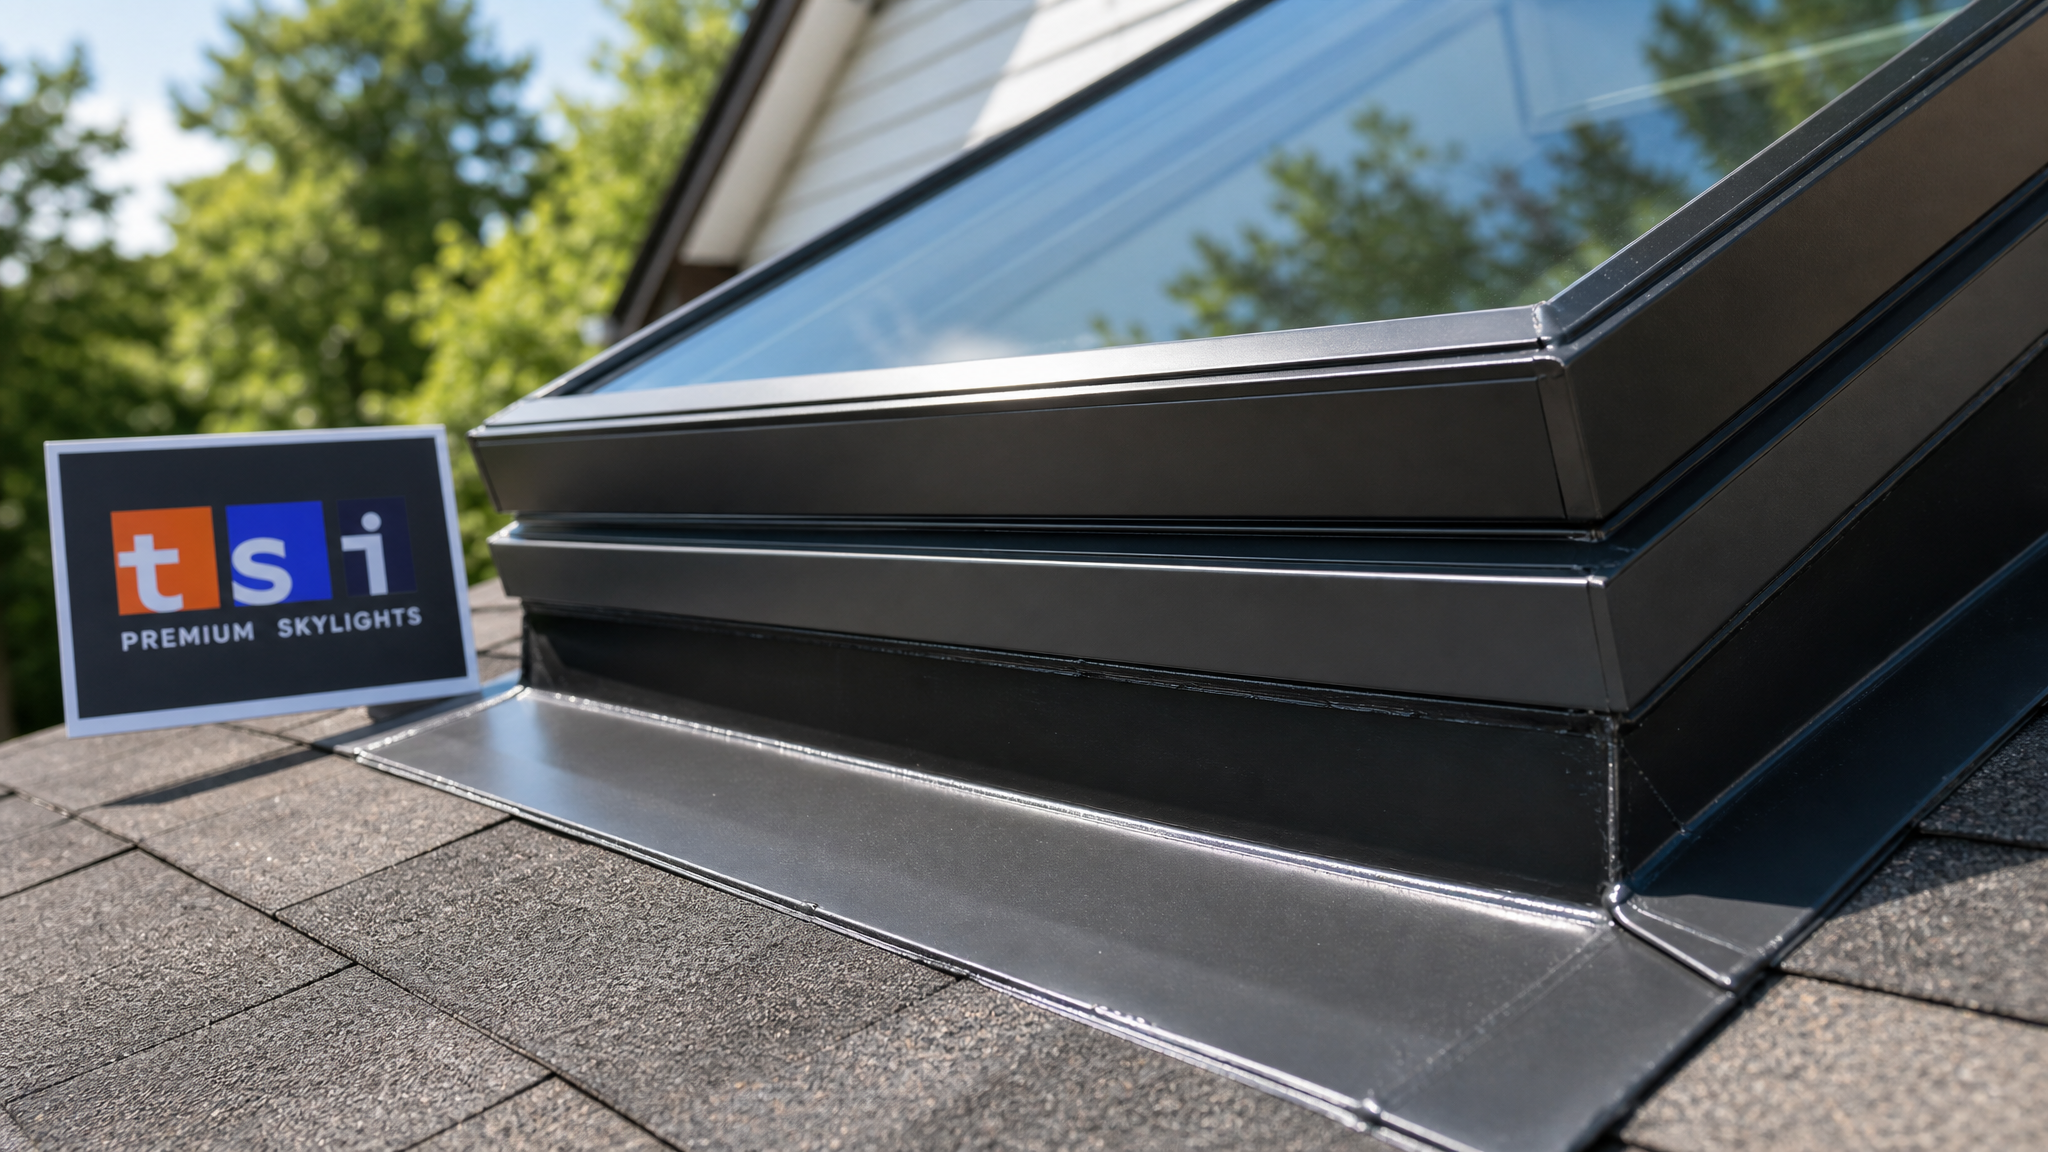
The most frequent misstep in skylight sunroom addition planning Toronto homeowners run into is treating the skylight as a decorative afterthought rather than a structural and mechanical decision. Choosing a unit before confirming rafter spacing often forces a redesign mid-project. Skipping a proper interior light well or drywall return leaves the finished ceiling looking unfinished around the opening. Ignoring solar orientation leads to rooms that are either too hot in summer or too dim the rest of the year. And selecting a fixed unit purely to save money, when a solar powered vented model would have solved a ventilation problem, is a decision many homeowners regret once the sunroom is finished and stuffy on a warm afternoon.
Another overlooked detail in skylight sunroom addition planning Toronto projects is coordinating the skylight installer’s schedule with the roofer and the general contractor so the roof deck is not left open longer than necessary. A tight, well-communicated schedule between trades is one of the quieter benefits of bringing in a dedicated skylight specialist early rather than treating the skylight as a last-minute add.
When should skylight sunroom addition planning Toronto homeowners start talking to an installer?
What size skylight is appropriate for a sunroom addition?
Do I need a permit for a skylight as part of my addition?
Which skylight type works best for a flat-roofed rear addition?
Can a skylight cause my sunroom to overheat in summer?
How does thorough skylight sunroom addition planning Toronto save money overall?
Start Your Skylight Sunroom Addition Planning Toronto Consultation Today
Whether you are still sketching floor plans or already have permit drawings underway, bringing Toronto Skylight Installers into the conversation early makes the rest of your project easier to schedule and budget. We work directly with sunroom builders and general contractors across the GTA to confirm rafter layout, recommend the right glazing package, and set every unit so the flashing performs for decades, not just for the first rainy season.
Call us today at (416) 365-7557 or request a free inspection to get started.
Toronto Skylight Installers proudly serves Toronto, Mississauga, Markham, Vaughan, Brampton and Oakville.