

Adding skylights in older homes is one of the best ways to brighten a narrow century house, a dark upstairs hallway or a top-floor bedroom tucked under the roof. It is also a different job from adding a skylight to a house built in the last thirty years. Behind the ceiling of a home built before the Second World War you may find plaster and lath, rough-sawn rafters at odd spacings, two or three generations of roofing, and sometimes materials that have to be tested before anyone disturbs them.
None of that is a reason to avoid the project. It is a reason to plan it properly, expect a few discoveries, and understand how each one changes the scope. Here is what we commonly find, what each discovery means, and how a careful installer handles it.
Why skylights in older homes need a different plan
A newer house is built from standard materials to predictable dimensions. Rafters are evenly spaced, the roof deck is plywood or OSB, the ceiling is drywall, and the attic is usually insulated and ventilated in a recognizable way. Skylight manufacturers design their units and flashing kits around that kind of construction.
Skylights in older homes start from a different place. Older houses were built by hand, often from rough-sawn lumber, and then changed by every owner since. Rooms were added, roofs were re-covered over the old roofing, wiring was extended, and insulation was blown in whenever it was affordable. The result is a house where the structure above any given ceiling can be a surprise. Good planning for new skylight installation in an older house starts with an attic inspection and a frank conversation about what might change once the ceiling is opened.
Plaster and lath ceilings
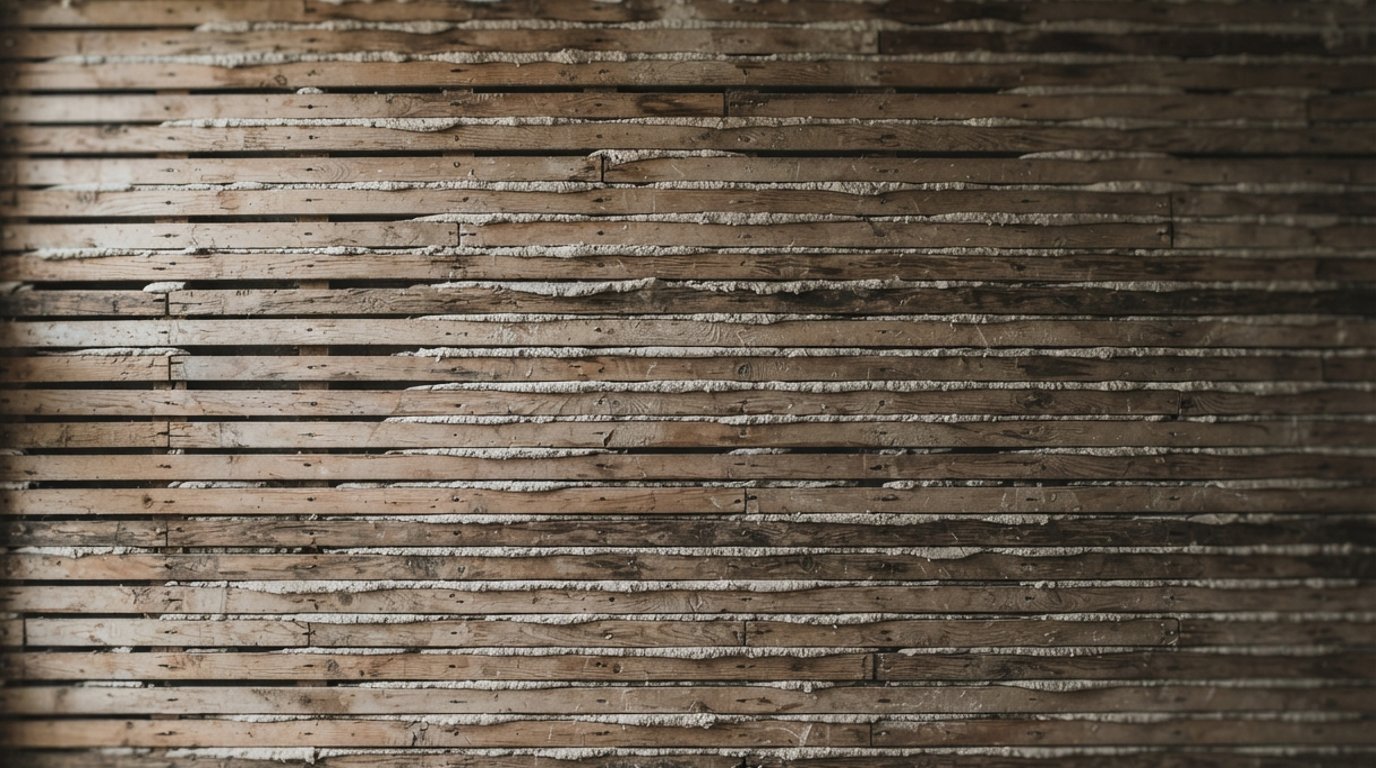
Many homes built before the 1950s have plaster ceilings applied over narrow wooden strips, called lath. Plaster is heavier, harder and more brittle than drywall, and it is bonded to the lath through “keys” that squeeze between the strips when the plaster is wet. Cutting a skylight opening in it takes more care than cutting drywall.
- Cracking beyond the opening. Vibration from cutting can break the keys and loosen plaster well beyond the cut line. Experienced installers score the plaster, cut with tools that minimize vibration, and secure the surrounding plaster with screws and plaster washers before and after cutting.
- Dust. Plaster dust is fine and travels throughout a house. Expect sealed-off work areas, plastic over doorways, and protection on floors and furniture.
- Old paint. Many older homes have layers of paint that may contain lead. If the house predates the phase-out of lead in household paint, assume older layers could contain it, or have it tested, and use dust controls and clean-up methods suited to lead.
- Some older plasters and textured finishes may contain asbestos. If the ceiling has a textured finish or you are unsure of its history, have a sample tested by an accredited lab before cutting.
- Finishing. The shaft is usually built from drywall and blended into the plaster. Matching old plaster texture takes skill, and most homeowners repaint the whole ceiling afterwards for a uniform look.
Rafters that are irregular, undersized or both
Older rafters are often rough-sawn and closer to their nominal size than modern lumber, which sounds like a benefit, but they are also frequently spaced irregularly, notched, sagging or spliced. In some houses the rafters are relatively small for the span, and a ridge that has settled over a century tells you the roof has been working hard.
When planning skylights in older homes, that matters in three ways:
- Spacing. Manufacturers size their units around the rafter spacing of modern framing. Irregular spacing may mean the unit does not fit neatly between existing rafters, so one or more rafters need to be cut and headed off.
- Capacity. When a rafter is cut, its load has to be carried around the opening by headers and doubled or sistered rafters on each side. With small or weakened rafters, the reinforcement may need to be heavier than on a newer house, and larger openings may call for an engineer’s input.
- Straightness. A sagging rafter makes it harder to set the skylight flat and square, which affects how the flashing seals. The framing is often straightened or packed out before the unit is set.
Many older houses also have dormers, chimneys and odd roof intersections close together. A skylight placed too close to a chimney or valley can be difficult to flash well, so the final location sometimes shifts once the framing and roof are visible.
Old roofing layers and board sheathing
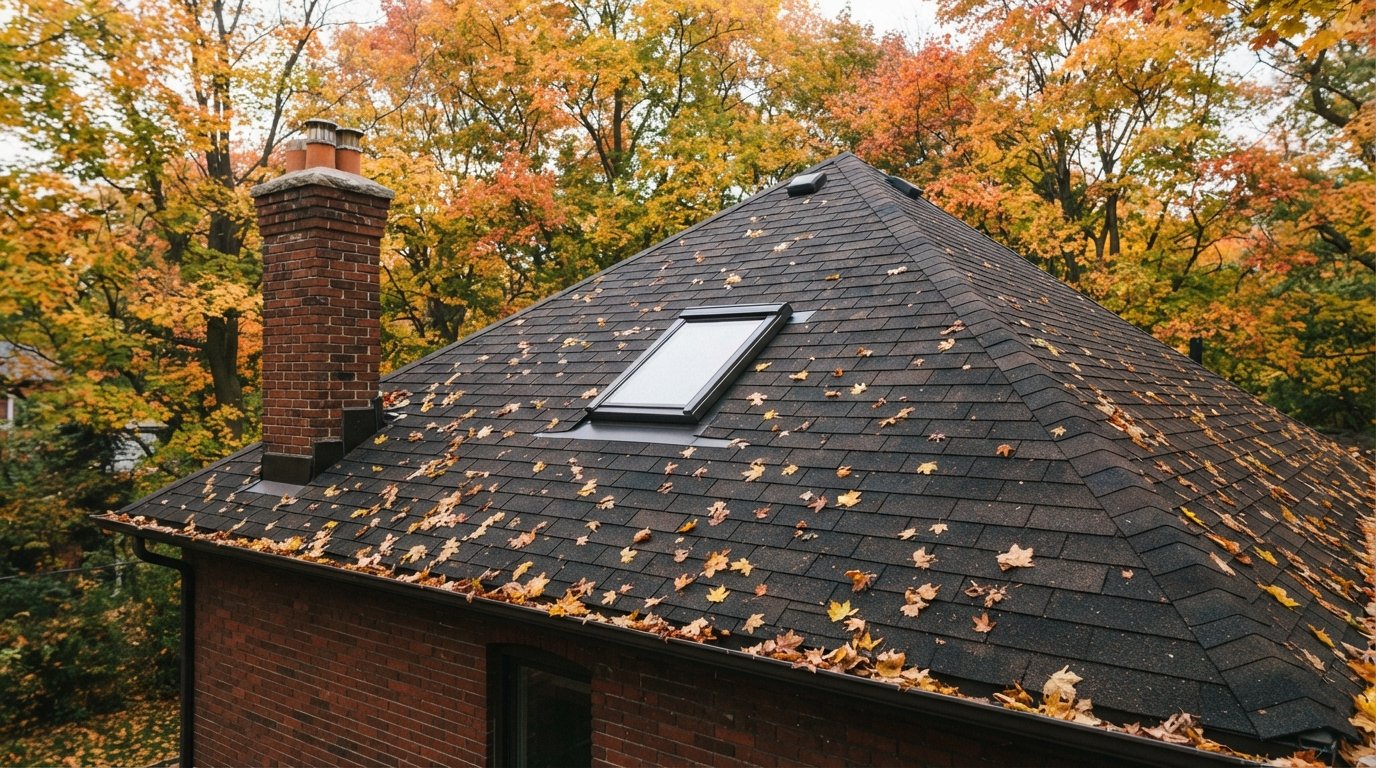
Older roofs often carry history. It is common to find asphalt shingles laid over older asphalt shingles, and sometimes cedar shingles underneath those. Under the cedar there may be spaced boards (skip sheathing) rather than a solid deck, because cedar was traditionally installed over gaps to let it dry.
| What is found on the roof | Why it matters for a skylight | Typical response |
|---|---|---|
| Two or more layers of asphalt shingles | Flashing kits are designed for a single layer; the added thickness makes sealing unreliable | Remove layers around the opening, or plan the skylight with a re-roof |
| Old cedar shingles under asphalt | Uneven surface and gaps underneath | Strip back to the deck around the opening |
| Spaced boards instead of a solid deck | Flashing and underlayment need solid support | Add solid sheathing around the opening |
| Rotted or soft boards near the opening | Fasteners will not hold, leaks follow | Replace damaged sheathing before installing |
| Shingles near the end of their life | A new skylight would outlast the roof around it | Consider timing the skylight with a re-roof |
If the roof is due for replacement in the next few years, it often makes sense to install skylights in older homes at the same time as the re-roof. The roofer strips the old layers, the deck is repaired or re-sheathed, and the skylight is flashed into fresh underlayment and shingles. That gives the best long-term result and avoids disturbing new shingles later.
What may turn up in the attic: stop and test
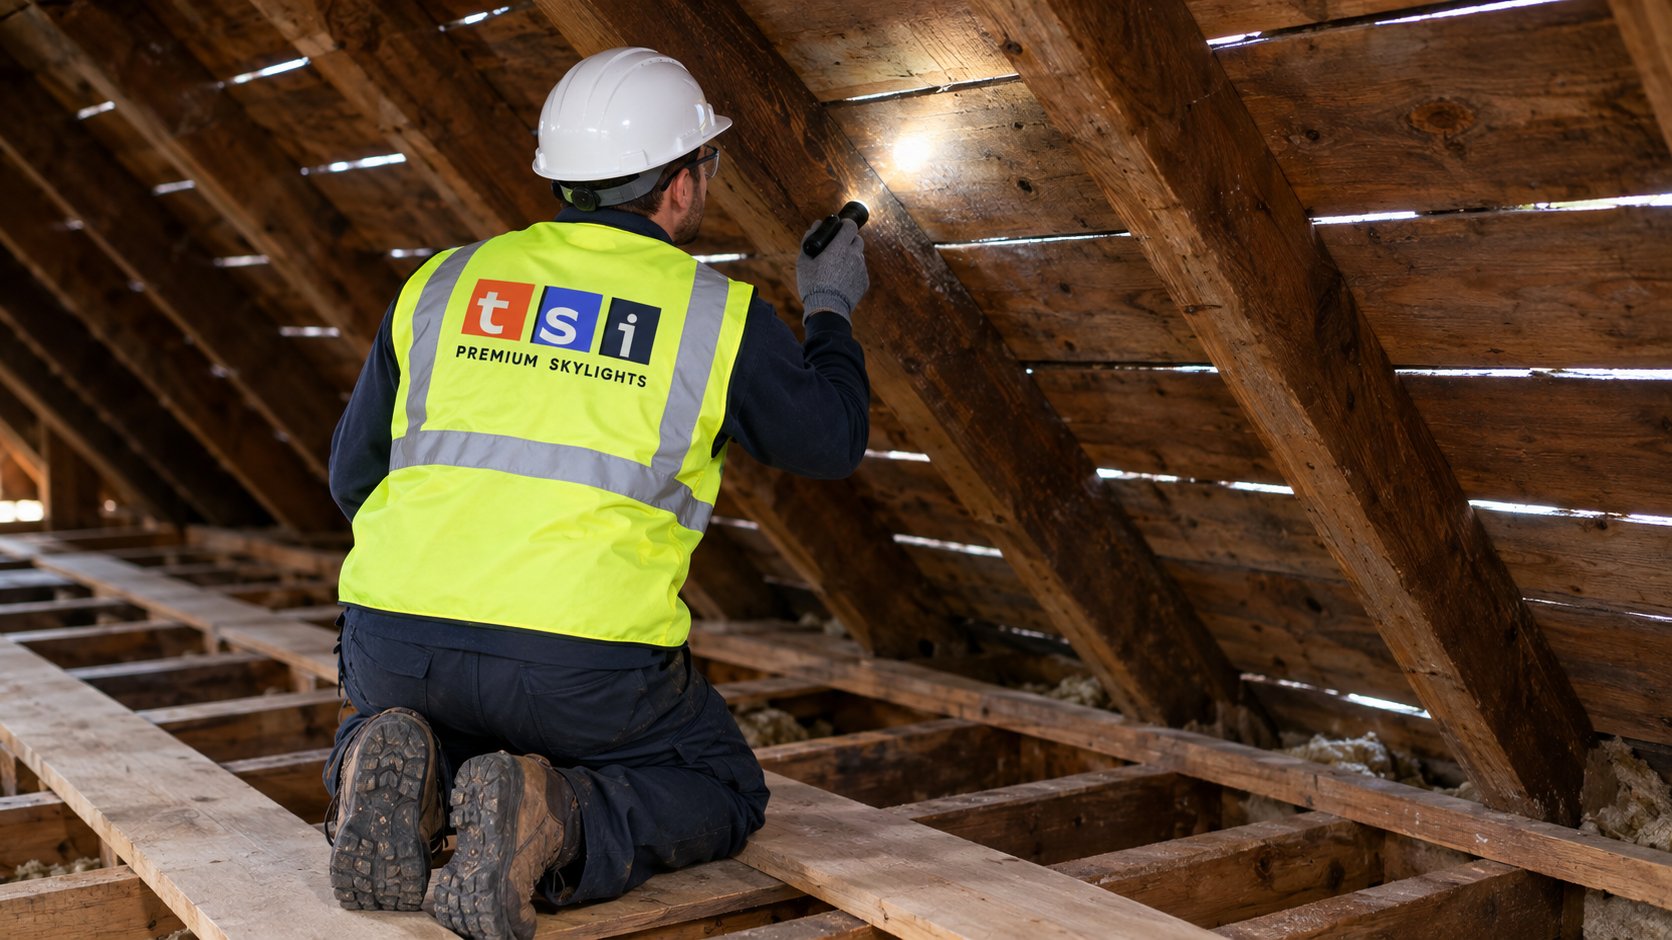
Older attics are where the most important surprises appear when adding skylights in older homes. Two in particular should stop work until they are properly assessed.
Vermiculite insulation
Vermiculite is a loose, pebble-like insulation, usually grey-brown or silver-gold, that was poured into many attics decades ago. Some vermiculite sold in Canada was contaminated with asbestos. If you see loose granular insulation in your attic, do not disturb it, do not vacuum or move it, and do not let anyone cut through the ceiling below it until it has been sampled and tested by an accredited laboratory. Health Canada’s general guidance is to leave suspected vermiculite undisturbed and to use qualified professionals if it must be removed. If it tests positive, removal is specialist work by a licensed abatement contractor, and the skylight project waits until that is done.
Knob-and-tube wiring
Knob-and-tube wiring uses individual conductors on ceramic knobs and through ceramic tubes, and was common in homes built in the early twentieth century. It is sometimes still live and is often found running across attic joists exactly where a skylight shaft would go. Never assume it is dead. A licensed electrical contractor should assess it, and any changes to wiring require ESA notification where applicable. Knob-and-tube was not designed to be buried in insulation, which matters if the shaft work involves adding insulation around it. Many insurers ask about knob-and-tube, so it is worth checking your own policy position before and after any electrical work.
Other common finds
- Little or no insulation, or old insulation that has settled.
- No attic ventilation, or vents blocked by later insulation.
- Old roof leaks showing as stained or soft sheathing.
- Evidence of animals, such as droppings or nesting material, that may need cleanup before work.
- Balloon framing, where wall studs run continuously from foundation to roof. This affects air sealing and fire blocking around new openings.
| Discovery | What happens next | Effect on schedule and scope |
|---|---|---|
| Suspected vermiculite | Leave undisturbed, sample and test through an accredited lab | Work pauses; abatement by a licensed contractor if positive |
| Knob-and-tube wiring in the work area | Licensed electrician assesses, reroutes or replaces as needed | Adds an electrical trade and time |
| Suspect plaster texture or old paint | Test before cutting, use dust controls suited to the result | May add testing time and containment |
| Undersized or damaged rafters | Reinforce, sister or redesign the opening | Adds framing work, possibly an engineer |
| Multiple roof layers or skip sheathing | Strip and re-sheathe around the opening, or re-roof | Adds roofing scope |
Insulating and sealing the new shaft in an old attic
Skylights in older homes often sit above attics that were never designed to be airtight. Warm, moist air leaks up through gaps around old light fixtures, chimneys, plumbing stacks and the tops of balloon-framed walls. Adding a shaft creates another path unless it is built carefully, and in an old house it is also a chance to improve what is already there.
- Seal the shaft to the ceiling plane so house air cannot leak into the attic around the new opening. Plaster ceilings are often cracked near the edges, and those cracks should be sealed as part of the job.
- Insulate the shaft walls at least as well as an exterior wall, and wrap the insulation so there are no gaps at the corners where the shaft meets the roof deck.
- Keep attic ventilation working. If the attic has soffit vents, baffles keep insulation from blocking them near the shaft.
- Do not insulate over live knob-and-tube wiring until an electrician has dealt with it.
A well-built shaft keeps condensation off the new skylight in winter and keeps the old plaster around it dry. A poorly built one can stain the ceiling within a season, which is a frustrating outcome after the care taken to cut the plaster cleanly.
Heritage districts and designated properties
Many Ontario municipalities have Heritage Conservation Districts, and some individual houses are designated under the Ontario Heritage Act. In general terms, exterior changes to a designated property or a house in a heritage district may require heritage approval in addition to any building permit, and visible changes to street-facing roofs tend to attract the most attention. A skylight on a rear slope that cannot be seen from the street is often treated differently from one on the front, but this varies by municipality and district.
If your house is in a heritage district or is individually designated, talk to your municipality’s heritage planning staff before you finalize the plan. Ask what is permitted, whether low-profile units or particular locations are preferred, and what drawings or photos they need. Do not assume a skylight is acceptable because a neighbour has one; their approval may predate current rules.
How the scope changes, and how to budget for it
Planning skylights in older homes means planning for a range of outcomes. A contractor who has done this kind of work will usually describe a base scope and the most likely additions, rather than a single number that falls apart once the ceiling is opened.
| Scope level | What it includes | Rough range per opening (estimate) |
|---|---|---|
| Straightforward install | Sound rafters, single roof layer, simple shaft through plaster | Often about $2,500 to $4,500 |
| Added framing | Rafter reinforcement, headers, straightening | Often adds about $500 to $1,500 |
| Roof layer removal and re-sheathing | Stripping old layers and adding solid deck around the opening | Often adds about $400 to $1,200 |
| Testing and specialist trades | Lab testing, electrician, abatement if required | Varies widely; quoted separately by those trades |
| Plaster repair and repainting | Blending the shaft into the old ceiling | Varies with ceiling size and finish |
These ranges are broad estimates only and vary with the house, access, roof pitch and unit size. Abatement, electrical and heritage-related costs are set by those trades and processes, and should be quoted separately. A written estimate after an attic inspection is the only reliable figure.
Alternatives when a full skylight is not practical
Sometimes the structure, heritage rules or attic conditions make framed skylights in older homes hard to justify. A sun tunnel needs a much smaller roof opening, usually fits between rafters without cutting them, and can bring daylight to a hallway, bathroom or stairwell with far less disruption to plaster. It does not provide a view of sky or ventilation, but in many older houses it solves the darkness problem with the least risk.
If your older home already has a skylight that is leaking or fogged, skylight replacement deals with many of the same issues, often with the advantage that the opening and shaft already exist.
Questions to ask before work starts
- Will you inspect the attic before quoting, and what did you see?
- How will plaster be supported and dust controlled, and will paint or plaster be tested?
- What happens if vermiculite, knob-and-tube or damaged framing is found?
- How many roof layers are there, and will they be removed around the opening?
- Is a building permit or heritage approval needed, and who is applying?
- Which manufacturer warranty applies to the unit and flashing, and where can you read its current terms?
Our Durham Region skylight installation, replacement and repair team regularly works in older houses, and approaches each one with an attic inspection first.
Can you install a skylight through a plaster ceiling?
What if there is vermiculite in my attic?
Are old rafters strong enough for a skylight?
Do I need to remove old roof layers to add a skylight?
Can I add a skylight in a heritage district?
What should happen if knob-and-tube wiring is found?
Planning skylights in older homes with fewer surprises
Older houses reward patience. With an attic inspection, testing where needed and a realistic scope, a skylight can bring light to rooms that have been dark for a century. Toronto Skylight Installers can inspect your attic and roof, explain what we find, and plan an installation that respects the house.
Call us today at (416) 365-7557 or request a free estimate.
Bringing daylight into century homes across Durham Region and the wider GTA.