

Ask an Oshawa homeowner what bothers them most about the upper floor of their house in July, and the answer is almost always the same: the air upstairs feels stale, heavy and several degrees warmer than anywhere else. A vented skylight Oshawa installation solves that problem in a way no fixed window can, because it does two jobs at once. It brings daylight into rooms that never had enough of it, and it gives hot, humid air a route out of the house at the highest point of the roof. That combination is why more Durham Region homeowners are choosing an operable unit over a sealed one when they finally decide to cut into the ceiling.
This guide covers what a vented skylight Oshawa project actually involves in 2026: the three ways a unit can open, realistic installed pricing, how the city’s mix of postwar bungalows and newer subdivision builds affects the work, what the Ontario Building Code requires, and how to keep the assembly watertight through freeze and thaw cycles. Everything below reflects current Durham Region pricing and installation practice, not manufacturer marketing copy.
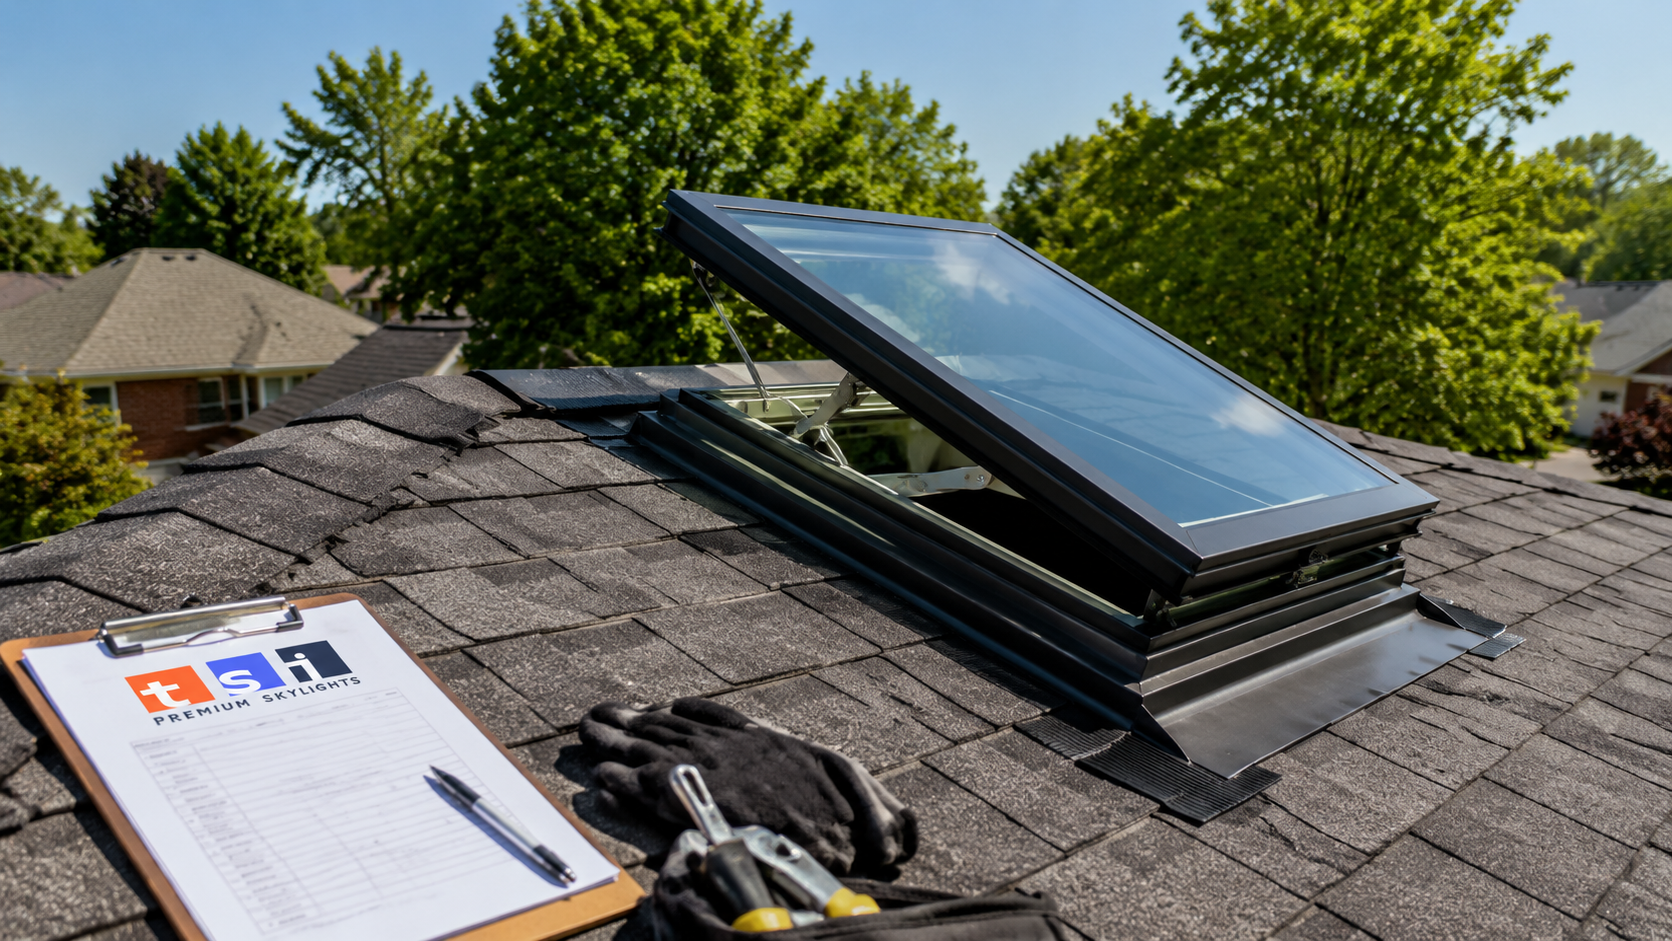
Why a Vented Skylight Oshawa Homeowners Install Beats a Sealed Unit
A fixed skylight is a sealed piece of glass. It delivers light and nothing else. A vented skylight Oshawa install adds an operable sash, which turns the opening into the exhaust point of a natural ventilation loop. Warm air rises, exits through the skylight, and pulls cooler air in through lower windows on the shaded side of the house. Physicists call this the stack effect. Homeowners just notice that the second floor stops feeling like an attic.
The practical benefits show up in a few specific rooms. Bathrooms are the clearest case. Most Oshawa homes built before the mid 1980s have an undersized or noisy exhaust fan, and many second-floor bathrooms have no exterior window at all. Moving moisture out through the roof instead of pushing it through a long duct run into the soffit reduces the condensation that feeds mould on ceilings and window frames. Kitchens are the second case, particularly in the open-concept rear additions that are common on older Oshawa lots, where cooking heat and steam collect under a vaulted ceiling with nowhere to go.
Stairwells and upper hallways benefit as well, and they are often where a vented skylight Oshawa homeowners install pays back fastest. These are typically the darkest parts of a two-storey home and the natural collection point for warm air. A single operable unit at the top of a stairwell can change how the whole upper floor feels on a humid afternoon, and it does so without adding to the electricity bill.
There is a comfort argument and an envelope argument. The comfort argument is obvious. The envelope argument is that persistently humid indoor air in winter migrates into cold cavities and condenses. Controlled venting reduces indoor relative humidity, which protects framing, insulation and finishes over the long run. That matters more in Oshawa than in some milder parts of Ontario, because homes here run through repeated freeze and thaw swings between November and March.
The Three Ways a Vented Skylight Oshawa Unit Can Open
Not every operable skylight opens the same way, and the mechanism you choose has a bigger effect on satisfaction than the brand on the frame. There are three practical options in the Canadian market.
Manual crank or pole operated
The sash opens with a hand crank or a telescoping control rod. It is the least expensive operable option and it has no electrical components to fail. The drawback is obvious: if the unit sits in a vaulted ceiling four or five metres overhead, using a pole becomes a chore, and nobody closes it when a storm rolls in off the lake. Manual units make the most sense in bathrooms and stairwells where the glass is within comfortable reach.
Electric operated
A hardwired motor opens and closes the sash from a wall switch or remote. Electric units suit high ceilings, but they require a wired circuit run to the curb, which means either an accessible attic or opened drywall. On a retrofit into a finished vaulted ceiling, running that wire is often the single most disruptive part of the job.
Solar powered
A small roof-mounted photovoltaic panel charges an internal battery that drives the motor. There is no wiring to run, which removes the most invasive part of an electric install, and most solar units include a rain sensor that closes the sash automatically when the first drops hit. For a vented skylight Oshawa retrofit into an existing finished ceiling, this is usually the option that delivers the best result for the least demolition. Our page on solar powered fresh air skylights walks through how the panel, battery and rain sensor work together.
| Skylight type | How it opens | Typical installed cost, 2026 | Best suited to |
|---|---|---|---|
| Fixed (non-venting) | Does not open | $1,800 to $3,000 | Light only, in rooms with existing ventilation |
| Manual venting | Crank or control pole | $2,400 to $3,900 | Reachable ceilings, bathrooms, stairwell landings |
| Electric venting | Hardwired motor, wall switch or remote | $3,400 to $5,600 | New builds and renovations with open framing |
| Solar venting | Battery motor charged by a roof panel | $3,300 to $5,200 | Retrofits into finished vaulted ceilings |
| Sun tunnel | Does not open | $1,400 to $2,500 | Interior rooms with a long attic run and no venting need |
If venting is not actually the goal and you only need daylight in a windowless hallway, a sun tunnel or a fixed skylight will cost noticeably less. The premium for an operable unit is only worth paying when air movement is part of the plan.
What a Vented Skylight Oshawa Installation Costs in 2026
Quoted prices vary because the skylight itself is only part of the job. On most Oshawa homes, the interior finishing of the light shaft and the roof work around the opening together account for a larger share of the invoice than the unit. The table below breaks a typical single-unit project into its line items.
| Line item | Typical 2026 range, Durham Region | What drives the number |
|---|---|---|
| Skylight unit and flashing kit | $900 to $2,400 | Size, glazing package, venting mechanism |
| Roof opening, curb and structural framing | $600 to $1,300 | Rafter versus truss roof, cuts required |
| Flashing, underlayment and shingle tie-in | $400 to $900 | Roof pitch, shingle age, ice and water membrane |
| Light shaft framing, insulation and drywall | $700 to $2,000 | Attic depth, splayed versus straight shaft |
| Paint, trim and finishing | $250 to $600 | Ceiling height, texture matching |
| Building permit and inspection | $180 to $450 | Municipal fee schedule, structural review |
| Blinds or shades, optional | $300 to $750 per unit | Manual, solar or blackout fabric |
Two variables move the total more than anything else. The first is the roof structure. A home framed with conventional rafters, common in Oshawa’s older brick and postwar bungalow stock, usually allows an opening between existing members with straightforward headers. A home built with engineered roof trusses, standard in the newer north-end subdivisions, has closely spaced webs that cannot be cut without an engineered repair detail, which adds both cost and lead time.
The second variable is shaft depth. A vaulted or cathedral ceiling puts the glass almost directly overhead and the shaft is short. A flat second-floor ceiling with a deep attic above needs a framed and insulated tunnel, sometimes two metres long, and that tunnel has to be drywalled, taped, sanded and painted. Budget accordingly when comparing a vented skylight Oshawa quote for a bungalow against one for a two-storey home.
Installing two or three units in one visit lowers the per-unit cost meaningfully, usually by ten to twenty percent, because setup, staging, fall protection and roof access are shared across the work. If you are already planning a roof replacement, that is the least expensive moment to add a vented skylight Oshawa project, since the shingles around the opening are coming off anyway.
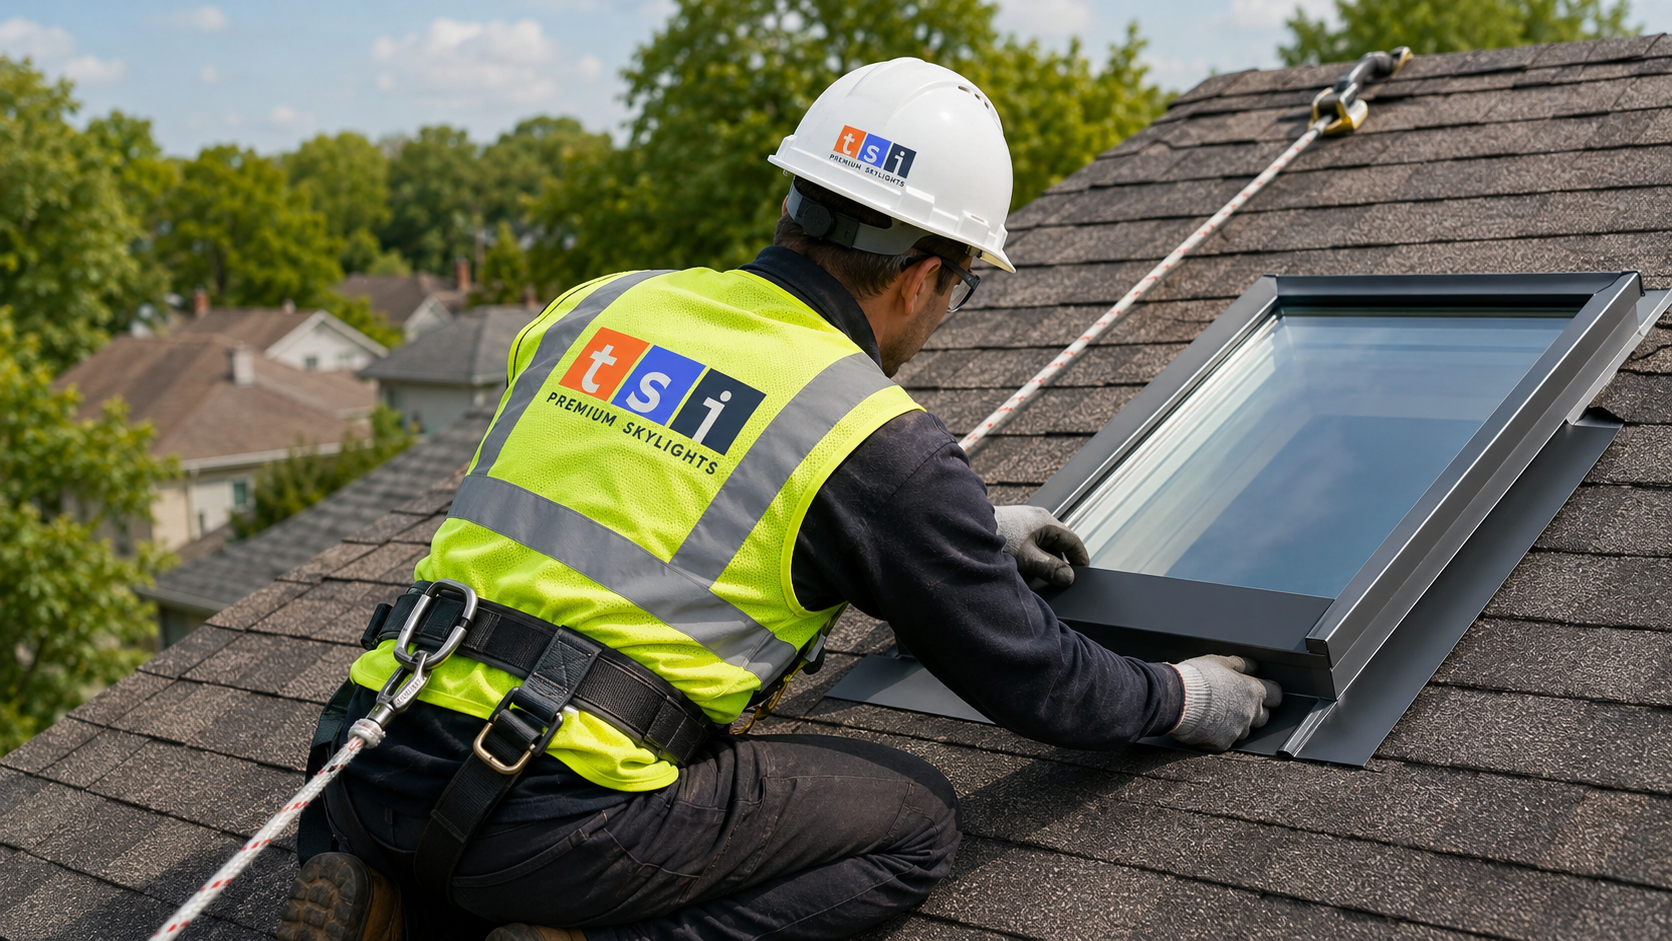
How Oshawa’s Housing Stock Shapes the Job
Oshawa is not architecturally uniform, and the differences matter on install day. The city’s older core carries a large stock of postwar bungalows and one-and-a-half-storey brick homes, many with simple gable roofs, conventional rafters and shallow attics. These are generally the friendliest houses for a vented skylight Oshawa retrofit. The framing can usually be opened without engineering, and the shaft run is short enough that the finished opening feels generous rather than tunnel-like.
North of the older core and out toward the newer subdivisions, homes tend to be larger, two storeys, with complex roof geometry and truss framing. Complex geometry means more valleys, hips and dormers, and skylight placement has to keep a safe distance from those water-concentrating features. Truss framing means the structural approach is different. Neither is a barrier, but both should be identified during the site visit rather than discovered after the roof is open.
Oshawa also has estate-scale lots on its outer edges with custom builds, cathedral great rooms and long, steep roof planes. These properties are usually excellent candidates for solar operable units, because the ceilings are far out of reach and running electrical to the curb would mean opening finished vaulted drywall.
Climate is the constant across all of it. Oshawa sits on the Lake Ontario shoreline, which moderates the deep cold slightly but adds humidity and lake-effect precipitation. Practically, that means an installation has to handle wind-driven rain in shoulder seasons and ice formation at the eaves in winter. Both are handled by detailing, not by the brand of skylight. You can review the full scope of our Oshawa skylight installation and repair services to see how those details are applied across different roof types in the city.
The Installation Process, Step by Step
A single-unit vented skylight Oshawa installation is typically a one to two day job, plus a return visit for drywall finishing and paint. Here is the sequence a competent crew follows.
- Interior assessment. Confirm ceiling structure, locate wiring, plumbing stacks and HVAC ducts in the path, and mark the opening from inside.
- Roof assessment. Verify shingle condition and remaining life, check deck soundness, and confirm the opening clears valleys, chimneys and vent stacks by a safe margin.
- Permit application. Submitted before work begins where structural members will be cut.
- Opening and framing. Shingles removed in the work zone, the deck cut, and headers installed to carry the interrupted rafters or to complete the engineered truss detail.
- Curb and unit set. The skylight is fastened to the deck or curb, squared and checked for operation before anything is closed in.
- Flashing and weatherproofing. Ice and water membrane at the perimeter, then the manufacturer’s step, head and sill flashing woven into the shingle courses.
- Shaft framing and insulation. The light well is framed, insulated to code, and air sealed with a continuous vapour barrier.
- Drywall, tape and paint. Usually a separate visit two or three days later once compound has cured.
- Operation test. The sash is cycled, the rain sensor tested where fitted, and controls handed over.
The step most often skipped by low bidders is air sealing the shaft. An uninsulated or poorly sealed light well is a direct thermal bridge from a heated room into a cold attic, and in an Oshawa winter it will produce condensation, staining and eventually a callback that gets blamed on the skylight. The unit is rarely the problem. The shaft usually is.
Ontario Building Code, Permits and Glazing Requirements
Cutting a roof opening changes the load path, so a City of Oshawa building permit is generally required when structural members are altered. The permit process is routine, but it is not optional, and skipping it creates a real problem at resale when a home inspector notes an unpermitted structural change.
A few Code points are worth knowing before you sign a quote for a vented skylight Oshawa project:
- Safety glazing. Overhead glazing must be tempered or laminated. Laminated inner panes are strongly preferred for sloped applications because they hold together if broken.
- Structural headers. Interrupted rafters must be supported by properly sized headers. Engineered trusses generally cannot be cut without a signed repair detail.
- Insulation continuity. The light shaft is part of the building envelope and must meet the insulation and air barrier requirements that apply to the rest of the ceiling assembly.
- Attic ventilation. The shaft reduces attic volume and can block a rafter bay. Baffles must maintain the soffit-to-ridge air path around the opening.
- Fall protection. Ontario workplace regulations require harness-based fall arrest for crews working at height on a residential roof. If a contractor’s crew is working untethered, that is a warning about everything else they do.
Ask the contractor directly who pulls the permit. A legitimate company handles it as part of the contract and schedules the inspection. If the answer is that a permit is not needed for a skylight, get a second opinion.
Flashing, Leaks and Why Most Skylight Problems Are Not the Skylight
Skylights have a reputation for leaking that is mostly undeserved. Modern units carry factory-glazed seals with long warranties. When water shows up on a ceiling, the cause is nearly always one of four things: flashing installed incorrectly, sealant used as a substitute for flashing, ice damming forcing water backward under the shingles, or condensation that was never a leak at all.
Proper flashing is mechanical. Step flashing is interleaved with each shingle course up both sides, a head flashing diverts water around the top, and an ice and water membrane wraps the opening perimeter. Done that way, the assembly sheds water by geometry. Caulking is a finishing detail, never the waterproofing strategy, and a thick bead of sealant around the perimeter of a skylight is a reliable sign of an install that was rushed.
Condensation is the diagnosis homeowners resist most, because it looks exactly like a leak. The tell is timing. A leak appears during or shortly after rain. Condensation appears on cold, clear winter mornings, often on the lower edge of the glass or at the bottom of the shaft, and it worsens in bathrooms and kitchens. The cure is ventilation and shaft insulation, not more sealant, and it is one more argument for choosing a vented skylight Oshawa homes can actually breathe through rather than a sealed pane.
| Maintenance task | Frequency | Why it matters | Typical cost |
|---|---|---|---|
| Clear debris from flashing and perimeter | Twice yearly, spring and autumn | Trapped leaves hold moisture against the flashing edge | $0 to $180 if combined with gutter service |
| Inspect seals, gaskets and sash operation | Annually | Worn weatherstripping is the first sign of age | $150 to $300 per visit |
| Test rain sensor and battery on solar units | Annually | A failed sensor leaves the sash open in a storm | Included in most inspections |
| Clean glass, interior and exterior | Twice yearly | Restores light transmission and reveals seal fogging | $80 to $200 |
| Flashing repair or reseal | As identified, roughly every 10 to 15 years | Metal fasteners and membrane age faster than glass | $400 to $1,100 |
| Full unit replacement | 20 to 30 years | Seal failure and frame fatigue eventually end unit life | See installation pricing above |
If an existing unit in your home is fogging between the panes, staining the shaft or refusing to close cleanly, a repair assessment is the sensible first step. When a unit is past twenty years old and the roof is due anyway, replacement usually costs less over a decade than a series of patch repairs.
Sizing, Placement and Getting the Light Right
Placement is where a good vented skylight Oshawa project separates itself from an adequate one. Three rules cover most situations.
First, glazing area. A reasonable target is roughly five percent of the room’s floor area for a room that already has windows, and up to ten to fifteen percent for a room with no other glazing. Oversizing creates glare and summer heat gain that no amount of venting will offset.
Second, orientation. North-facing roof planes give even, cool light with minimal heat gain and are the safest choice for a room used all day. South-facing planes deliver the most light and the most heat, so they pair best with a low solar heat gain glazing package and an operable shade. East-facing units brighten kitchens in the morning. West-facing units collect late afternoon heat, which is the least comfortable combination in an Oshawa summer.
Third, height and clearance. On a sloped roof, mounting the unit higher up the plane spreads light deeper into the room. Keep a clear margin from valleys, chimneys and plumbing stacks, since those features concentrate water and complicate flashing. On a low-slope or flat rear addition, which appears on a number of Oshawa homes, the detailing changes entirely and calls for a purpose-built flat roof skylight with a proper curb height.
Pairing a vented skylight Oshawa install with a lower window on the opposite or shaded side of the room is what completes the ventilation loop. One opening alone lets warm air escape slowly. Two openings at different heights create genuine air movement, and the difference on a humid evening is immediately noticeable.
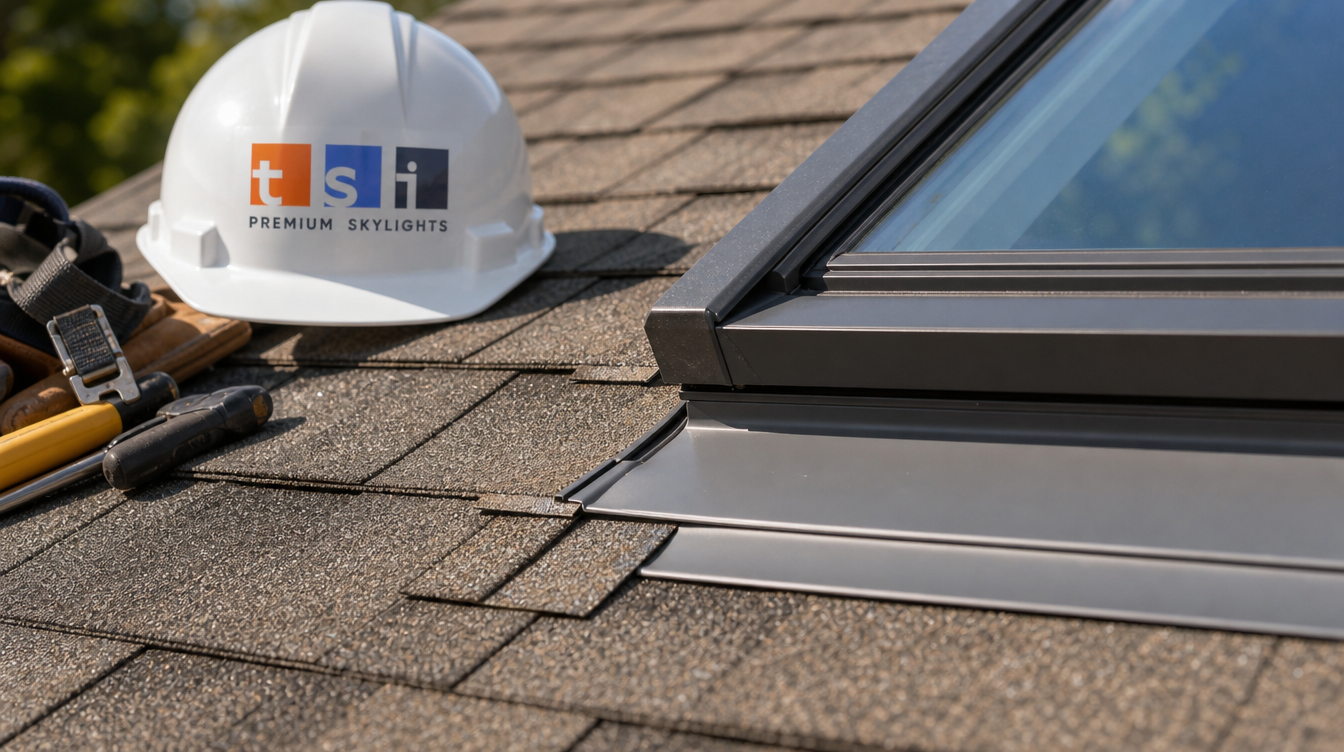
Choosing an Installer in Oshawa
A vented skylight Oshawa project sits at the intersection of roofing, framing, insulation and interior finishing, which is why general roofers and general renovators both tend to be weak at one end of it. A roofer may flash the unit perfectly and leave a poorly insulated shaft. A renovator may finish beautiful drywall over a flashing detail that will fail in five years.
Questions worth asking before you sign anything for a vented skylight Oshawa job:
- Do you carry WSIB coverage and liability insurance, and can you send current certificates?
- Who applies for the City of Oshawa permit, and is the fee inside the quoted price?
- Do you install the manufacturer’s flashing kit, or fabricate your own?
- Is drywall, taping and paint included, or is the shaft left unfinished for another trade?
- What is warranted by the manufacturer, what is warranted by your workmanship, and for how long?
- Will the same crew do the roof work and the interior finishing?
Get the answers in writing. A quote that lists the unit model number, the flashing kit, the shaft finishing scope and the permit line is a quote you can compare fairly. A single lump sum with no breakdown is not.
How much does a vented skylight cost in Oshawa in 2026?
Do I need a building permit for a vented skylight in Oshawa?
Are solar powered venting skylights worth the extra cost?
Will an operable skylight leak in Ontario winters?
How long does the installation take?
Can a vented skylight replace a bathroom exhaust fan?
Book Your Vented Skylight Oshawa Consultation Today
Toronto Skylight Installers is based in the Toronto area and works throughout Durham Region, including Oshawa. Our crews handle the full scope in house: structural framing, manufacturer flashing, insulated light shafts and interior finishing, so no part of the assembly gets handed off and forgotten. Whether you are adding one operable unit above a bathroom or planning a multi-unit skylight installation across a vaulted great room, we will assess your roof structure and give you a written, itemised quote before anything is cut.
Call us today at (416) 365-7557 or request a free consultation. We will confirm your roof framing type, recommend the right venting mechanism for your ceiling height, and walk you through the permit process from application to final inspection.
Toronto Skylight Installers proudly serves Oshawa, Whitby, Ajax, Pickering and communities across the Greater Toronto Area.